Microsoft introduced Solitaire first time for Windows 3.0 in 1990 and comes built-in with windows till Windows 7 in 2009. Playing Solitaire was a great way to waste or kill time but Microsoft retired Classic Solitaires in Windows 8 and also not available in Windows 10, opting for universal app ‘Microsoft Solitaire collection’. This app is free and offers more features and mode as compare to old Windows XP Classic Solitaire, it’s also includes advertisements which are require paid monthly subscription to remove. Some of us don’t like this new Microsoft Solitaire collection for our own reasons and prefers to play old Windows XP Classic Solitaire, then follow the instruction below, so you can run the original Windows XP Classic Solitaire on your Windows 10 computer.
Before we begin, note that you need to access Windows XP installation files (any version) for this to work on Windows 10, as we need to copy the solitaire files from that version. It’s also important that only Windows XP Solitaire will works on Windows 10, the version of solitaire of Window vista or seven are not compatible with Windows 10.
In our testing, Solitaire game works perfectly with the ability to change scoring, rules and the design of solitaire deck, but the only limitation we found is that built-in help features failed to load, because this feature rely on Windows XP help platform of course which is no longer available in Windows 10.
Install Classic Solitaire in Windows 10
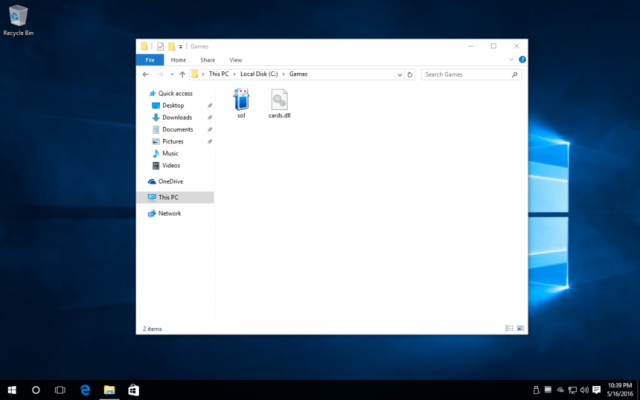
- If you don’t have Windows XP installation disc or XP virtual machine, you can ask someone who using Windows XP to copy required files and give it to you. Once you have the access of Windows XP or XP virtual machine, navigate to C:> Windows > System32 to find and copy the solitaire files. In system32 find two files named
cards.dllandsol.exeand copy both files to a USB drive. - Now transfer those two files to Windows 10 that you copy in step-1 and place those files anywhere but both file must be in same folder, like we created a New Folder in Windows 10 desktop and paste the both files in it.

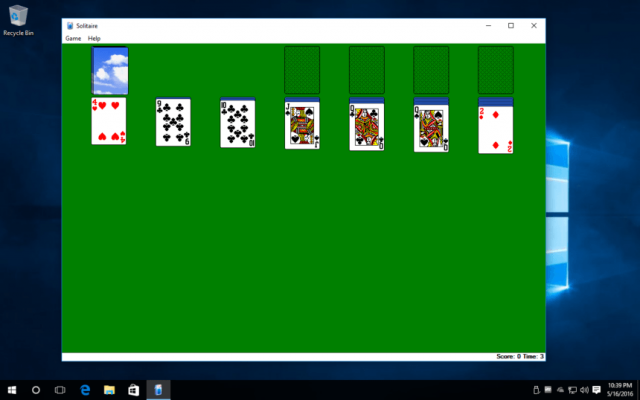
- So finally everything is ready simply double-click on
sol.exeto run Solitaire and you will see old Windows XP Solitaires running in Windows 10.

Remove Classic Solitaire
- If you want to remove this old Classic Solitaire firm Windows 10, then simply delete those two files, there is no need to uninstall the game as its contained entire data within two files.