Got an older MacBook or Mac Mini, and macOS Catalina is not supported? Here is how you can install macOS Catalina on an unsupported macOS. Check out step by step tutorial with download links and the complete guide.
Another year, another major release by Apple for the latest mac users. Now, macOS Catalina is the latest version running on the latest devices. In this update Apple have improved the processing speed, adds the side car feature; connect your iPad Pro with mac for better development using Apple Pencil and much more features like Screen Time. However, this update is also useful because it includes the iPhone apps for macOS device. For the example, Twitter app is now also available for macOS Catalina.
MacOS Catalina Supported Devices:
- MacBook (Early 2015 or newer)
- MacBook Air (Mid 2012 or newer)
- MacBook Pro (Mid 2012 or newer)
- Mac mini (Late 2012 or newer)
- iMac (Late 2012 or newer)
- iMac Pro (2017)
- Mac Pro (Late 2013 or newer)
If you are one who have an older MacBook or Mac Mini and want to run this update on your machine then this is the right place where you are going to learn the easiest way to install macOS Catalina on unsupported mac. Yes, this is a truth you were always looking for. Now yo can easily do this by following some steps. I have shared all the download links and step by step guide to do this.
MacOS Catalina Patcher Supported Devices:
- Early-2008 or newer Mac Pro, iMac, or MacBook Pro
- Late-2008 or newer MacBook Air or Aluminum Unibody MacBook
- Early-2009 or newer Mac Mini or white MacBook
- Early-2008 or newer Xserve
However, still if you are using macOS Catalina Patcher listed machines are not compatible.
- 2006-2007 Mac Pros, iMacs, MacBook Pros, and Mac Minis
- 2006-2008 MacBook
- 2008 MacBook Air
Before proceeding next, please make a complete backup of your current macOS version running on your machine. This method requires time and there are still some bugs and you also see something missing.
Requirements for Installing macOS Catalina on unsupported mac
- Access to a Mac using which we will create a bootable macOS Catalina installer USB.
- At least 16GB storage of USB in MacOS Extended Journal format.
- Backup of the target machine.
Now, if you have read all the above-mentioned things and you are ready to install macOS Catalina on unsupported mac then follow the give steps.
How to Install macOS Catalina on unsupported Mac
If your device is still compatible with macOS Catalina patcher then follow the given steps.
- At the very first, you need to Download the latest version of macOS Catalina Patcher on the real macOS device. Always use the latest version of this patcher because they have bug fixes for you.
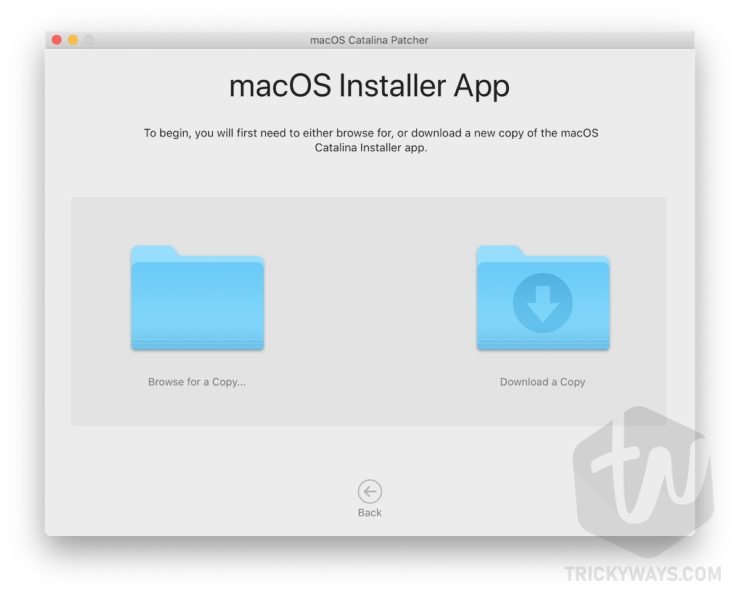
- Open the macOS Catalina Patcher app and hit continue button on your screen.

- At this stage, we are going to click at “Download a Copy” button because we need to create a bootable USB.
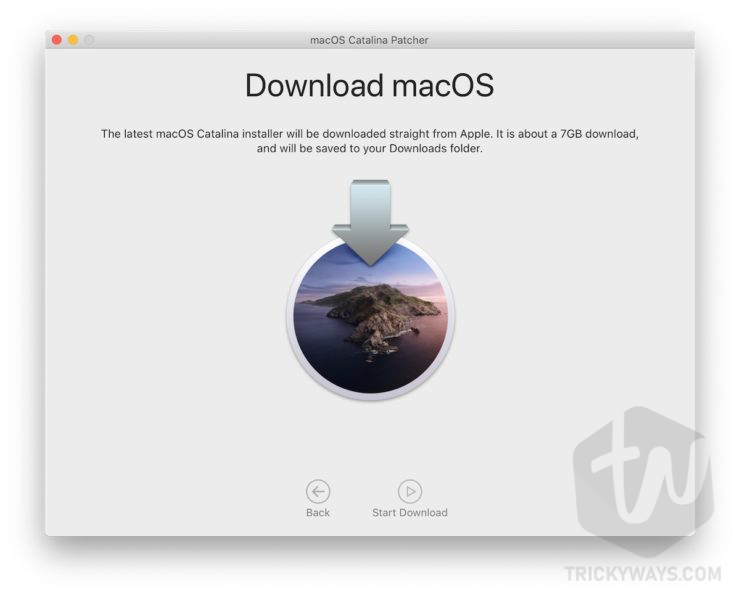
- Depending on the speed of internet the installer of 8GB will download when you hit Start download button.
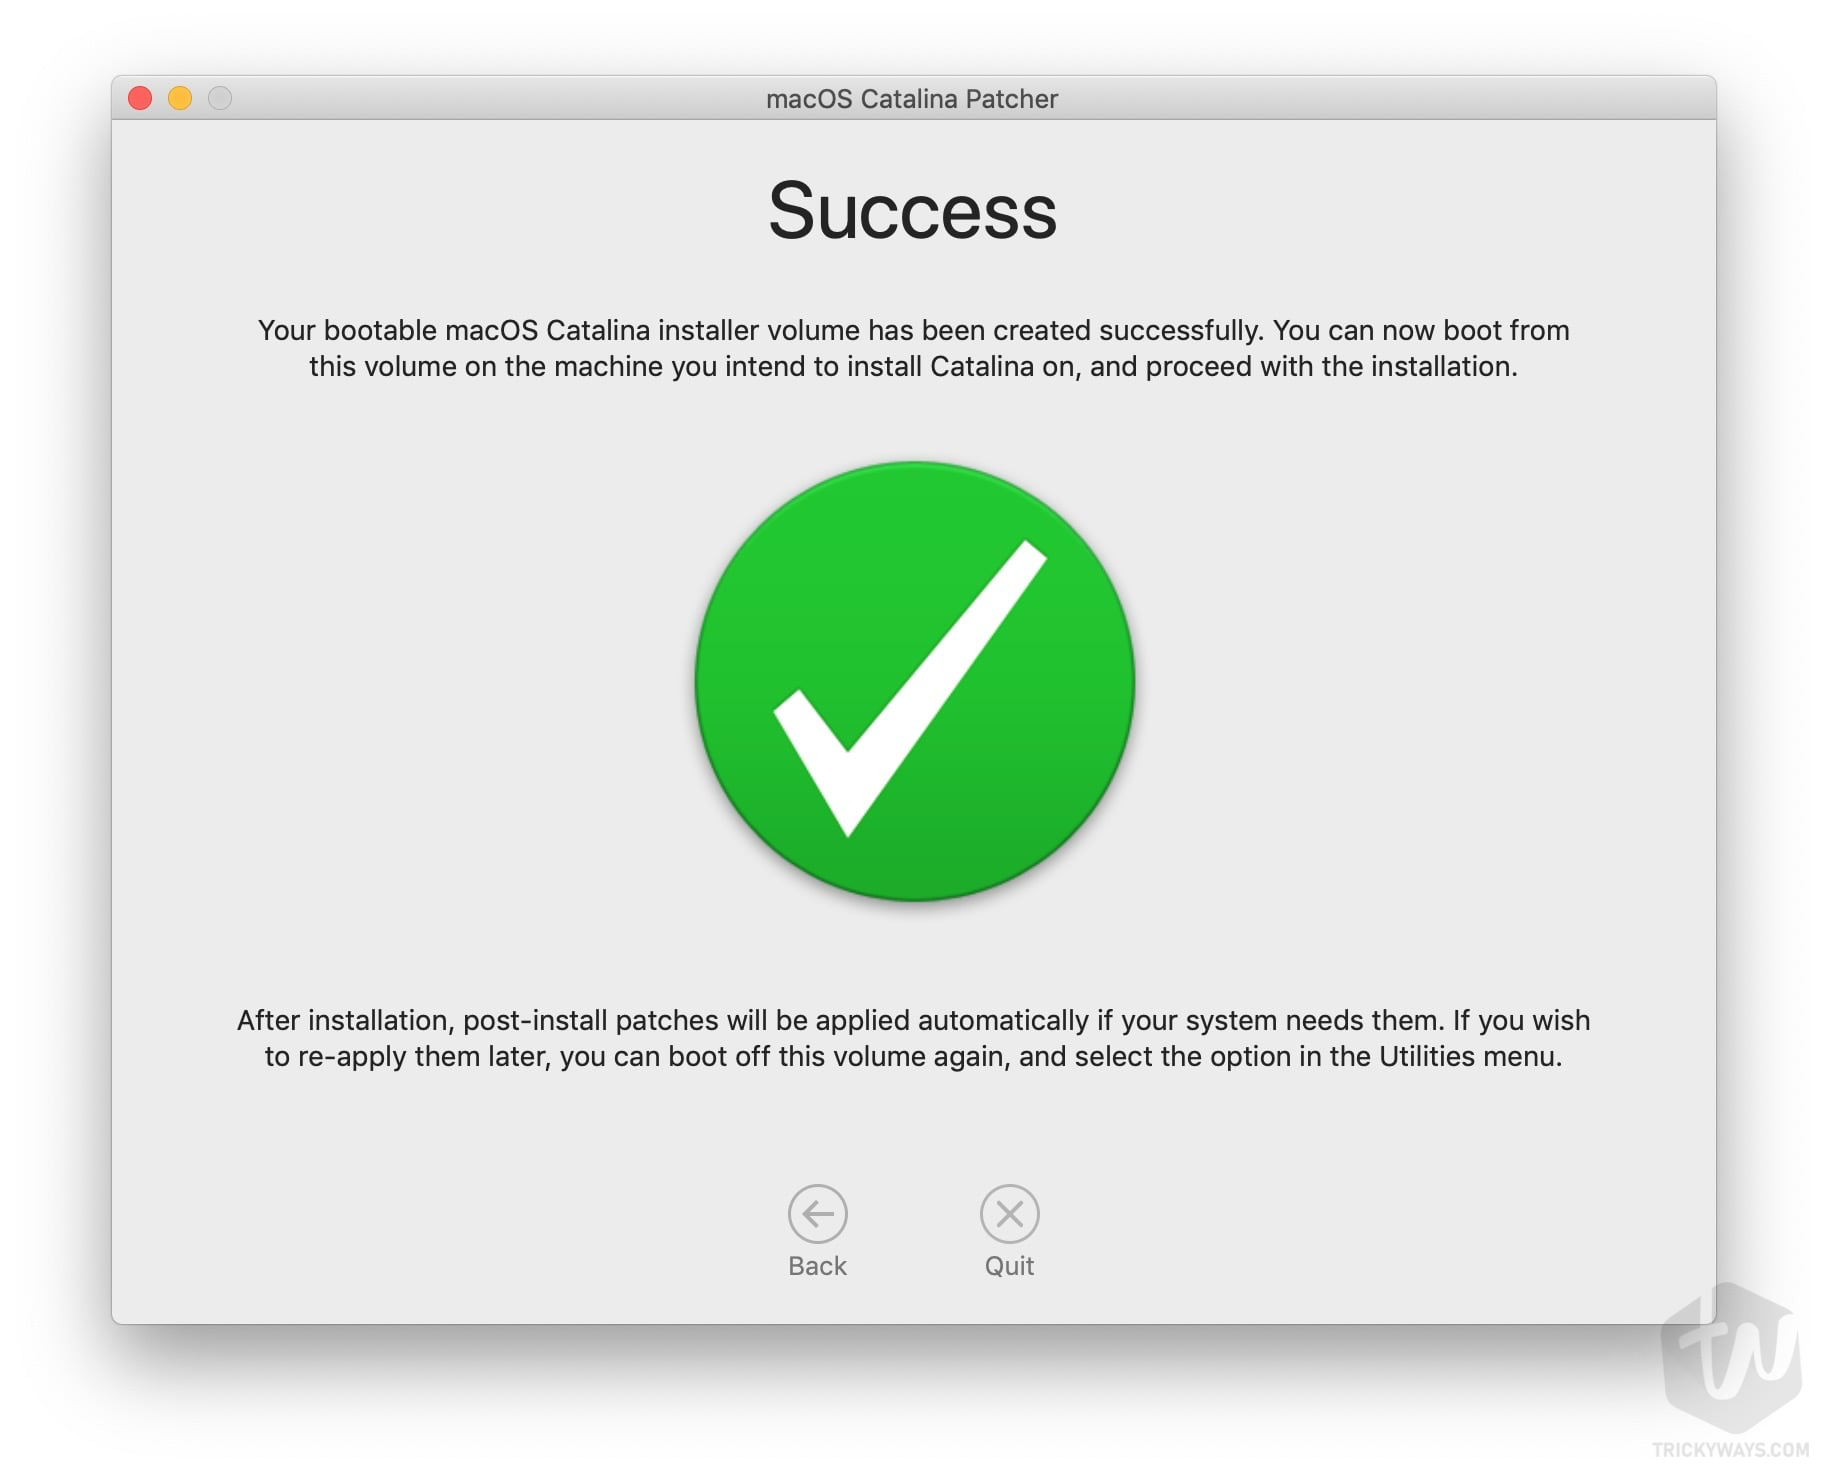
- Once downloaded, you will see different installation methods. Just, insert the USB in your MacBook and click on “Create a Bootable Installer”.
- Once USB Drive is ready, plug-in this USB into the unsupported mac where you want to install macOS Catalina.

- Power on the machine and keep holding the Option key on mac. You will see the Startup Manager on Screen. Using arrow keys, click on the USB drive you have created.
- At this step, you are in macOS recovery and you need to format your internal drive with APFS format on which you are going to install macOS Catalina using patcher.
- Now just wait ‘Reinstall macOS’ option to start the installation process. This will take some hour. If you see any command lines, ignore them because this is normal.
- Once the installation is done, shutdown your mac. Again, boot it using USB drive. This step is important because we need to verify patches.
- At the macOS recovery screen, hit ‘macOS Post Install’ option. Let the MacBook select the right patches for you. Click Apply Patches and sit back.
- At the final step, hit ‘Force Cache Rebuild’ and click Restart.
- Finally, you will see the macOS Catalina Setup screen on your mac.
- Setup the device according to your need. You will see ‘Setting up Mac’ screen before the desktop.
- As a result, you have successfully installed and booted macOS Catalina on unsupported mac.

That’s all for today. If you have any issues while installing macOS Catalina using this patcher you can comment below. Our team will assist you as soon as possible. However, this is not a rocket science. Just make sure you are following the steps carefully and not skipping any.
If you have confusions you can also try the video tutorial made by the developer of this patcher. He have also explained all these steps very well.
EMBEDD THIS VIDEO HERE: https://youtu.be/wxFzZWqoCng
Also leave a comment of you have successfully installed macOS Catalina on your unsupported mac. We are always looking to see our visitors happy.
For more exciting tutorials on Mac, iPhone and iPad keep visiting us. We always share useful news and tutorials you need to know. Subscribe to our Newsletter for future updates or Posts on our blog. Signing out, Peace.