After installing Windows 10 cumulative update, your screen might not work correctly especially touch will disable on Dell PC. Windows 10 is great for Touch screen machines but many users reported this issue still exists in the latest Windows 10 updates.
This issue appears after update Windows 10 cumulative update and restarting your computer. There also some changes in Windows 10 taskbar notification area icon will be less spacing which is for non-touch devices. Windows 10 automatically detects touch screen devices and then arrange everything like more spacing for taskbar icons, so the user can easily tab on any icon.
Fix Touchscreen not working after Windows 10 update
Why this issue occurs? After doing research on this thing I came up with that Windows 10 treating touch devices as the non-touch device.
Re-enable touch screen
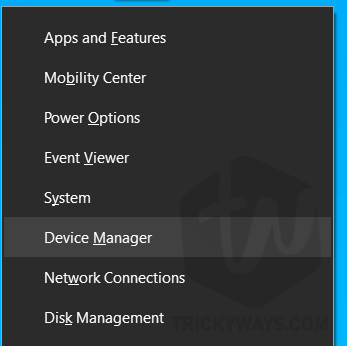
This might help by disabling and then enable the touch screen again from Windows 10 device manager. To do this just press the Windows + X key form your computer’s keyboard and then select Devices Manager from the given list.
In the Device Manager window, Find the “Human Interface Devices” and then expand it. Here right-click on HID-compliant touch screen and select Disable device.

After that, again right-click on HID-compliant touch screen and this time select enable.
That’s it, your computer touch will start working again. If not, move to the next method.
Update drivers
After updating Windows, some drivers may stop working. Updating Windows drivers are also very important if available or try to reinstall drivers.
Open device manager by pressing Windows + X shortcut keys from your keyboard and then select Device Manager.

Now expand the “Display adaptor”, then right-click on your Intel(R) HD Graphics 520 (Your graphic model may be different) and select Update drivers. If you have dual GPU then update both.

Rollback or Reverse Windows Update
After doing all the methods above, if your problem still exists then roll back to the previous Windows version.
- To do this simply press Windows+I to open up the Settings.
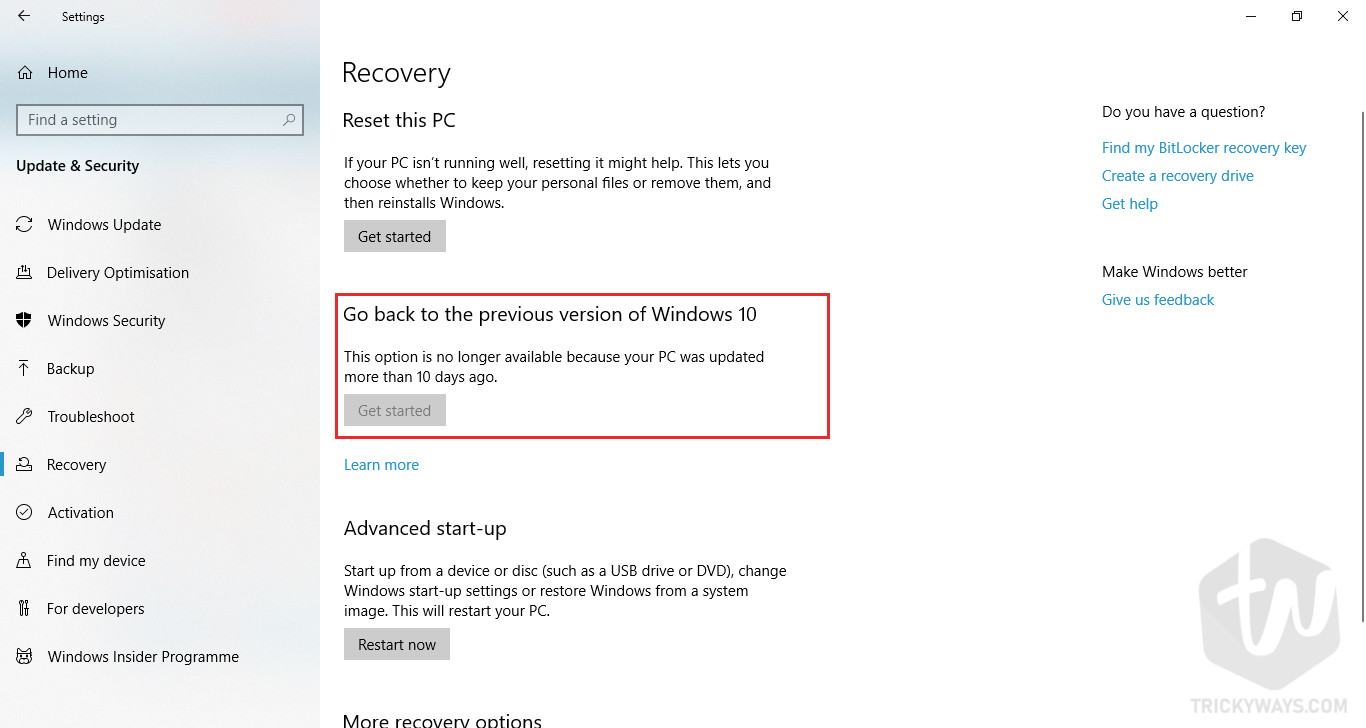
- Then click on Update & security, then click on the Recovery tab from the left given list.
- Now click on Get started button under the Go back to the previous version of Windows 10 section.

- When you click on get started button you will ask to tell Why are you going back? Just select the reason which suits you and clicks the Next button.
If any of the above methods didn’t work, then follow these two guides Reset your Windows 10 computer to factory settings or Clean Install Windows 10 from a USB Drive Before resetting your PC you must have an external drive connected or network location setup where you want to store your backup of important stuff.