In this guide, you will learn to make VirtualBox fullscreen. By doing that you can experience the virtual machine running in the VirtualBox just like a normal computer and you can change the resolution of the VM as well.
You will get all the answers to your question related to increasing the VirtualBox windows size, changing the resolution according to your computer display, switching between different display modes, and more.
When I tried making Virtual Machine fullscreen
You can skip this and go to the next section to see the important steps to make VirtualBox VM full screen in Windows 11/10
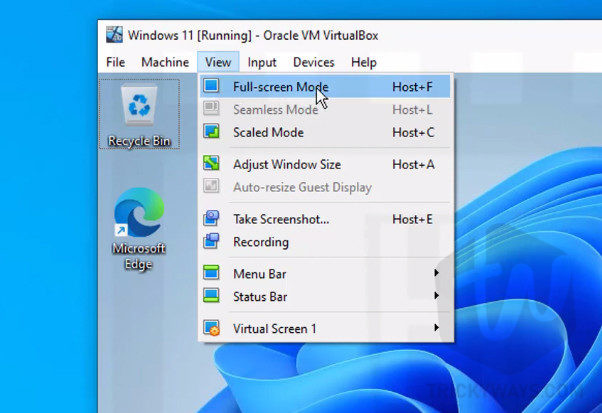
- As you can see I was running Windows 11 in VirtualBox. I was trying to make the Windows 11 Virtual Machine full screen from the View menu of VirtualBox. Its, View > Full-Screen Mode or you can press the shortcut key from the keyboard,
Host+F(whereHostis the Right-Control key on the keyboard)

- I got a message screen that told me the shortcut key and how to switch between fullscreen and windowed mode, so I just click the OK button.

- As you can see below, VM gets fullscreen but the desktop or working area is still a small box in the middle, and the remaining area is black. I want this completely fullscreen to get the normal Windows desktop experience. I also tried to change the resolution from the Settings but there was no correct resolution option according to my display.

- So, to make the virtual machine cover the whole screen we need to go back to windowed mode. Press the keyboard shortcut, Host+C (which is Right Ctrl+C).


Make Virtual Machine Fullscreen in VirtualBox
- When you are running a virtual machine in VirtualBox, Click the Devices menu on the top and select the “Insert Guest Additions CD image…” option from the menu.

- This will insert a virtual disk in the virtual machine Cd drive. Open up the File Explorer in the VM, select This PC from the left side and you will see the VirtualBox Guest Additions CD is ready to use. Double click on the CD drive icon to autorun the setup.

- Click Yes and allow the setup to run.

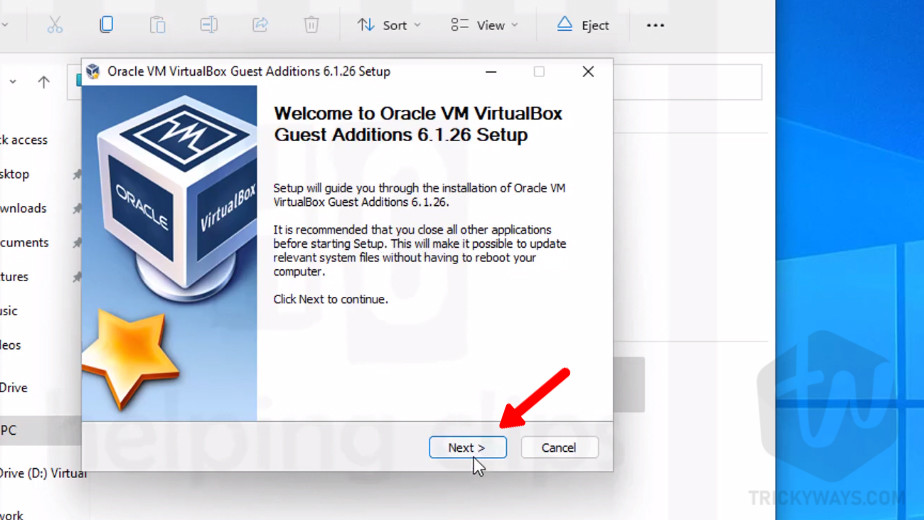
- The installation wizard for the VirtualBox Guest Additions is very simple, just click Next.

- Keep the installation location default and click Next.
- Leave the component as it is and click the Install button.
- It will take about a minute to install this.
- Once completed you need to reboot the Virtual Machine. So, select the Reboot now and click the Finish button.
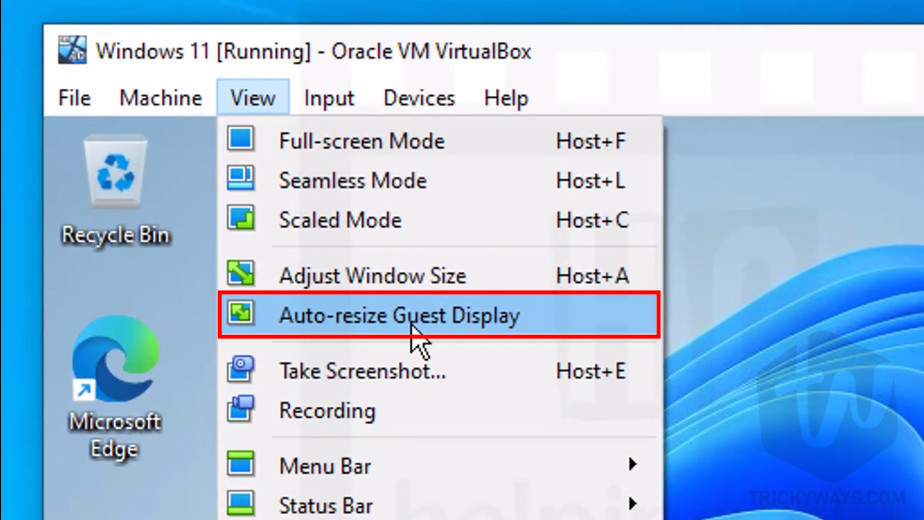
- After reboot, once you are on the Desktop, wait for a few seconds and let the VM loads the Desktop completely. Click the
Viewmenu and then click theAuto-resize Guest Displaythe option. If you see this option disabled that means this feature is not loaded yet after installing the Guest Additions. So, click on the desktop to close the menu, wait for a few seconds and then open the View menu again.
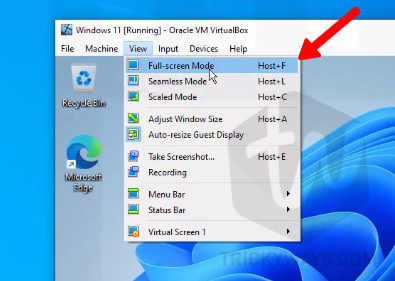
- Now, it’s time to make VirtualBox full screen. Just click the
Viewmenu and then select theFull-screen Modeoption.

- This time you will screen the virtual machine is running fullscreen in VirtualBox.
Note: Now you can change the resolution for the Virtual Machine in the VirtualBox as you do in the normal Windows.


Access VirtualBox File Menu in the Fullscreen mode
Take the mouse pointer to the middle-bottom edge of the virtual machine screen. The VirtualBox file menu will slide out, you will see the File menu here whenever you want to access it.
Exit from Fullscreen mode VirtualBox
To go back to the windowed mode in the VirtualBox, press the Right Control+C keyboard shortcut from the keyboard. Click the Switch button to confirm. If you don’t want to see this screen again, you can check the option Do not show this message again before you click the Switch button.
again

Was that helpful? or If you still have any questions, please leave a comment below