This is a step by step guide to jailbreak 3G OS 3.0 by using PwnageTool. You’ve to create a custom ipsw, then use it to restore your iPhone device, and it’ll automatically jailbreaks iPhone 3G and after that you’ll be able to install applications. So, first get collect the following equipment to jailbreak iPhone 3G as:
- Mac OS X 5.7 and iTunes 8.2 installed
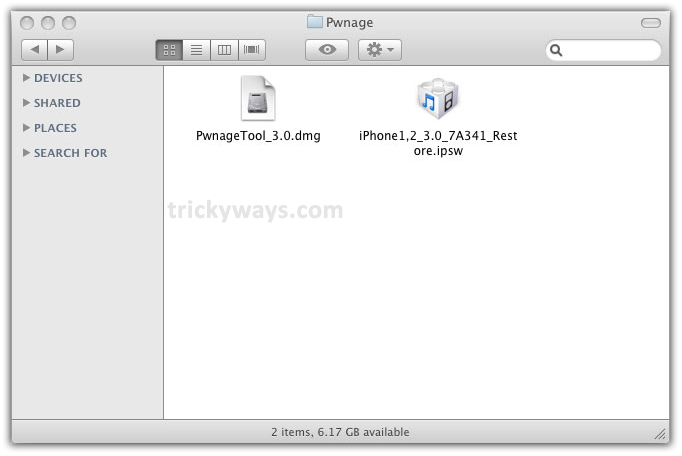
- Create a folder on your desktop with name “Pwnage”
- Download PwnageTool 3.0,and iPhone1,2_3.0_7A341_Restore.ipsw, keep these files in your “Pwnage folder” (We recomand use Firefox web browser to download the files because Safari often extracts “ipsw” file automatically)
Now, Takes a Start to Jailbreak iPhone 3G OS 3.0
Step 1
Double click PwnageTool_3.0.dmg file
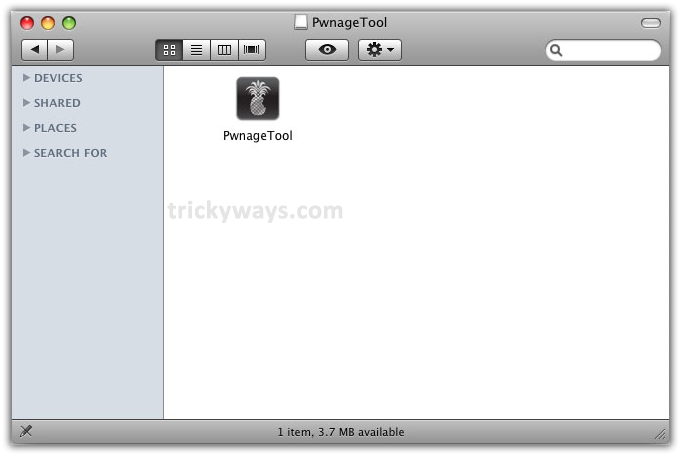
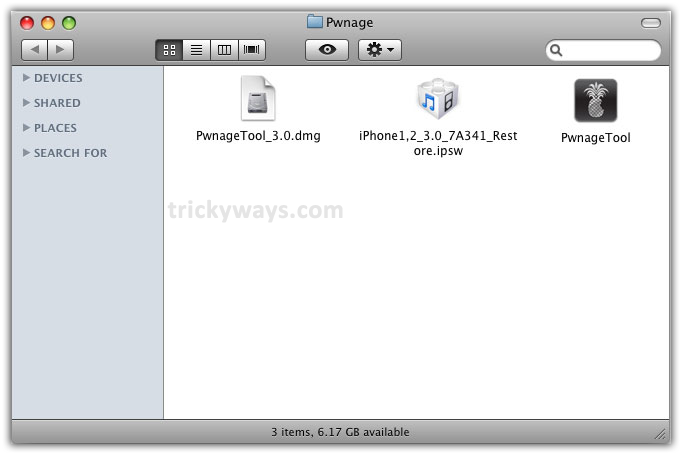
Drag the PwnageTool icon to Pwnage folder and then open it
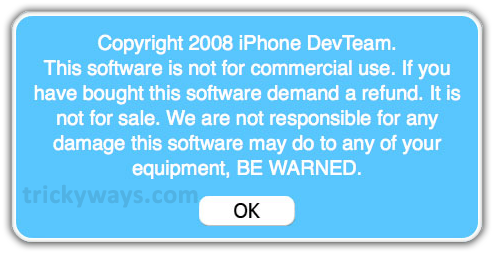
The following Warning Box will appear, just press OK button
Step 2
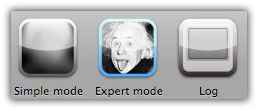
Select Expert Mode from top menu
Step 3
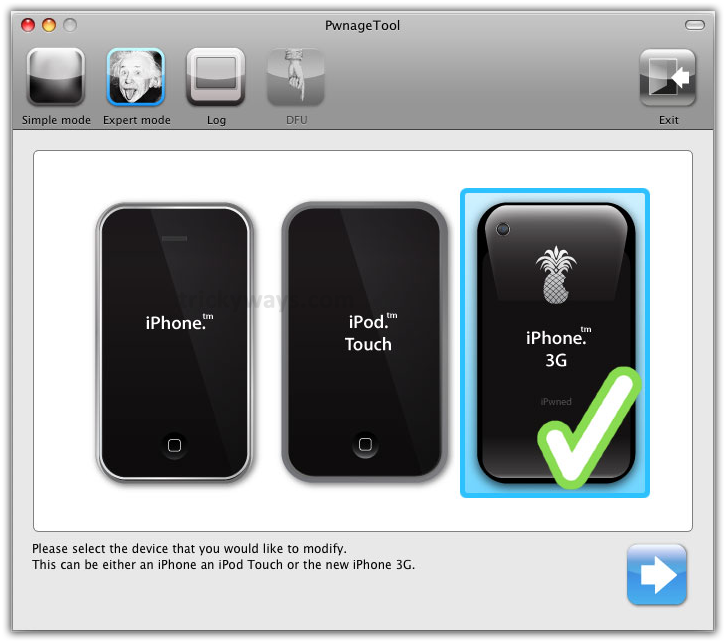
Now, select your device iPhone 3G that would be marked with a Green check mark. Press blue arrow button which is at the right bottom of screen
Step 4
Now, Pwnage Tool will automatically detect ipsw file. If it does not find file automatically then click Browse for IPSW button and select the downloaded iPhone1,2_3.0_7A341_Restore.ipsw file from your Pwnage folder. A check mark will appear next to it
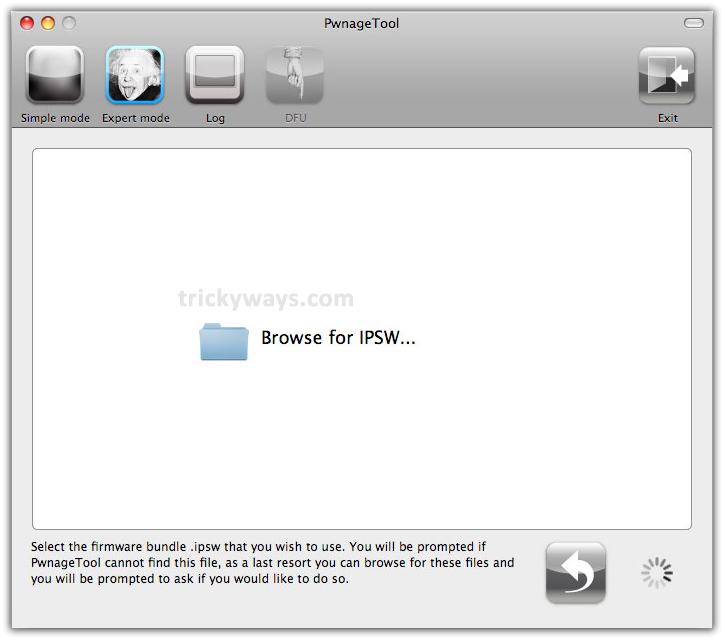
And press blue arrow button to proceed

Step 5
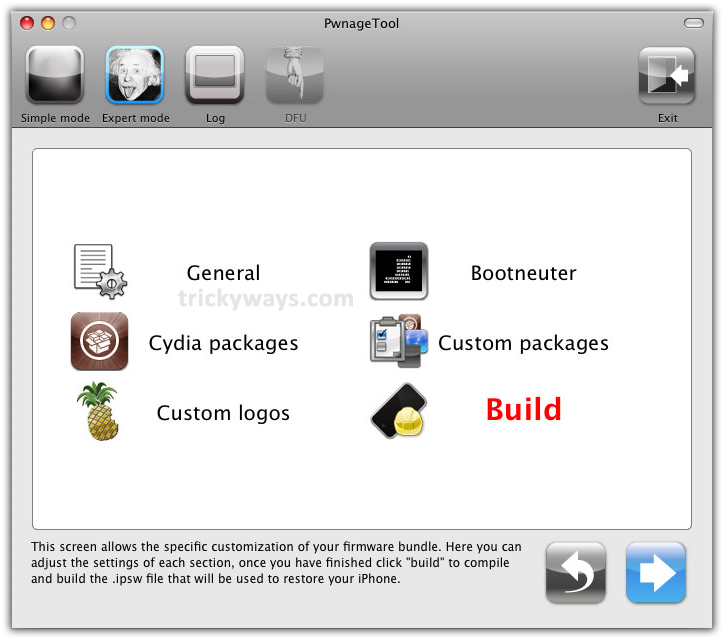
Here you’ll find 6 different option, click on General and hit blue arrow button to go next
Step 6
Now, you have to fix the Root Partition Size where the iPhone OS resides. For firmware 3.0 and IPSW file you’ve to increase the Root Partition space, so we set it to 695 MB, which is just fine. Further more you can see three options with check boxes.
Check mark Activate the phone & Enable base band update and un-check the third option Disable partition wipe-out. Enable baseband update allows to occur unlock

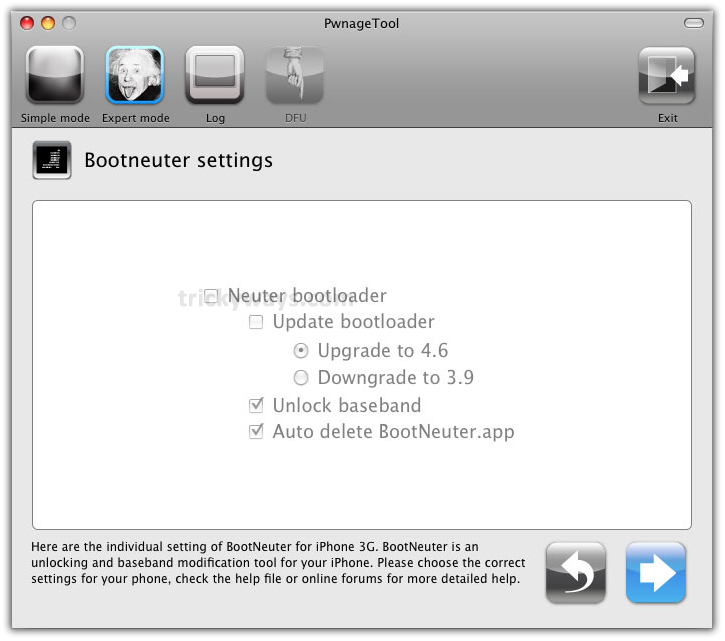
The Bootneuter settings shows all previous section options which we’ve selected or deselected. Click the blue arrow button to go next
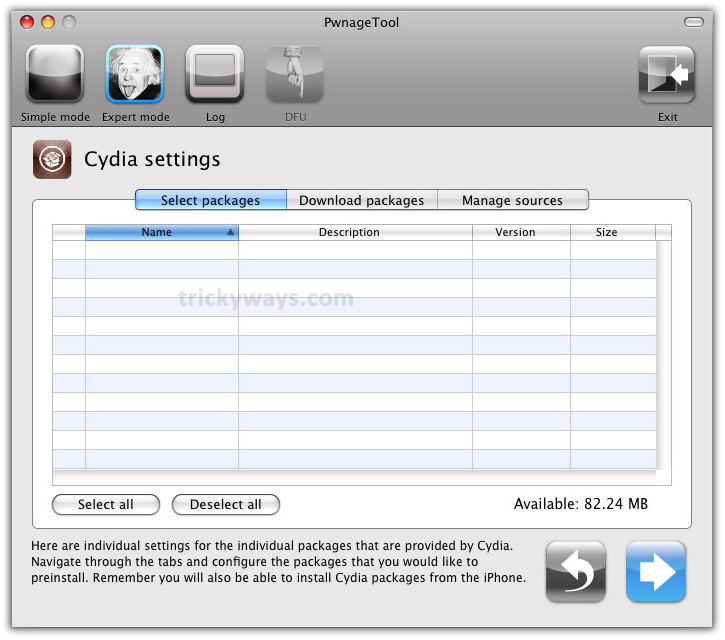
This is the Cydia settings window, where you can create custom packages so you do not need to install those manually
In Cydia settings, click on Download packages tab, and press Refresh button, it’ll show all available packages. Double click on package of you choice, it’ll be downloaded and you can see that under the Select packages tab
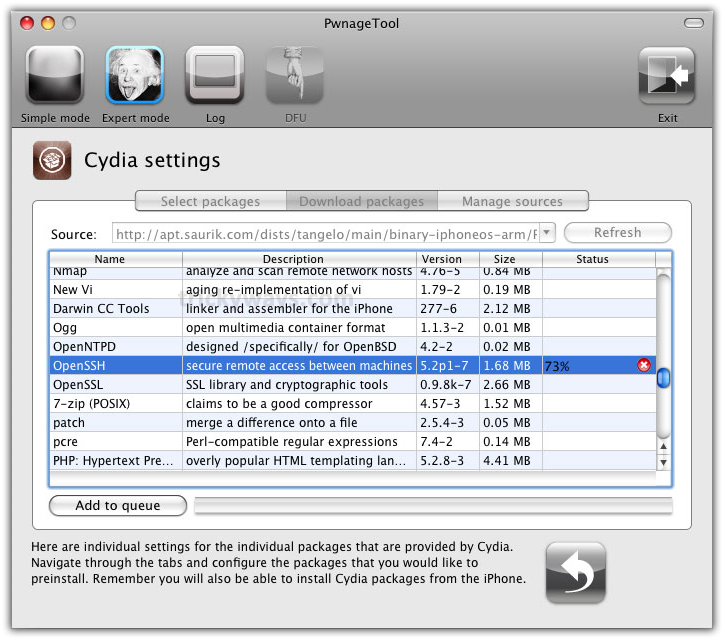
You can download more than one packages, so, after downloading packages click on Select packages tab & check mark that ones which you like to install and hot blue arrow button to proceed next

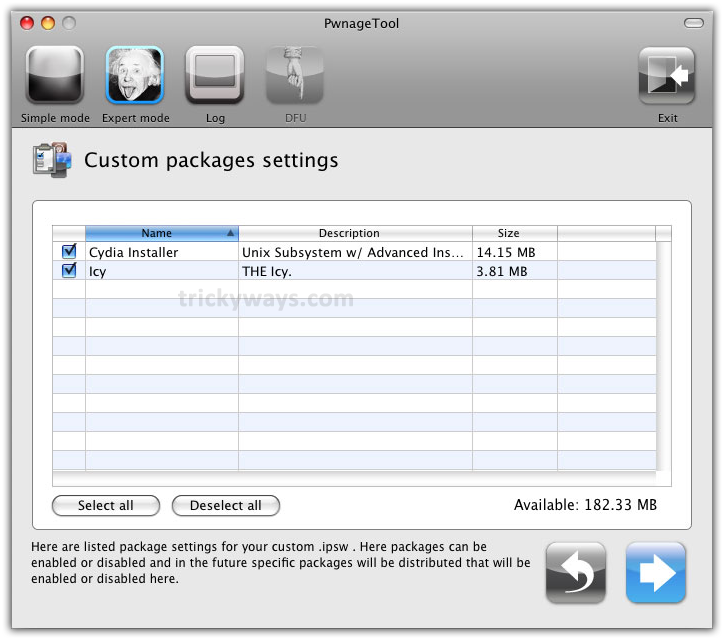
Now on this Custom packages settings screen you don’t need to make any change, just click on blue arrow button to go next
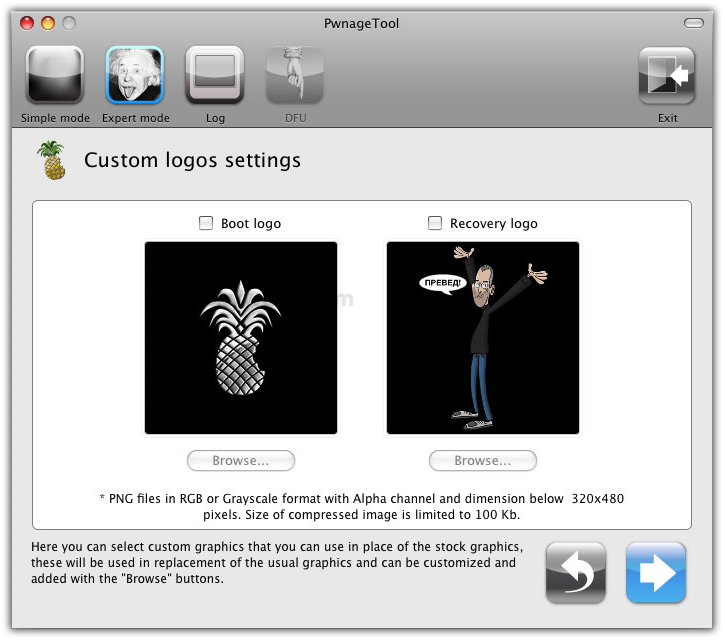
This Custom logos settings screen gives option to set Boot logo & Recovery logo. Either you can Browse images of your choice or select the default images by deselecting their check boxes as we did in the image. After the selection of images click the blue arrow button
Step 7
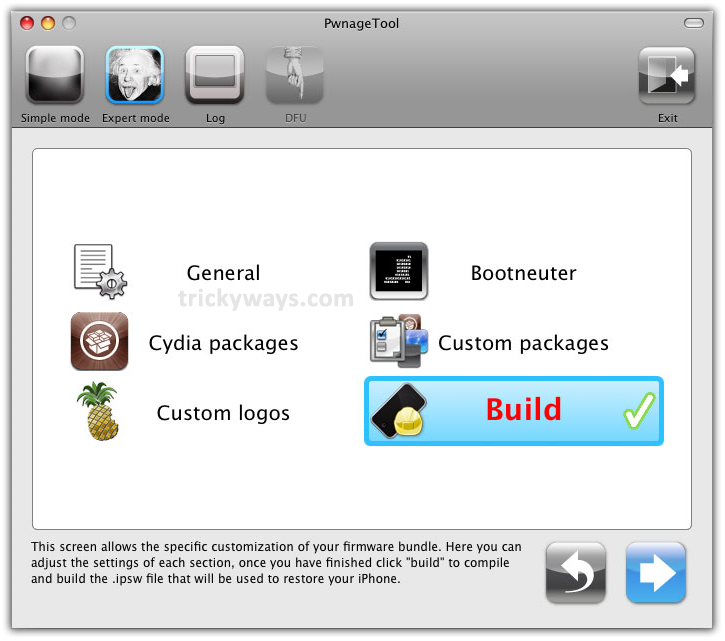
Now you have to build your custom firmware, select Build and click blue arrow button
Step 8
During the processing it’ll find Bootloader files which you’ve been selected and display the following windows, where it’ll ask to Save custom .ipsw file. Save it in your Pwnage folder

Step 9
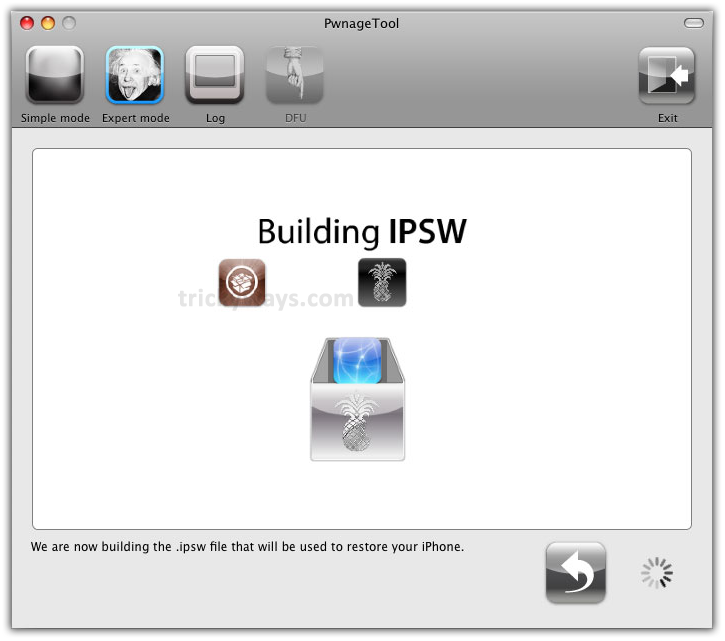
PwnageTool will start building the custom firmware. Wait until it completes processing
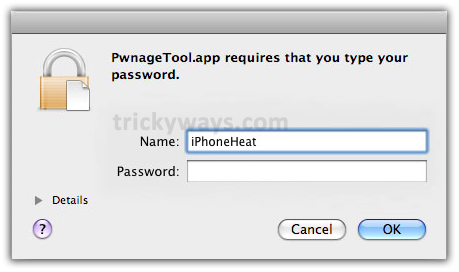
If following window prompts then enter you Administrator password & click the OK button
Click No even your iPhone have been Pwned before, the reason is this it will do more thorough restore

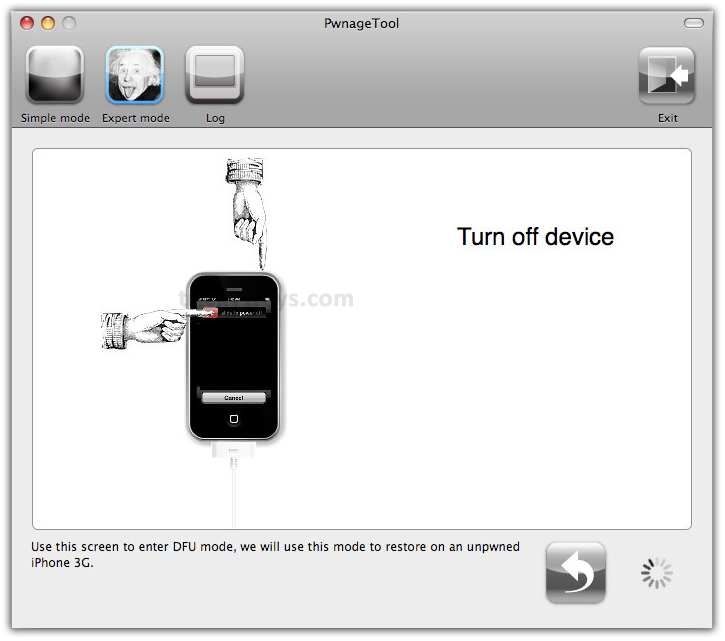
It asks to Turn off device. Please make it sure you’ve connected your iPhone to USB port
Step 10
Now, be active and follow the instructions efficiently:
- It’ll say to hold Power and Home button for 10 seconds
- After that release Power button and keep holding the Home button for 10 seconds more to enter DFU


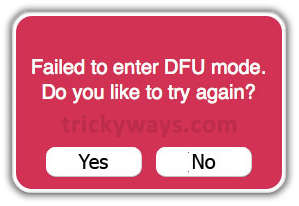
In case you Failed to follow the instructions then it’ll show the following message to ask you to try again? Click Yes.
Now, unplug the iPhone from USB. Turn it Off, then Turn it ON. Connect it to USB and turn OFF the iPhone when prompted
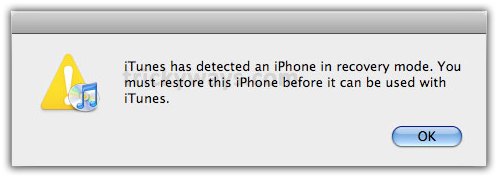
When you’ll follow the process correctly, Pwnage 2.0 displays a message which tells that it successfully entered in DFU mode. iTunes will also pop-up

Step 11
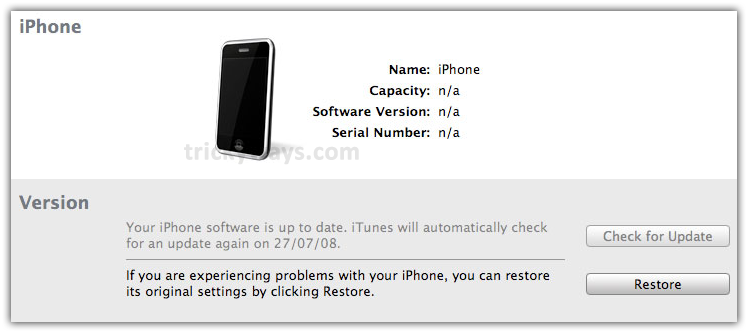
In iTunes hold the Alt/Option key and click on Restore button
Step 12
From popup window, Browse to your Pwnage Folder and select your custom .ipsw file (iPhone1,2_3.0_7A341_Custom_Restore.ipsw) which you have been created and click Open button
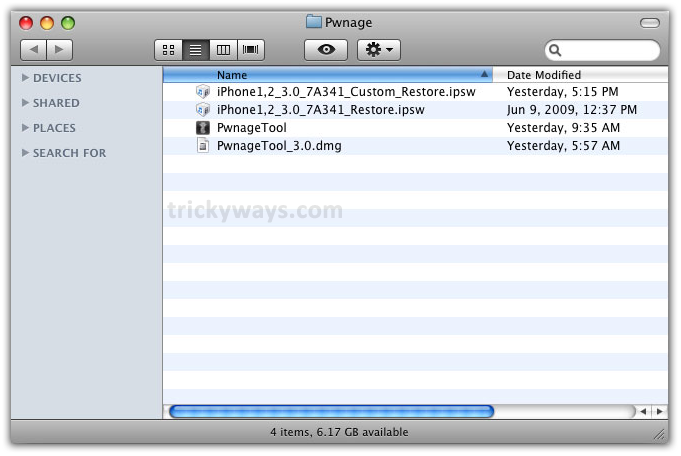
Step 13
iTunes will start firmware restore process to your iPhone. This process may take up to 10 minutes
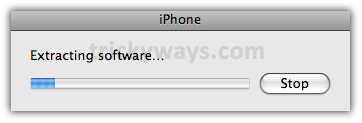
When the process get complete which means you successfully Jailbreak iPhone 3G running iPhone OS 3.0.
Write us your comments after try this process to your iPhone.
Thanks for sharing iPhone 3G Jailbreak step by step guide, great.