Clearing DNS is not a common thing but it’s required when you can not open websites, a website slows down and unexpectedly. Old / Corrupt DNS record cache might be the reason for this problem. The most common problem that occurs due to DNS cache problem is 404 webpage not found error. Resetting DNS should solve your problem just follow the instructions below and know how to clear DNS cache on your Mac.
What is DNS cache?
When you visit a website you computer stores the location of web servers that serves the website pages. Due to some reason if the location of the web servers has been changed and due to DNS cache on your server your computer still look for the web pages on old location (IP addresses). In that case, you will get lots of 404 not found error page. To solve the page not found error you might need to clear the DNS cache from your computer.
Before cleaning the DNS cache
When you clean the DNS cache this will directly interrupt the open web pages. So, it good to close all the open browsers and then follow the given command to flush the cache. If you keep open the browser and run the command might not clear the cache for open web pages.
How to clear DNS cache on Mac
To flush the DNS cache from your Mac you need to run few commands through macOS Terminal application. Mac Terminal command may vary for macOS version to version. Follow these instructions and know which command is suitable for your Mac.
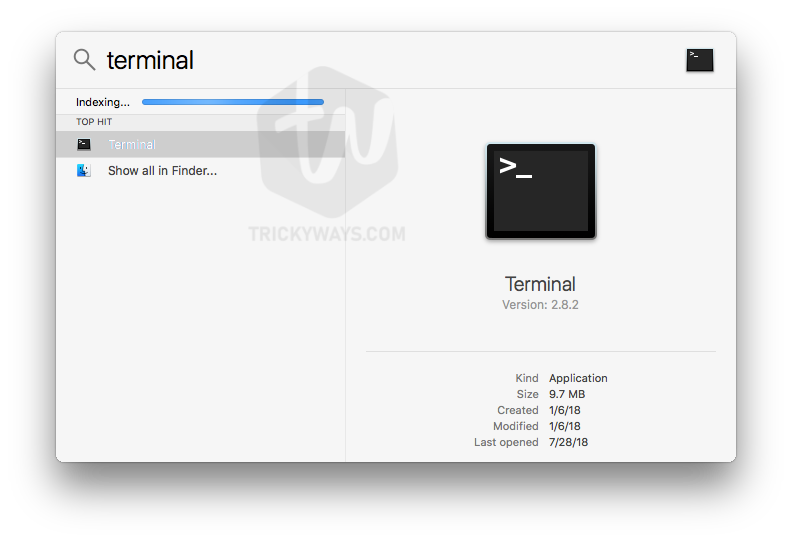
- First, open up the Terminal application. Click Applications > Utilities and open the Terminal application. You can also open it through spotlight, Press cmd+space from your keyboard, that will open the Spotlight. Type Terminal and open this application.

- Type the following command according to your installed macOS and hit enter.
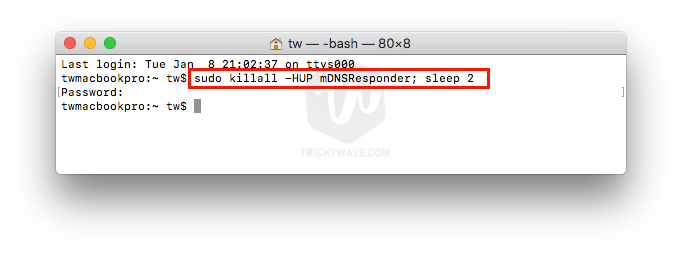
NOTE: Terminal might ask you to enter the administrator password to complete the command.Clear DNS cache macOS Sierra, High Sierra and Mojave (10.12, 10.13 and 10.14)
sudo killall -HUP mDNSResponder; sleep 2

Flush DNS cache OS X Yosemite, and El Capitan (10.10.4 and 10.11)
sudo dscacheutil -flushcache; sudo killall -HUP mDNSResponderFor clearing DNS cache on OS X Yosemite 10.10.0 – 10.10.3 the command is bit different.
To clear the DNS cache completely you have to flush both Multicast DNS and Unicast DNS. Here is combined command to clear MDNS and UDNS.
sudo discoveryutil mdnsflushcache; sudo discoveryutil udnsflushcachesOS X Mavericks 10.9
dscacheutil -flushcache; sudo killall -HUP mDNSResponderMac OS X Lion and Mountain Lion (10.7 and 10.8)
sudo killall -HUP mDNSResponderOS X Leopard and Snow Leopard (10.5 and 10.6)
sudo dscacheutil -flushcacheOS X Tiger 10.4
lookupd -flushcache
If due to some reason the above-mentioned commands didn’t work for you then try one of the following:
- Close all the open browser windows. Because they might have loaded the old cache in the memory and keep using it. Also, close the browser and restart it and then try to open the website.
- Give a reasonable amount of time after clearing the cache with the command, might be a few hours.
- Reboot your Mac computer and see If the problem is solved.
- Sometimes it’s not the problem of DNS cache on your Mac, rather it’s your ISP. Your ISP might not update its DNS cache, you can call your service provider and ask to solve the problem.
Still, have any questions? please leave a comment below and we will help you in this matter.