This PC can’t run Windows 11, an error message that I was getting while creating Windows 11 Virtual Machine in the VMware. In this guide, I will show you the right way to install Windows 11 as a Virtual Machine on your Windows.

This guide is divided into the following sections:
- Requirements to successfully install Virtual Machine using VMware
- Download the VMware workstation player and install it.
- Create VM using VMware player.
- Start installing Windows 11 VM and bypass the error “This PC can’t run Windows 11…”
I have added almost all the screenshots of the Windows 11 VM installation process so anyone can understand it and complete the setup without any problem.
Requirements
- We need to download VMware software called VMware Workstation Player, which is absolutely free to create one virtual machine on your computer.
- You also need a Windows 11 ISO file, If you don’t have this, here is how to get the latest Windows 11 ISO file from Microsoft, and It’s FREE.
See also: Install Windows 11 VM Using VirtualBox
Download VMware Workstation Player
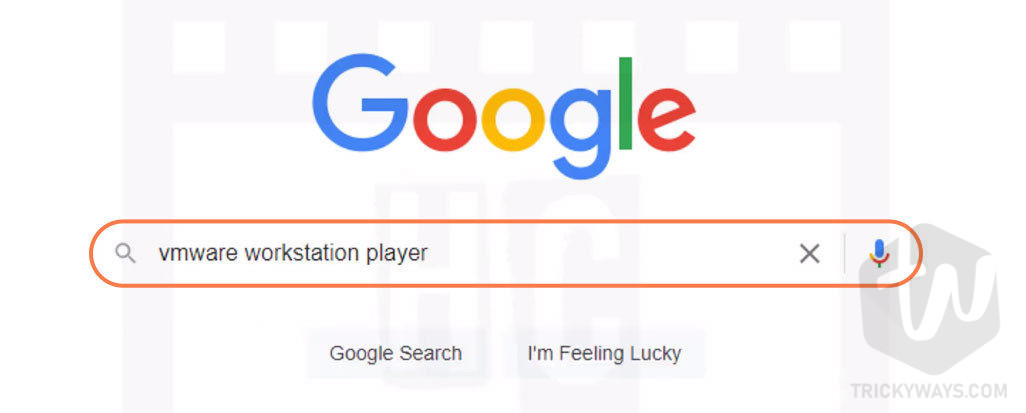
- Search for “VMware workstation player on Google website”

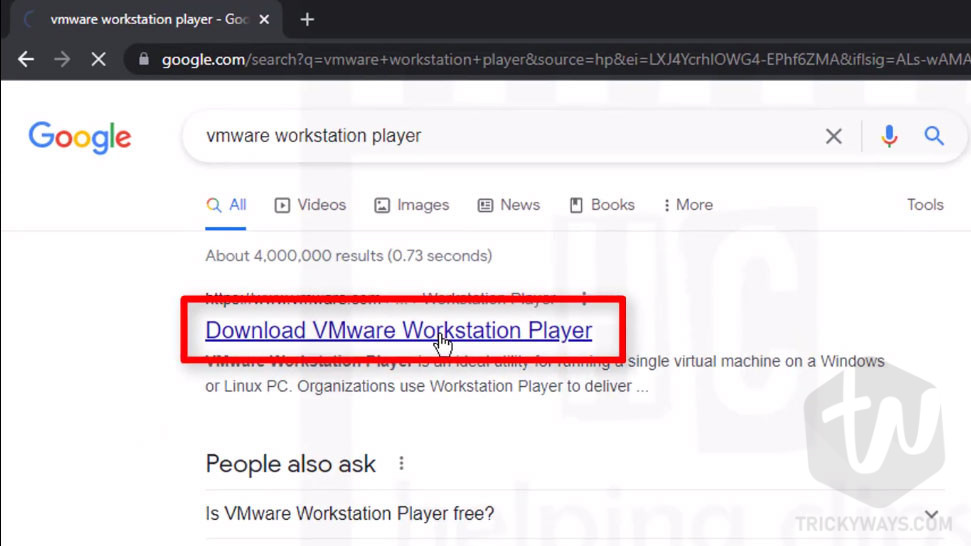
- Open the page “Download VMware Workstation Player” from the Google search results.

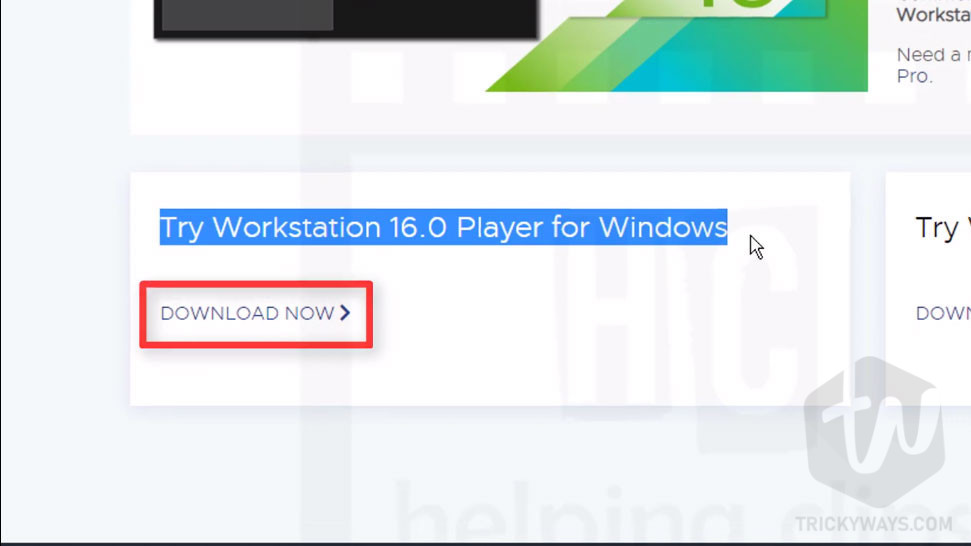
- Once you landed on the VMware website, you need to look for the VMware workstation player and download it.
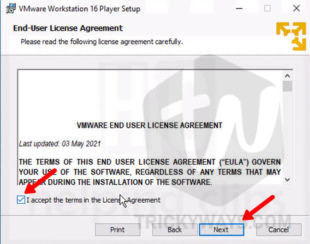
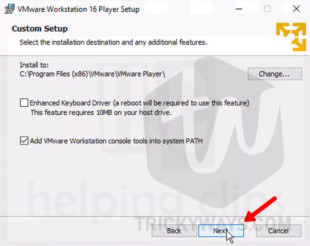
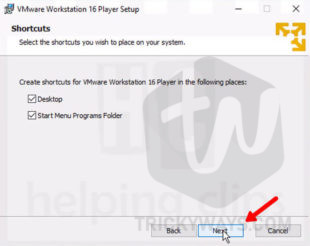
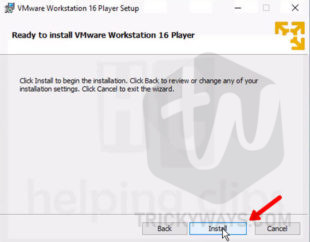
Install VMware Workstation Player
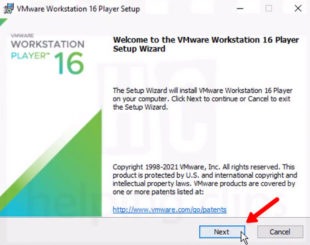
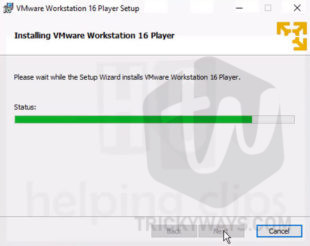
- Once the setup file is downloaded, double click to run the setup and install it on your computer.

- The installation is very basic, Click Next and just follow the on-screen instructions.


Create a VMware Virtual Machine
After installing VMware Workstation Player now, let’s start creating a virtual machine for Windows 11.
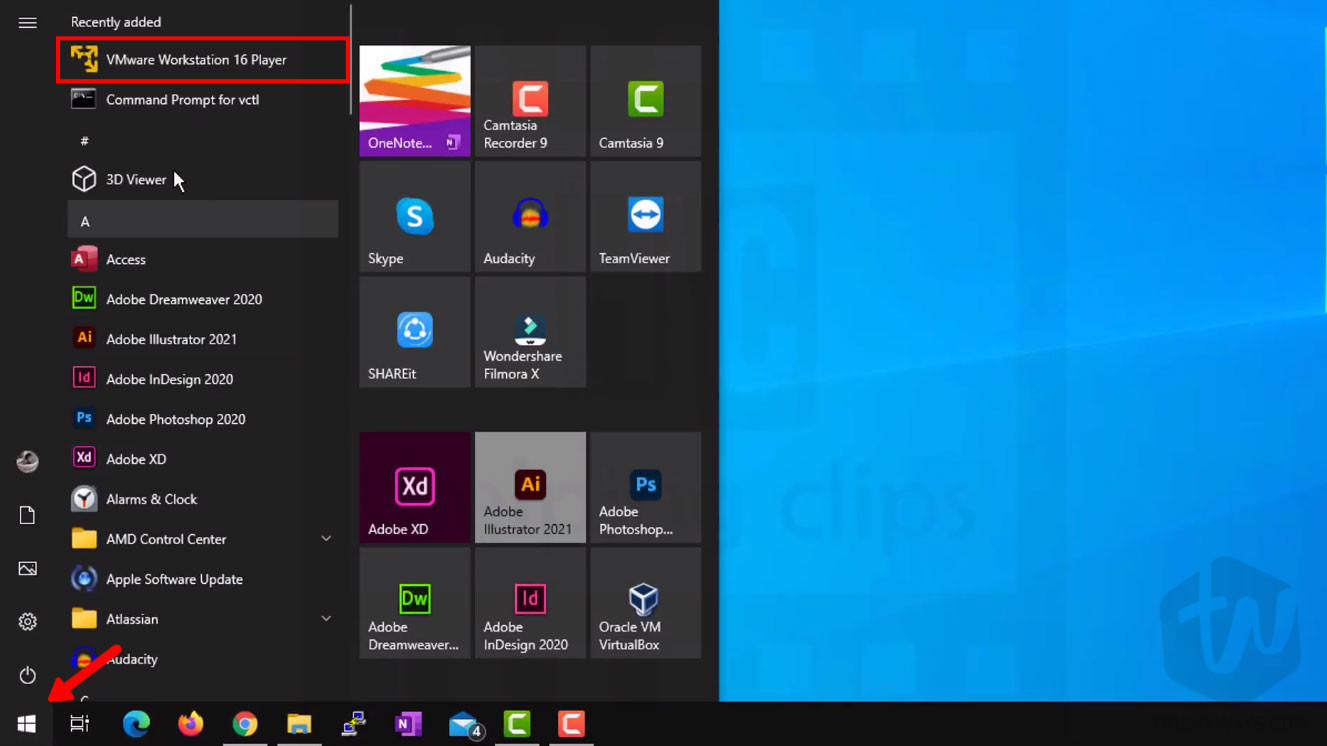
- Run VMware Workstation Player from the Start menu.

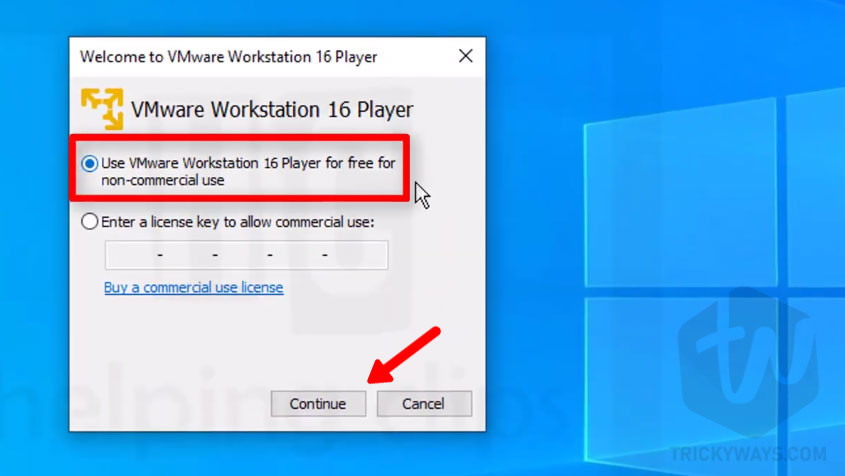
- On startup it will ask you to use as free or commercial use, just select Use as a free non-commercial version and click
Continue.

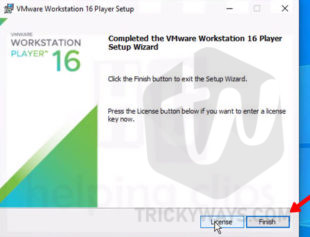
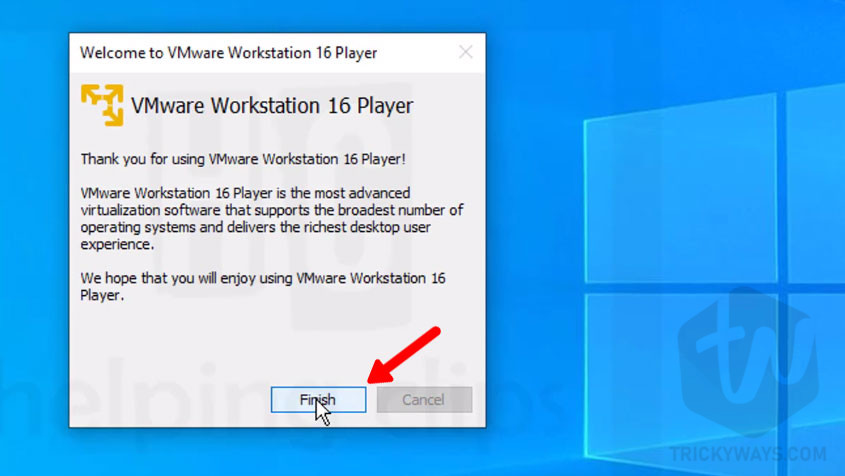
- Next, click the
Finishbutton to see the main screen of the software.
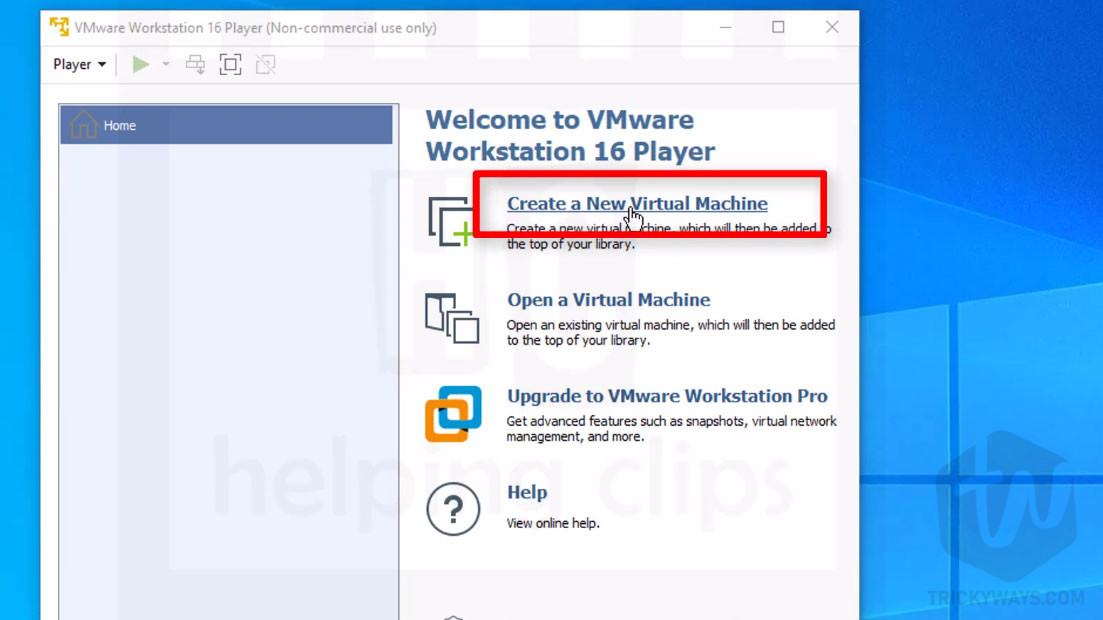
- On the main screen of VMware, click the “Create a New Virtual Machine” option and this will open up a new virtual machine wizard.

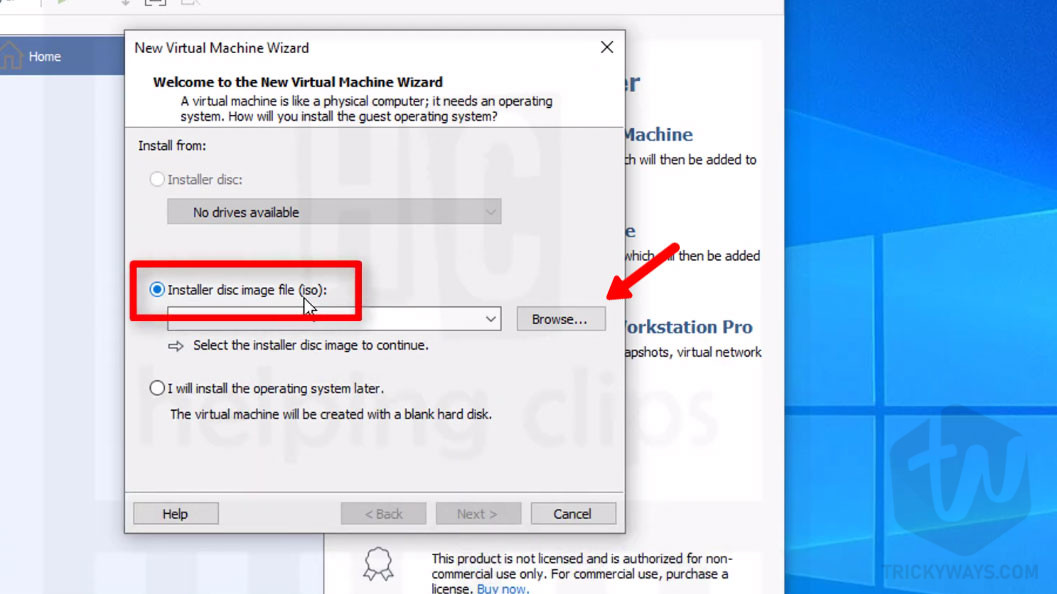
- Here you need to select the ISO file of Windows 11, click the
Browsebutton. Locate the ISO file on your computer and open it. If you don’t have the ISO file please see the Requirements section above.

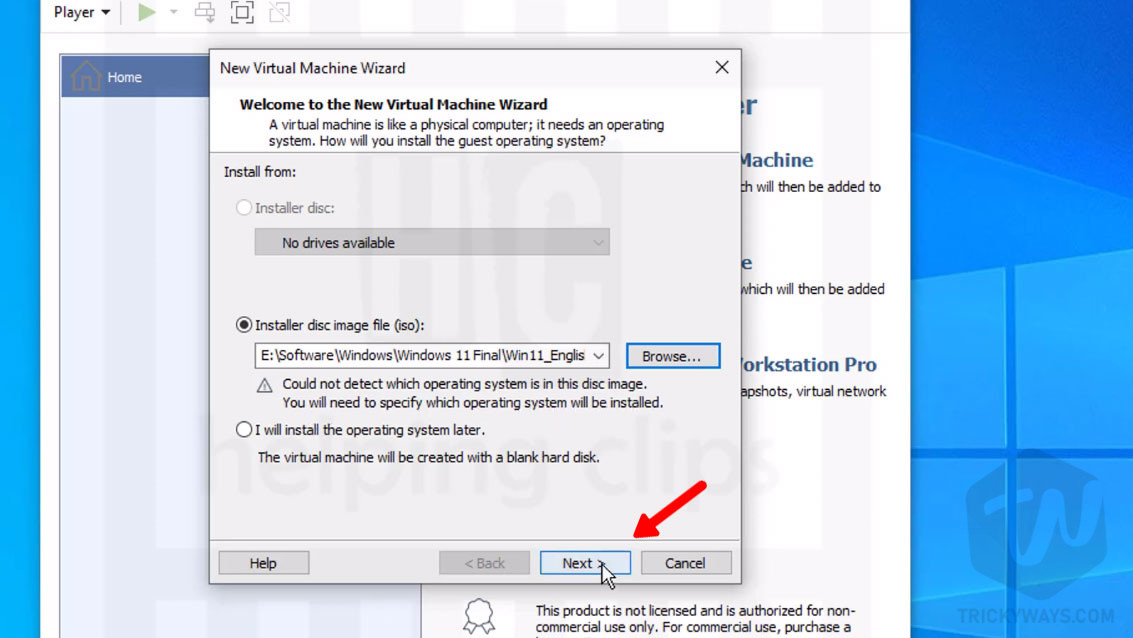
- After selecting the ISO file, click the
Nextbutton to continue.

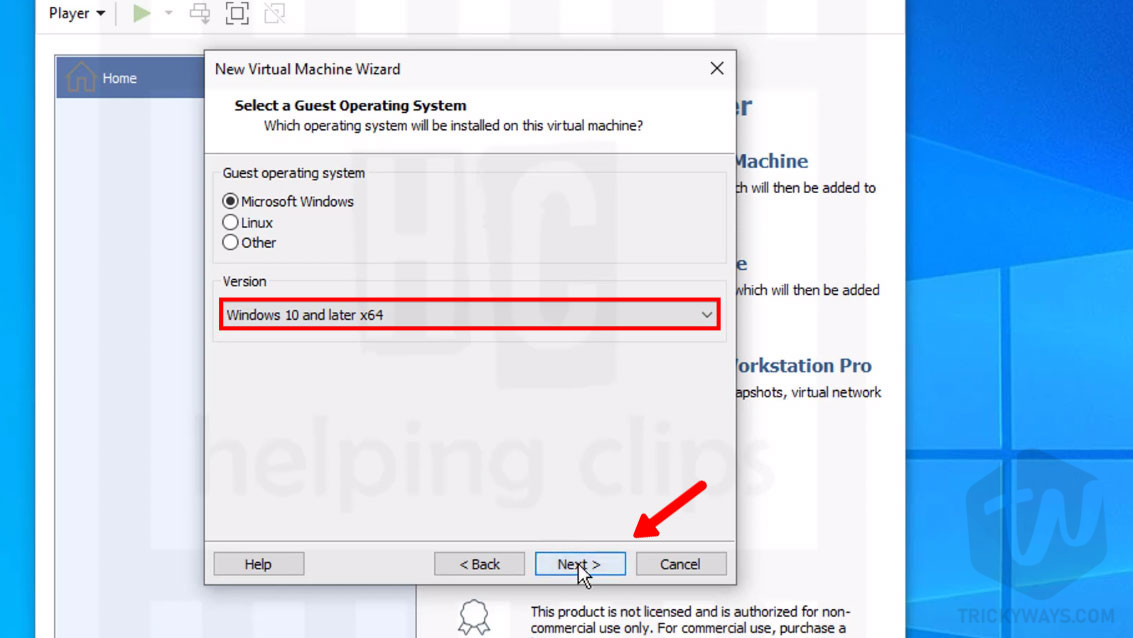
- Now, select Guest operating system: Microsoft Windows.
Version: Windows 10 and later x64 and click Next.
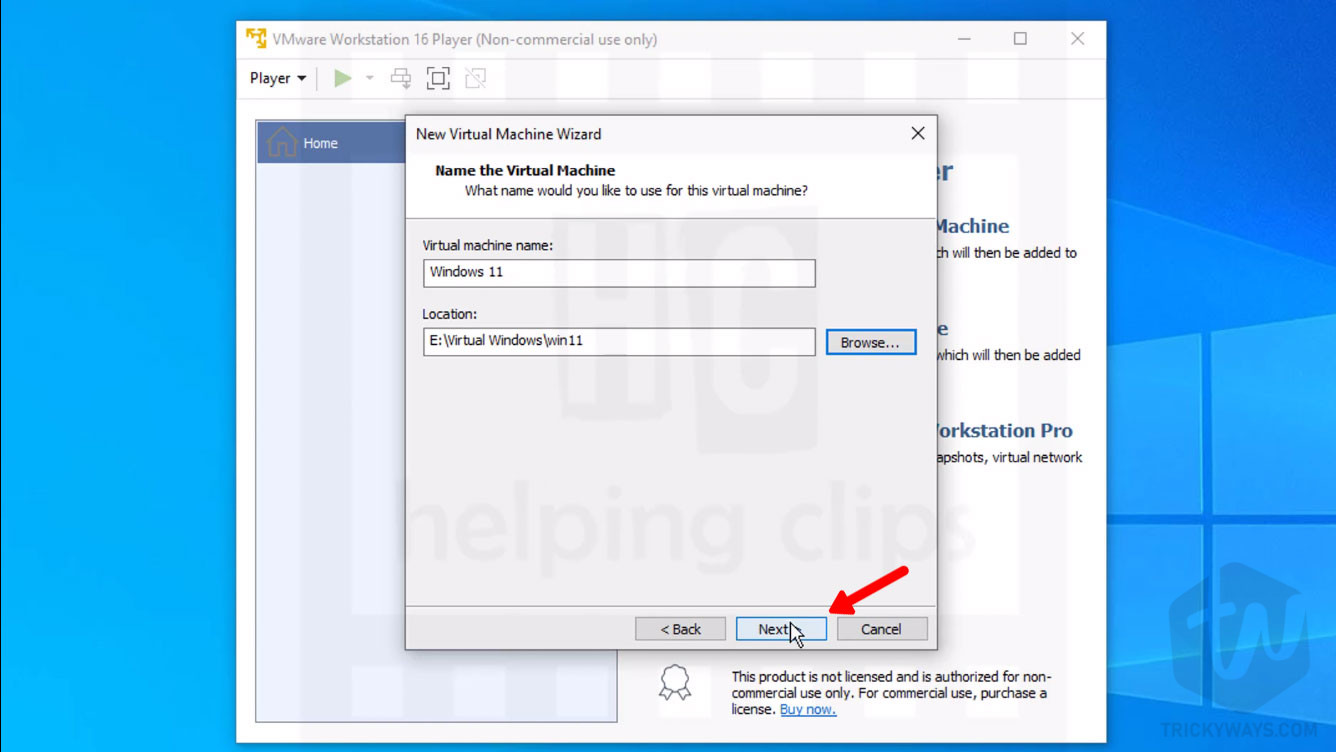
NOTE: While I was writing the guide, Windows 11 option wasn’t available in the Version drop-down, so I selected Windows 10 and later X64 option. In the future, they might add Windows 11 to the list. If you found that then select Windows 11 as version - Type the Virtual Machine Name like
Windows 11and then click theBrowsebutton to choose a location to save the Virtual Machine disk file. Once done clickNextto continue.

Once done, click theNextbutton.
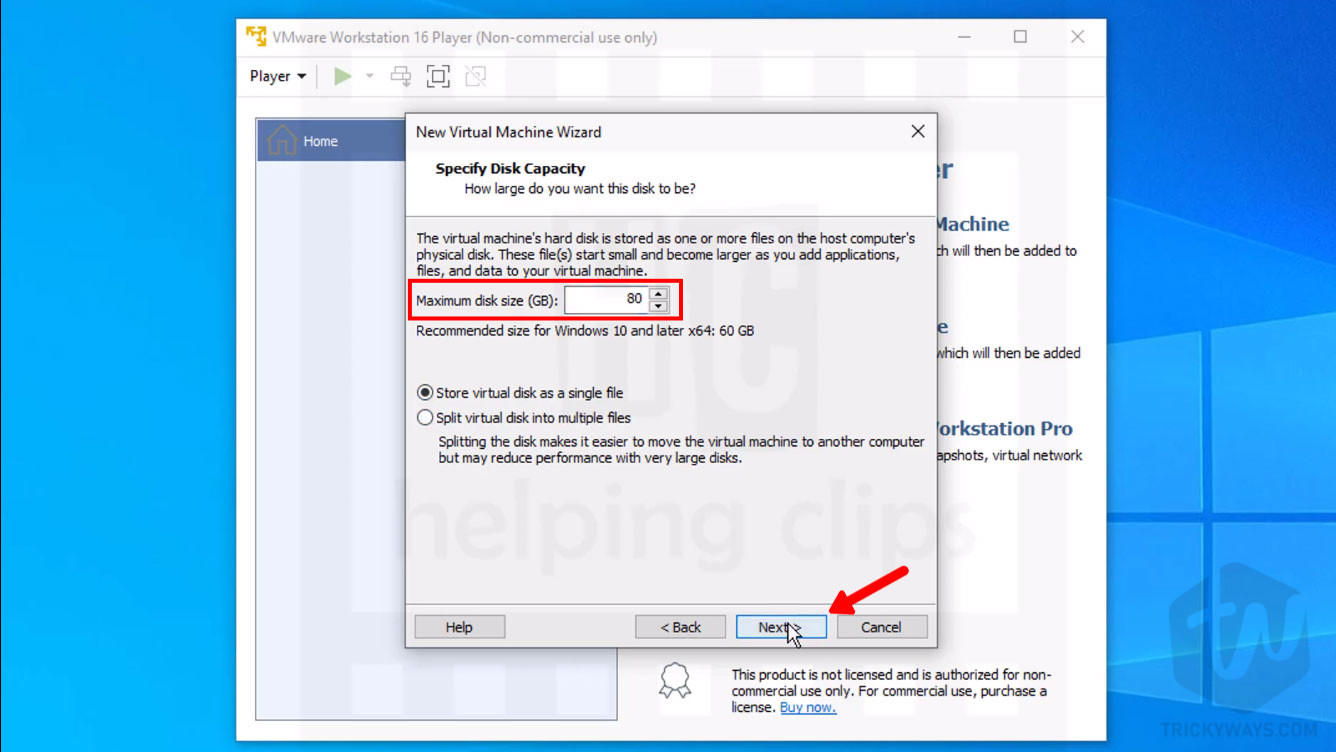
- In the Maximum disk size text box, enter at least
80GBwhich is the requirement for Windows 11. Select Store virtual disk as a single file and clickNext.
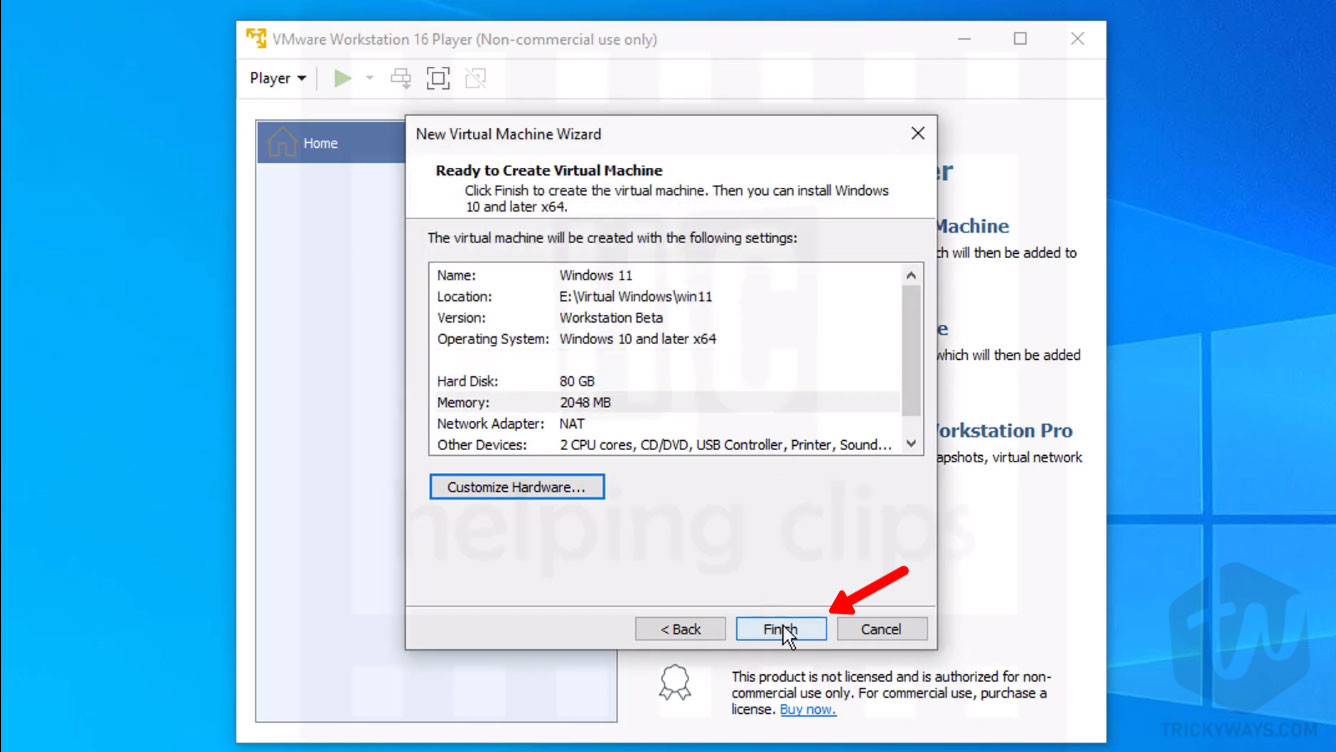
Note: you can select the Split virtual disk into multiple files option but this will reduce the performance. - Click the
Finishbutton to complete the wizard.
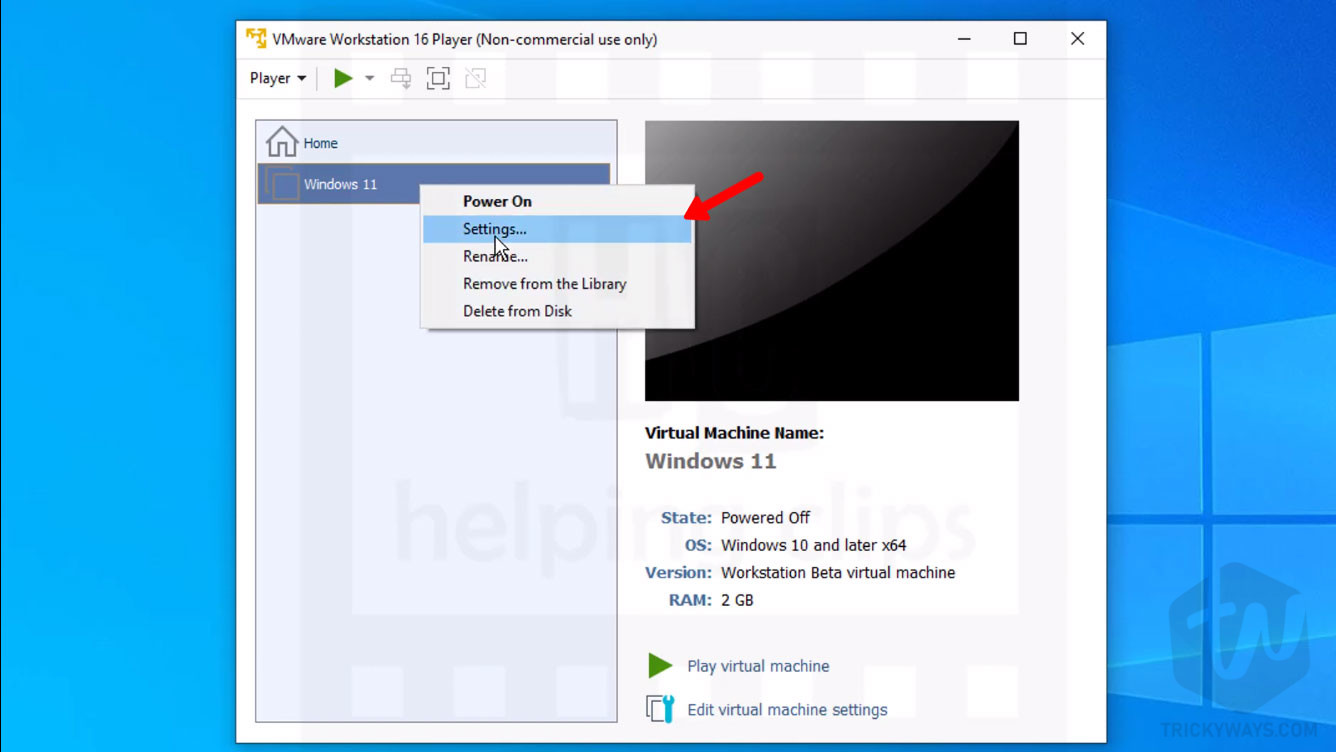
- Next, you need to make sure we have the correct values for the VM hardware. So, right-click on the Windows 11 VM and select the
Settingsoption.
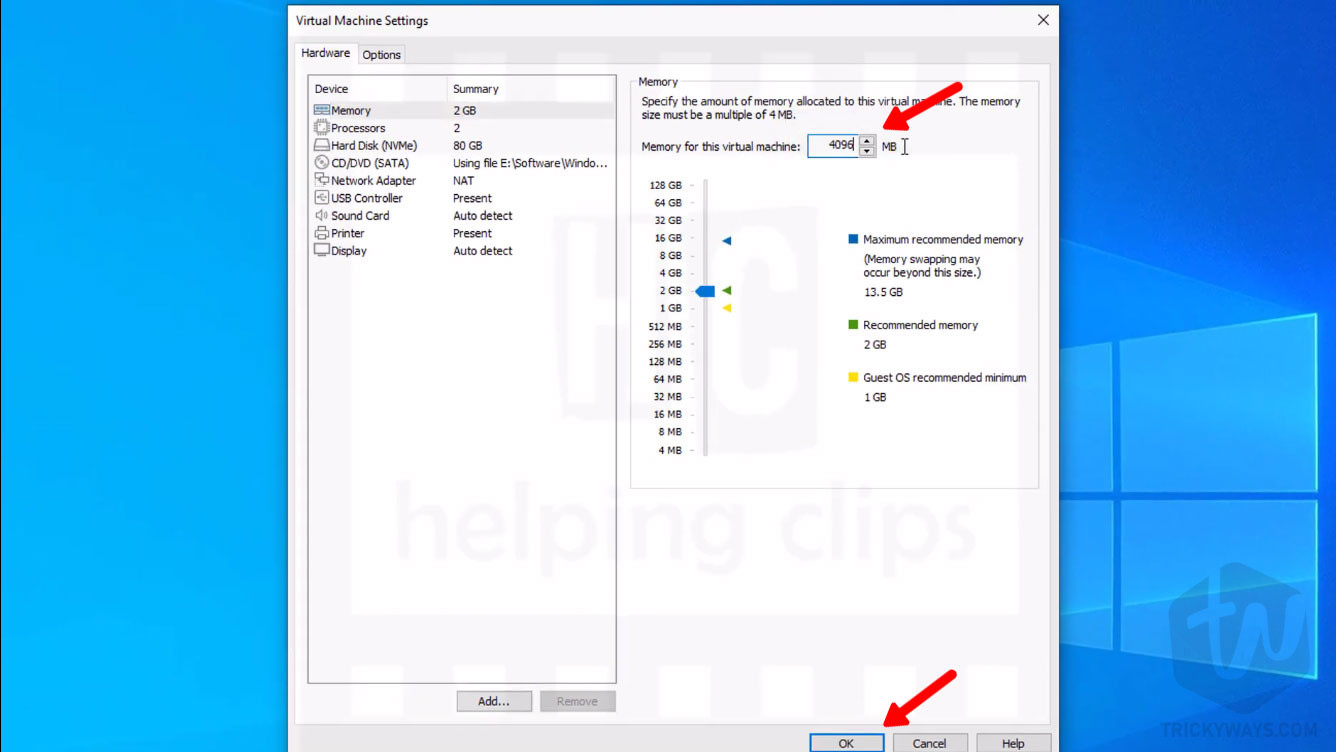
- Select the Memory option from the left panel and then make sure you have
4096MB as a memory for the virtual machine. ClickOKto save the settings.

Installing Windows 11 Virtual Machine
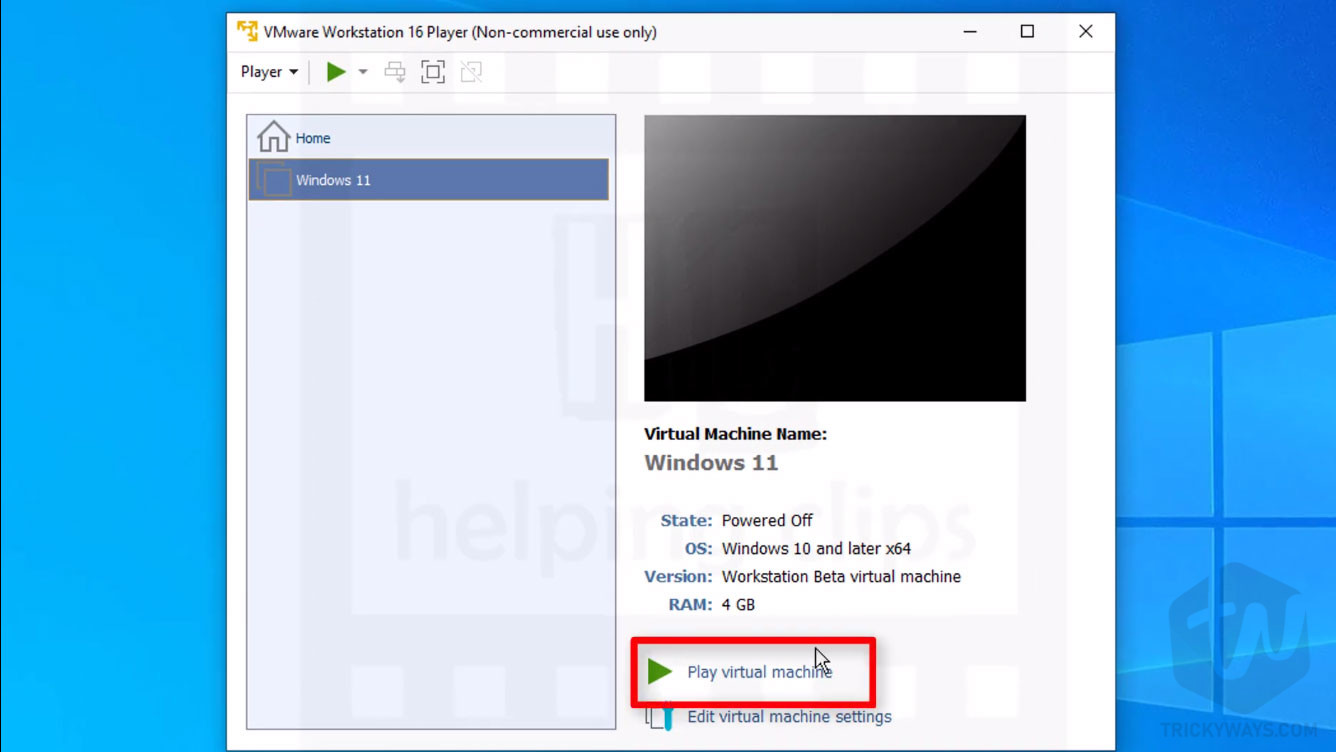
- From the VMware, home screen select the Windows 11 VM you just created and click the
Play Virtual Machineoption as you can see below.
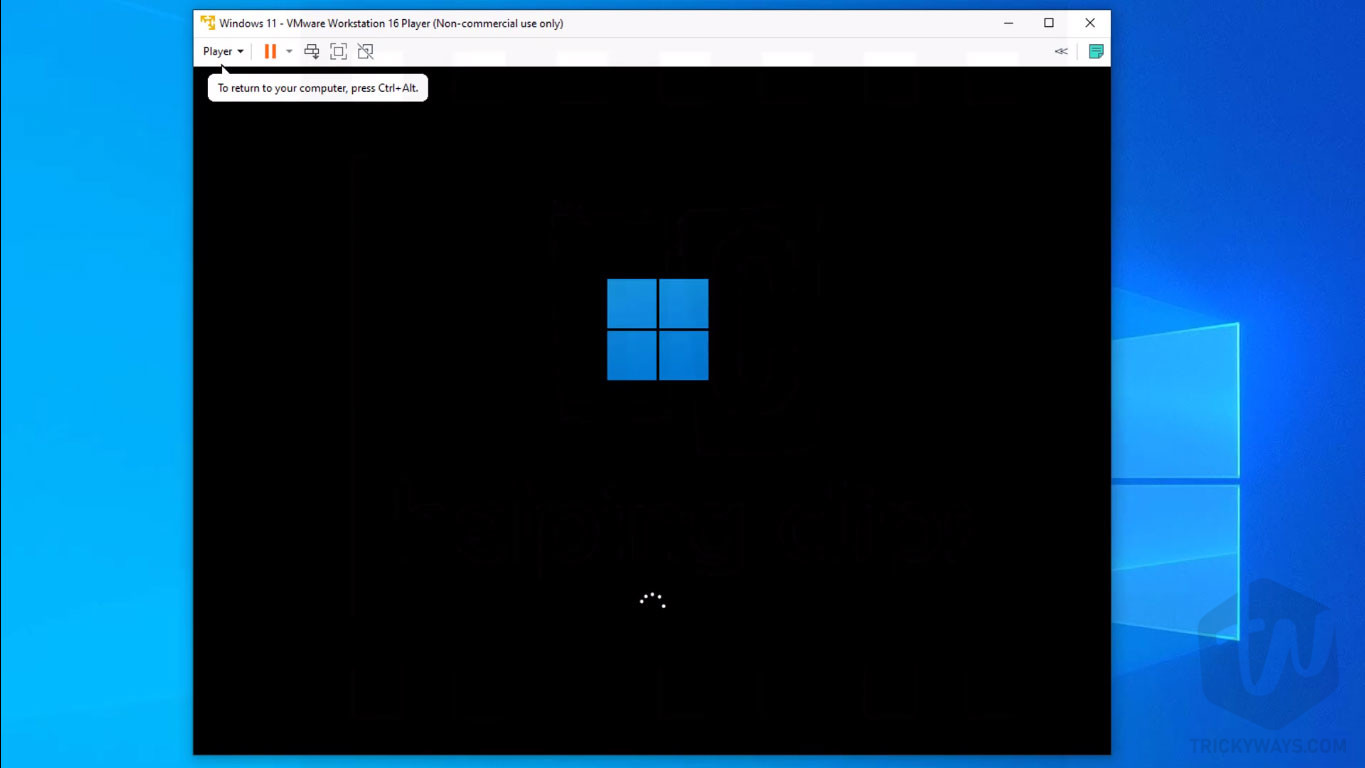
- Next, when you see a message like this just press any key from the keyboard to start the Windows 11 setup.

NOTE: Running Windows 11 setup will not disturb you actually installed Windows on the computer. Everything you do in the virtual machine remains in the VM. - Windows logo shows that setup is running now.

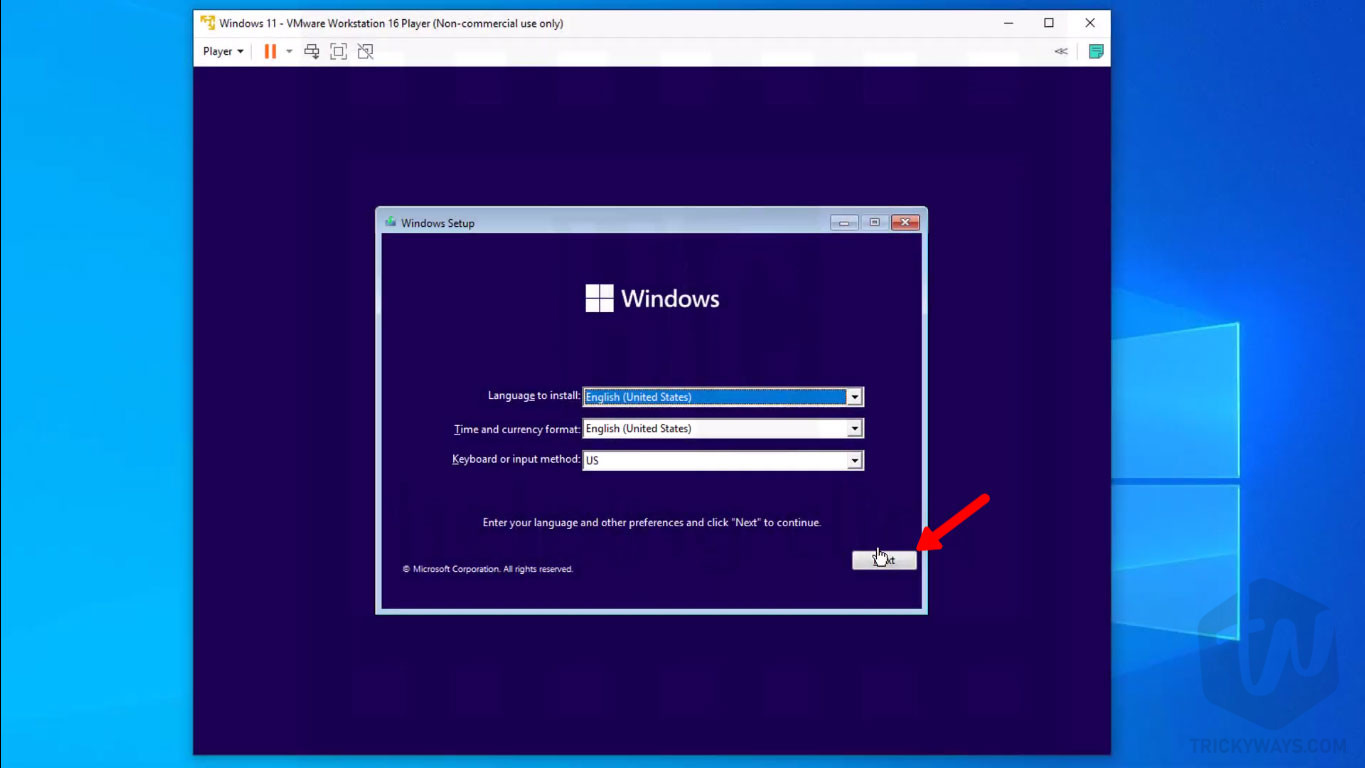
- On the first screen of Windows setup, select the language and other information and click
Next.
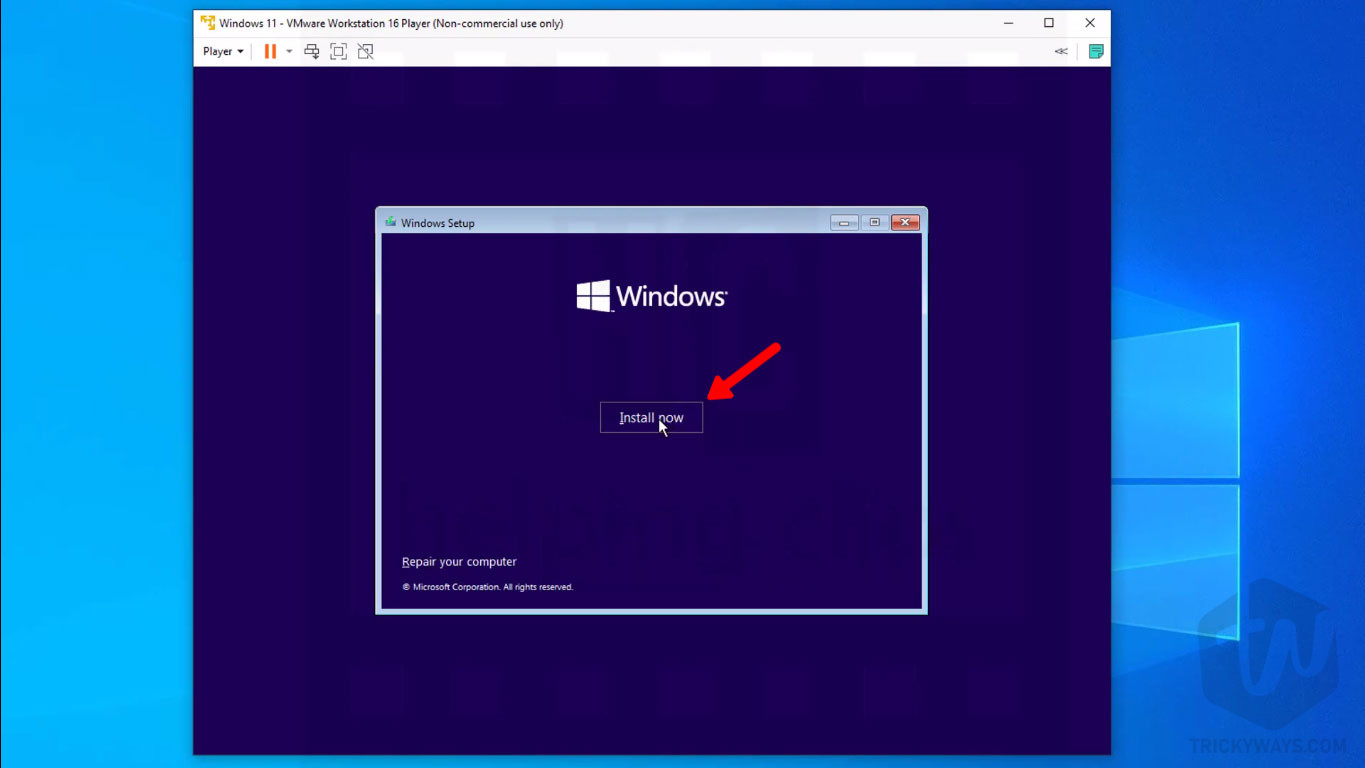
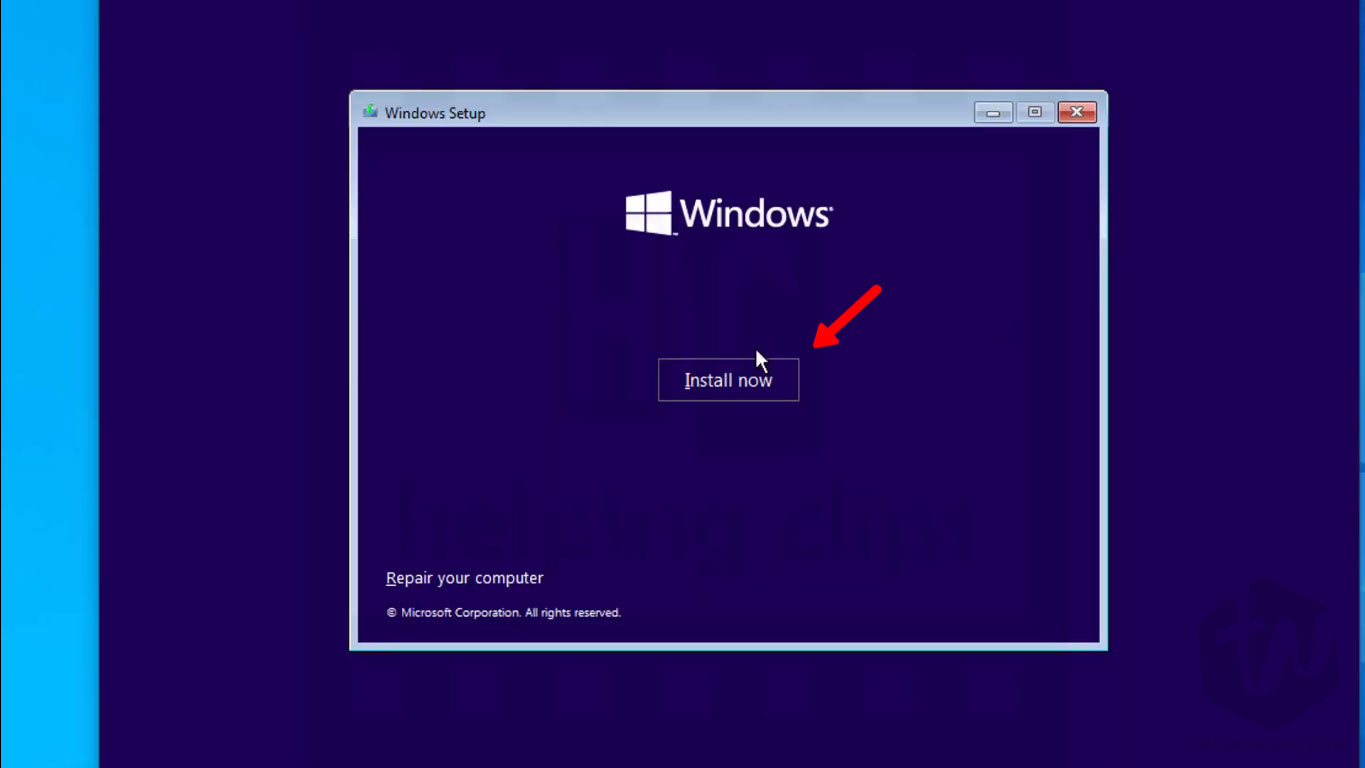
- Click
Install Nowbutton.
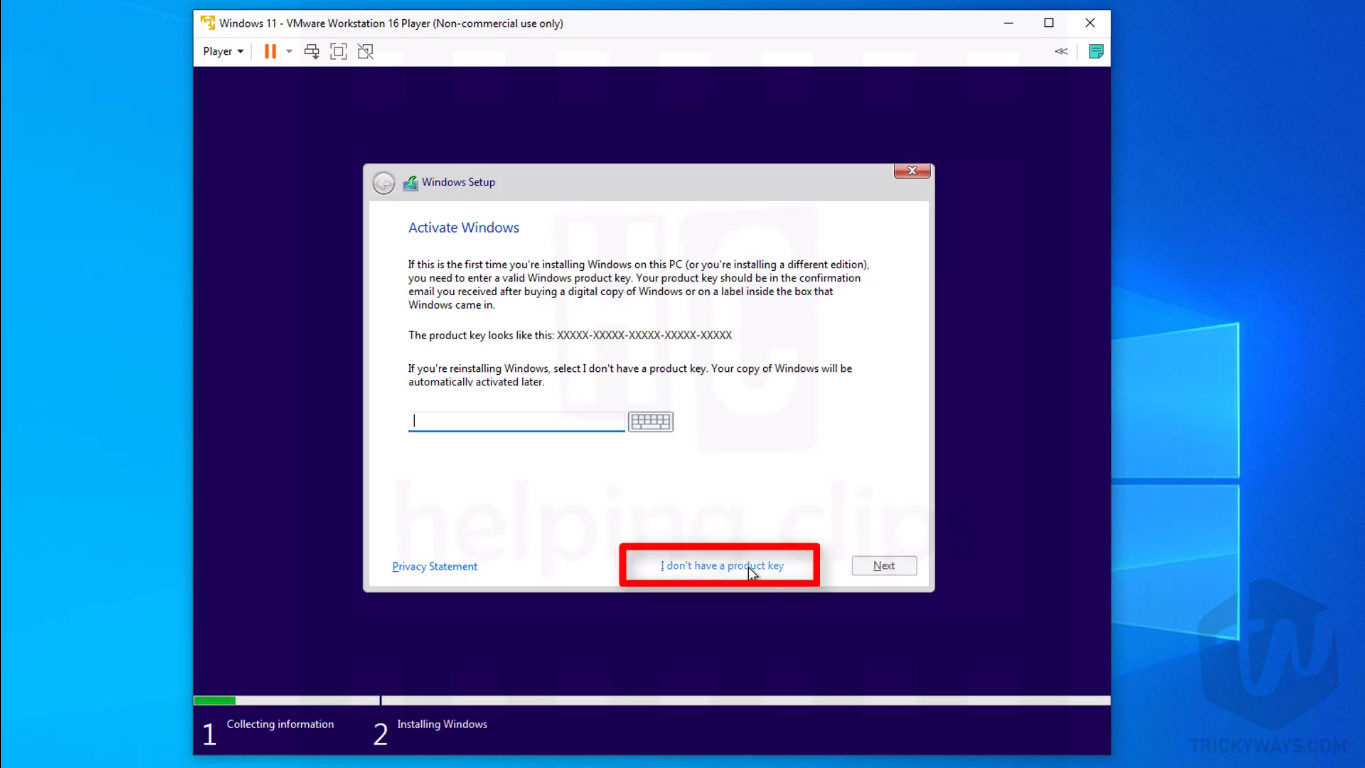
- Click
I don't have a product keyoption.
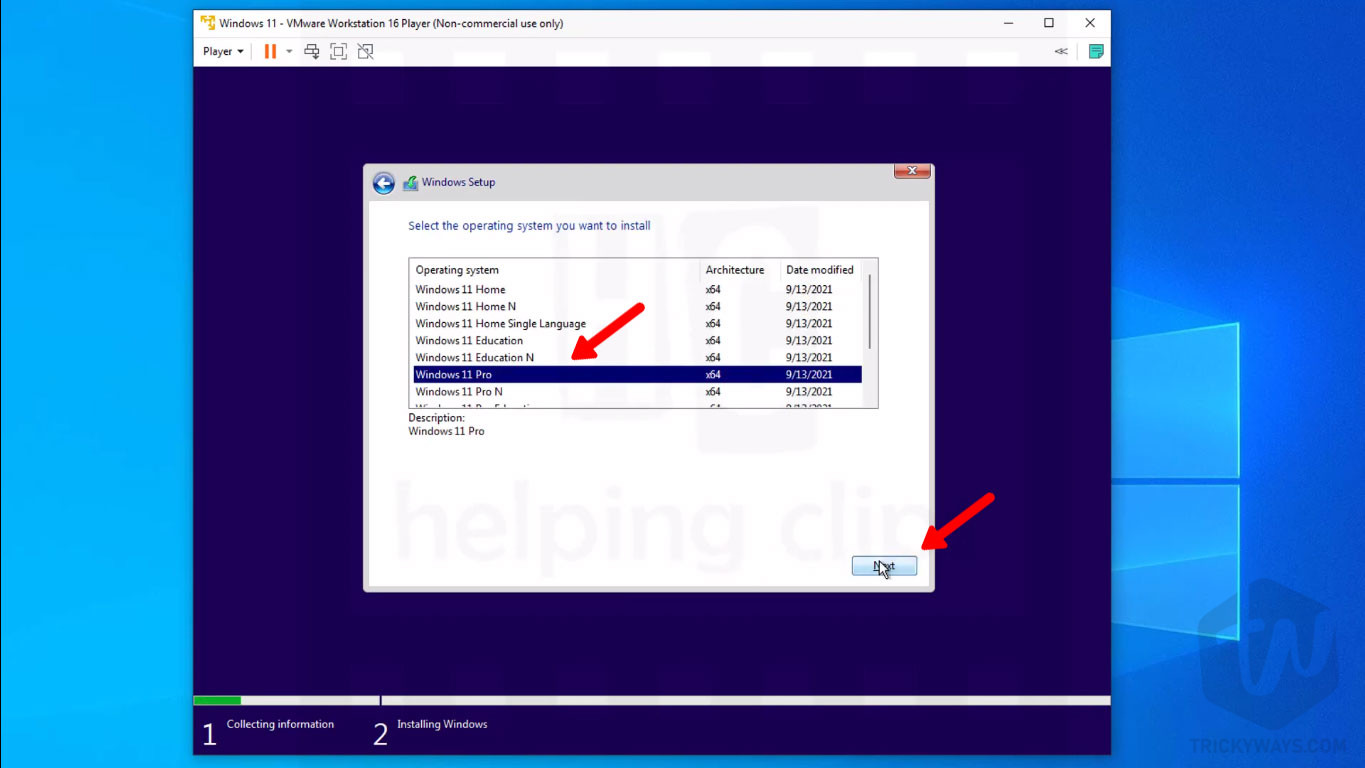
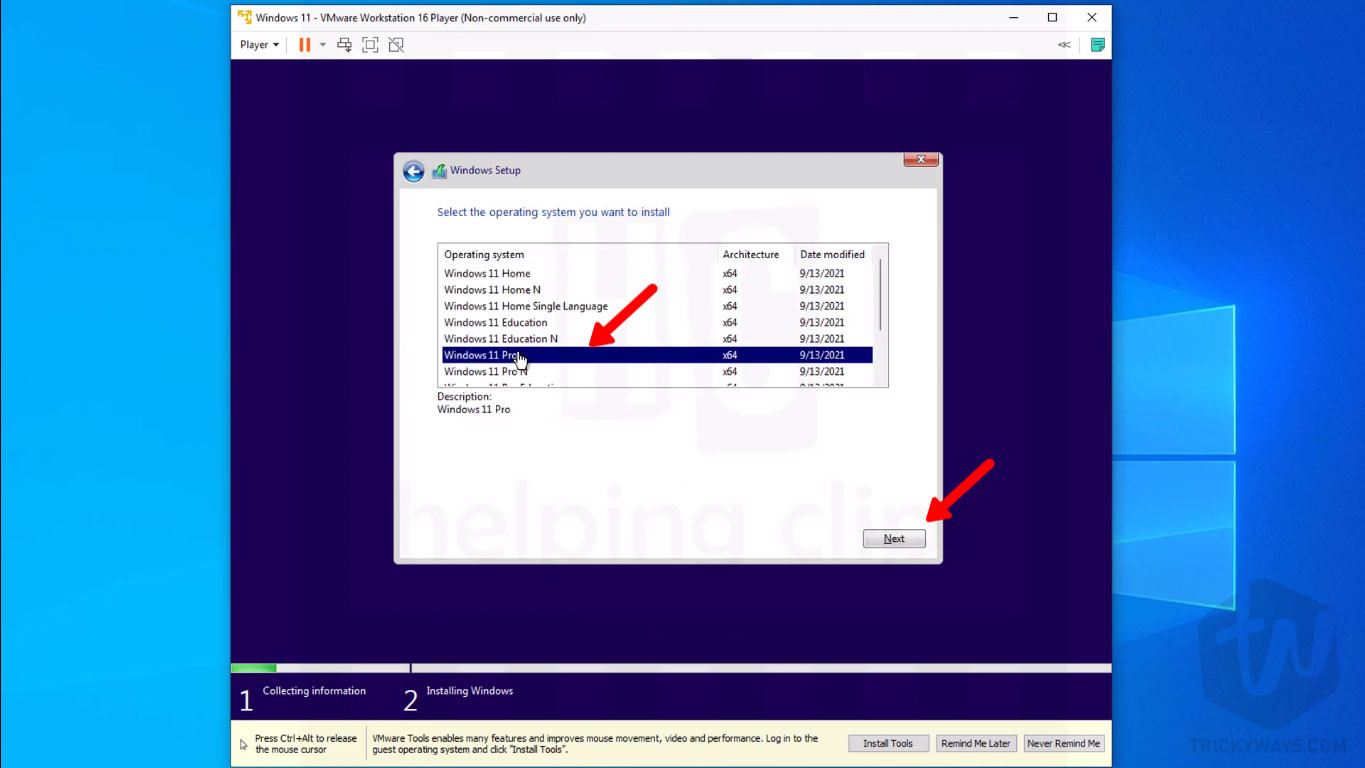
- Select the Operating system Windows 11 Pro and click
Next.
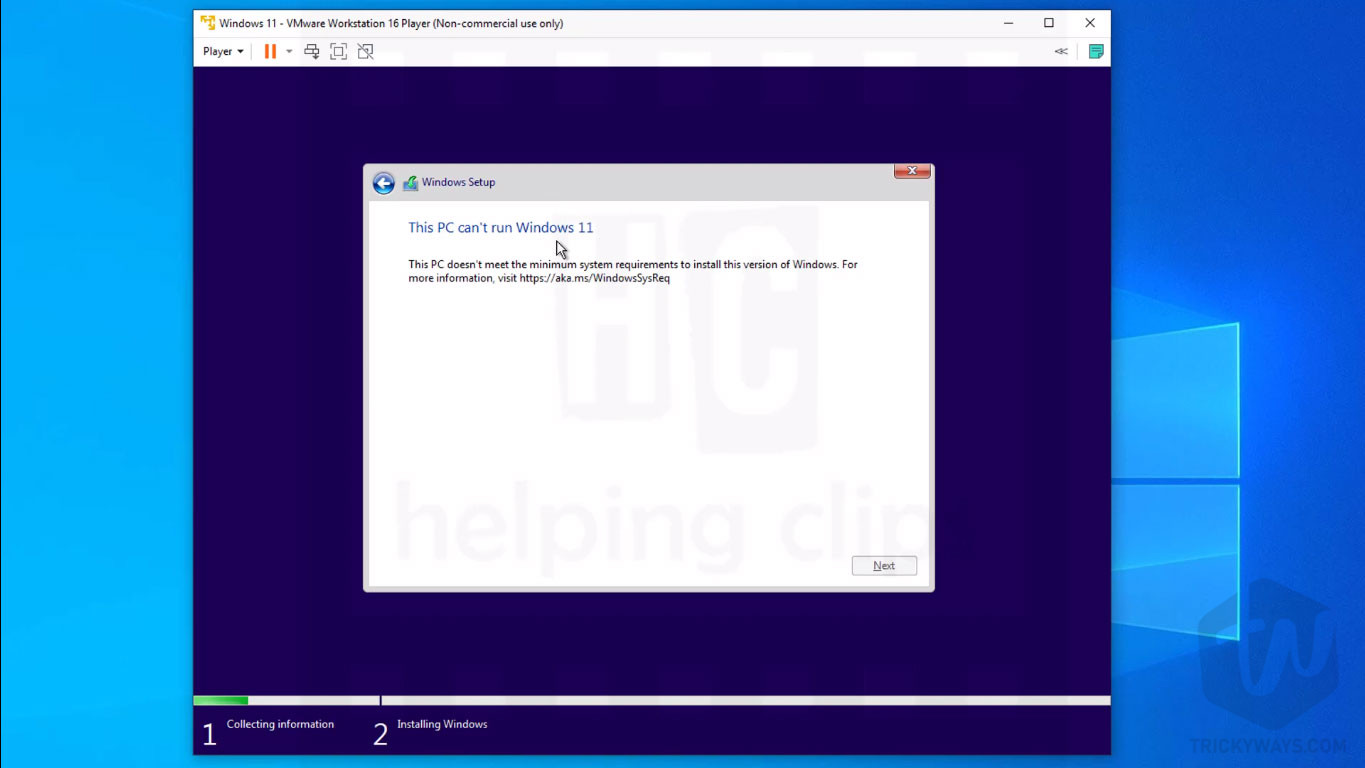
- As you can see I was gettings this error “This PC can’t run Windows 11” this PC doesn’t meet the minimum system requirements to install this version of Windows… To fix this error continue to the next step.
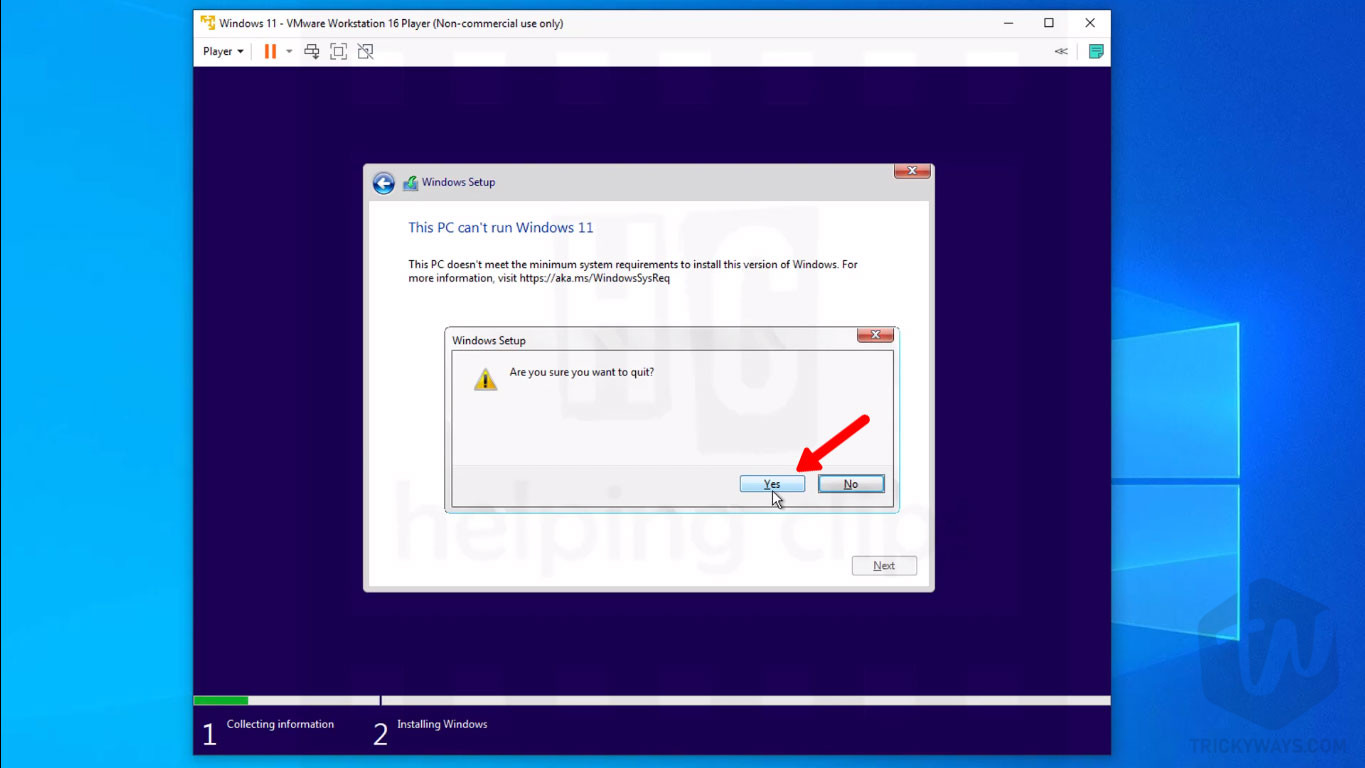
- Click the cross button to close this error window and click
Yesto quit it.
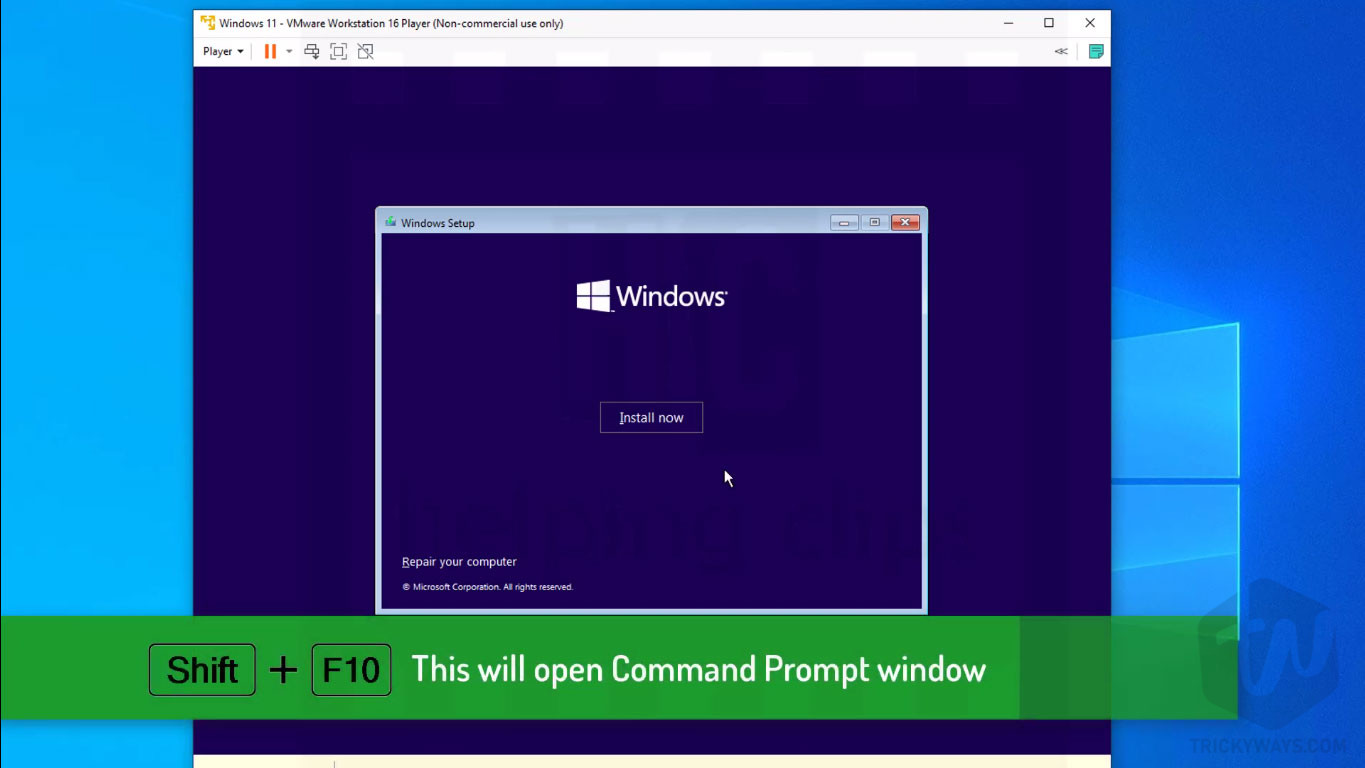
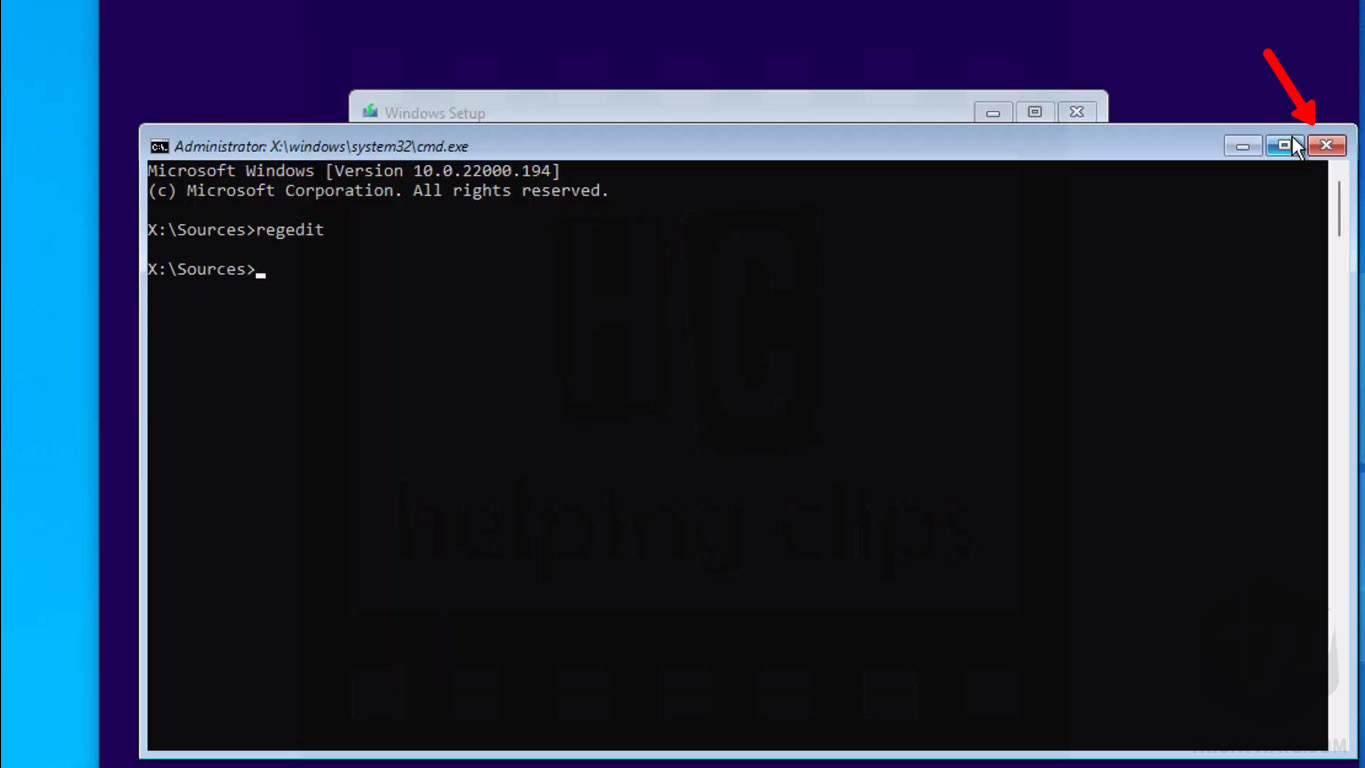
- This will take you to the first screen of the Windows setup. Now, we need to modify the setup registry to bypass this error. Press the
SHIFT + F10keyboard shortcut to open Command Prompt.
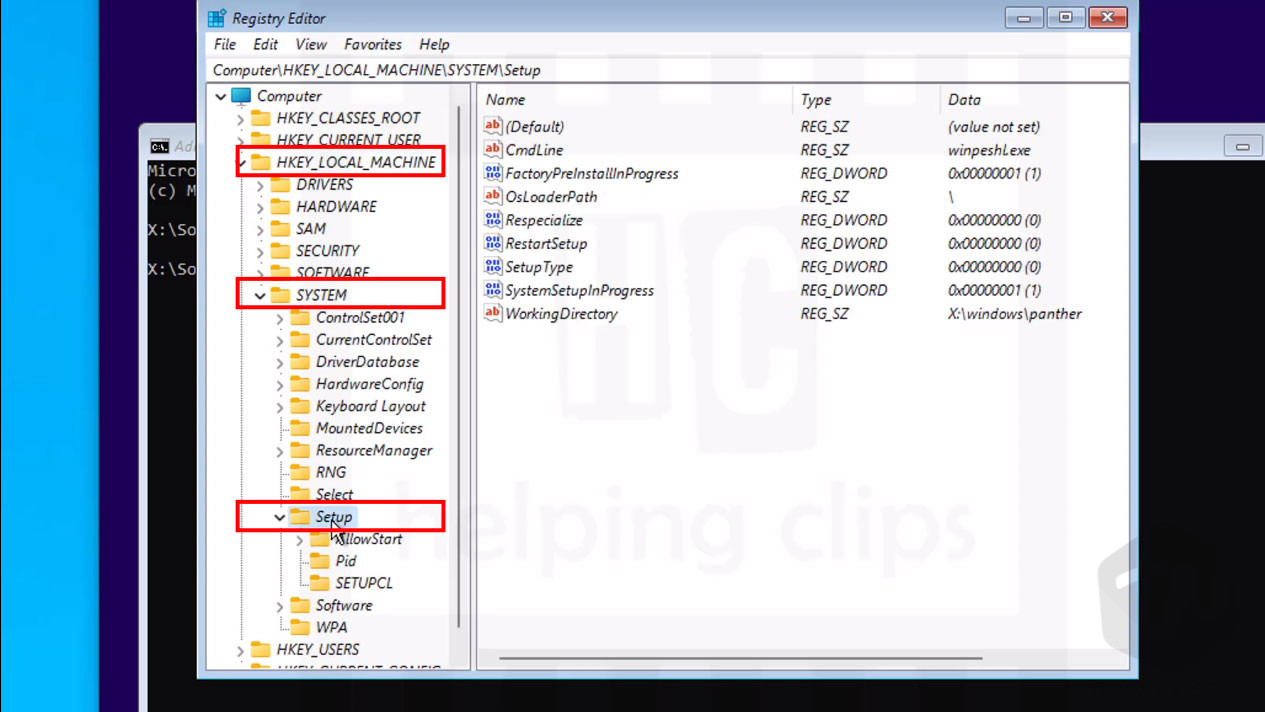
- In the Command Prompt window type
regeditand hit enter. This will open up the Windows Registry Editor. Remember, this registry is separate from the real Windows on the computer, so don’t worry about making changes to it.

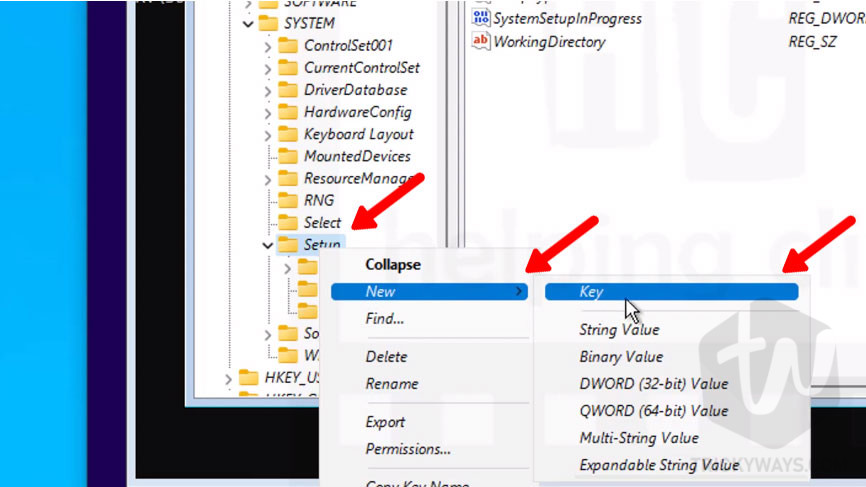
- In the Registry Editor navigate to
HKEY_LOCATION_MACHINE > SYSTEM > Setup

- Right-click on the Setup folder and create a new Key

- Type
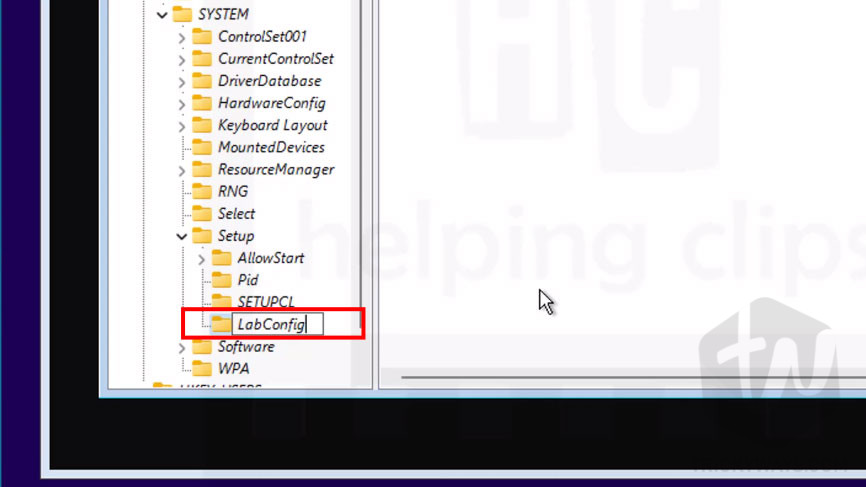
LabConfigname of the key and hit enter. You must follow the lower and upper case letters in the name.
- Now, select the LabConfig key you just created and right-click on the right side, and create a new
DWORD (32-bit) Value.

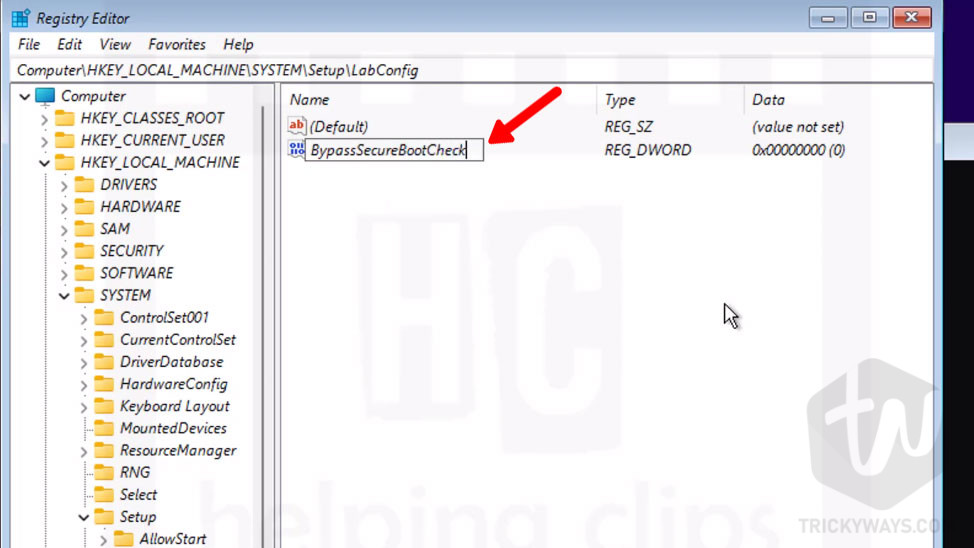
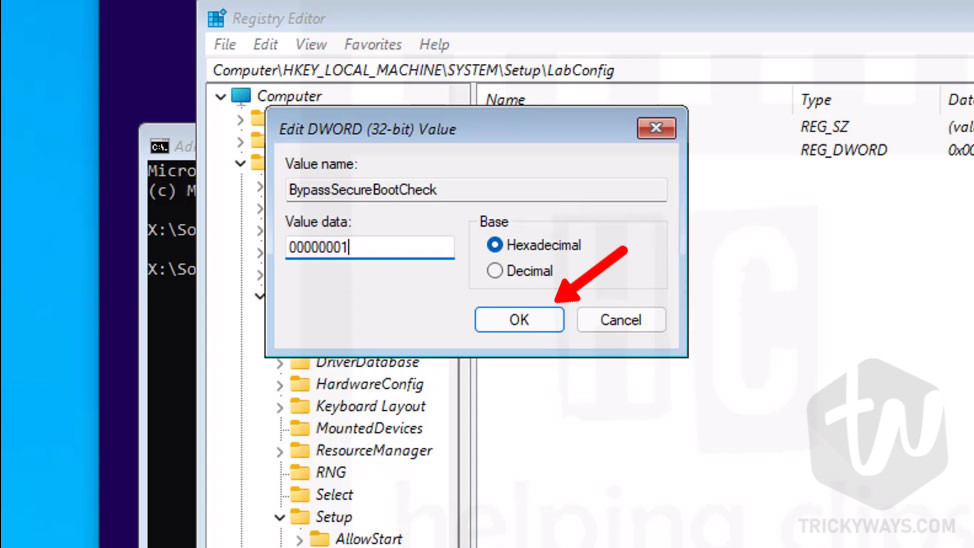
- Type
BypassSecureBootCheckand hit enter, you must type the lower and upper case letters exactly as you see below.

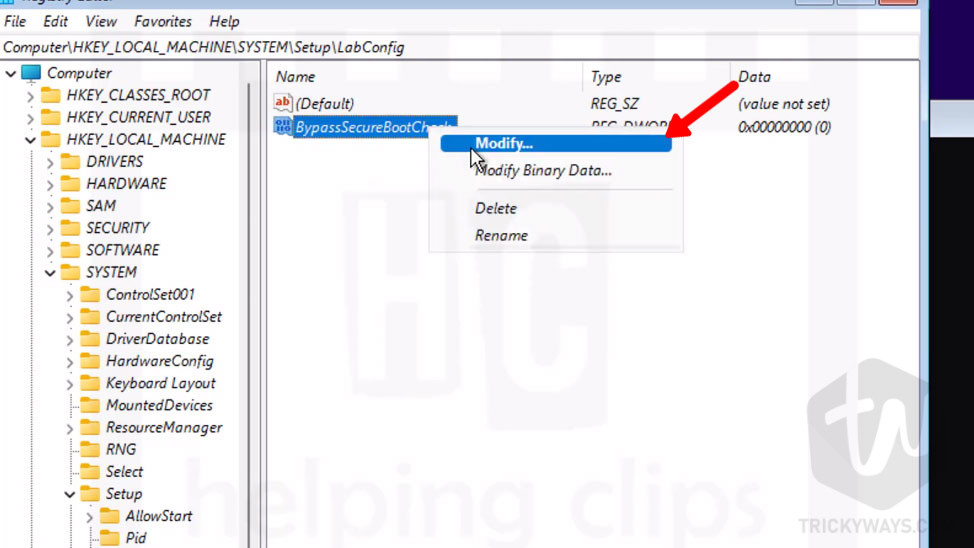
- Right-click on it and select Modify.
- Enter
00000001in the Value data text box and hit OK to save it.
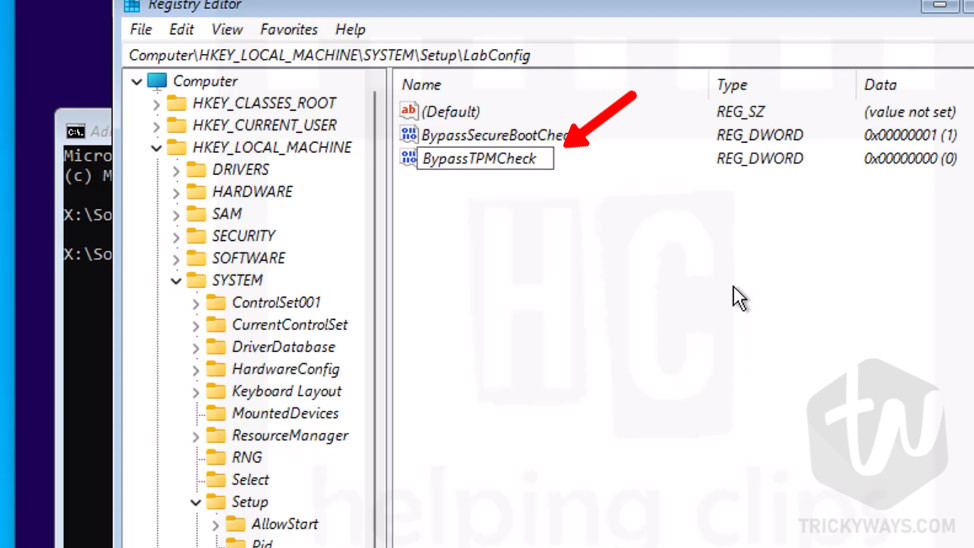
- Create another
DWORD (32-bit) Valuewith the nameBypassTPMCheckand hit enter
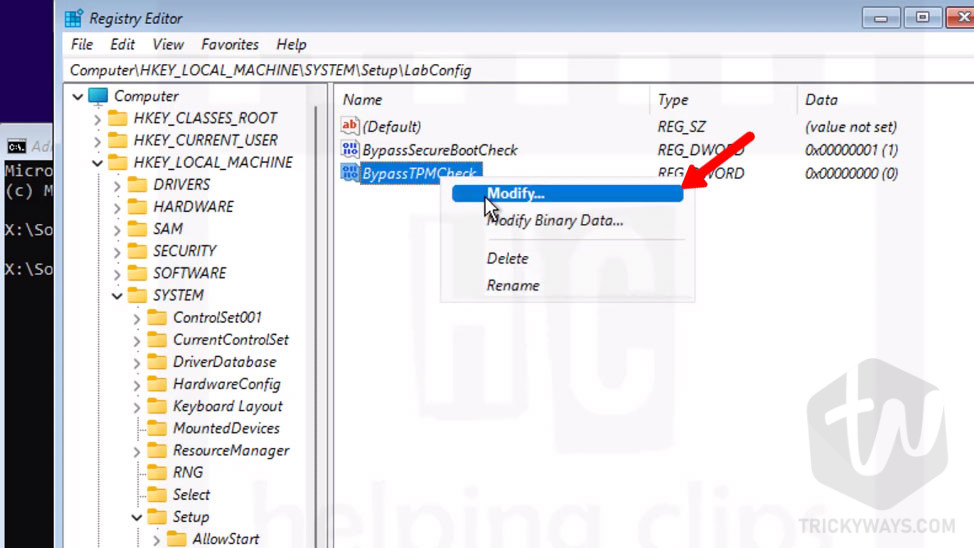
- Right-click on it and select Modify.
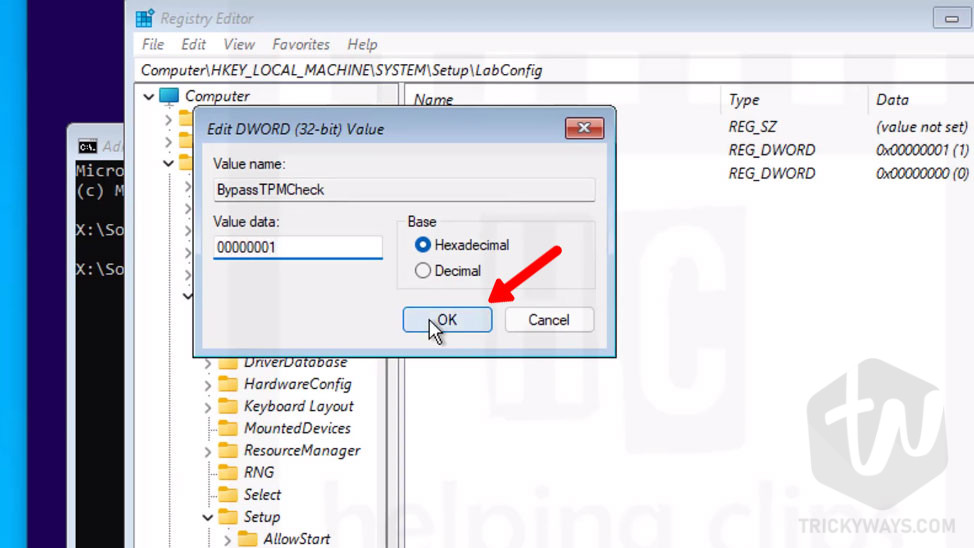
- Enter
00000001and hit OK
- That’s it, just close the Registry Editor, close the command prompt windows and you will be on the Install Now screen.
- Click the Install Now button.
- Click I don’t have a product key.
- Select the Operating System form the list and click Next.
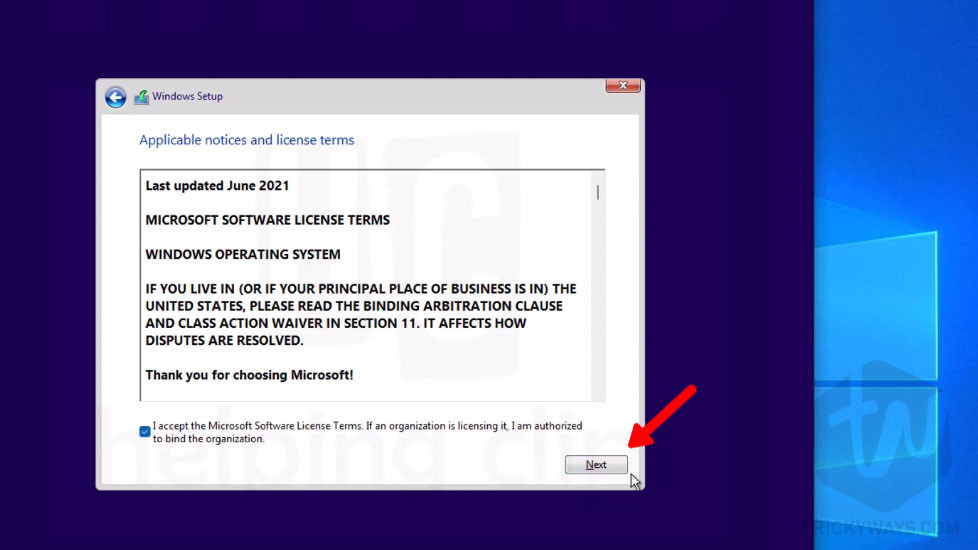
- This time you will not get an error “This PC can’t run windows 11”, select the “I accept the Microsoft Software License Terms…” checkbox and click Next.

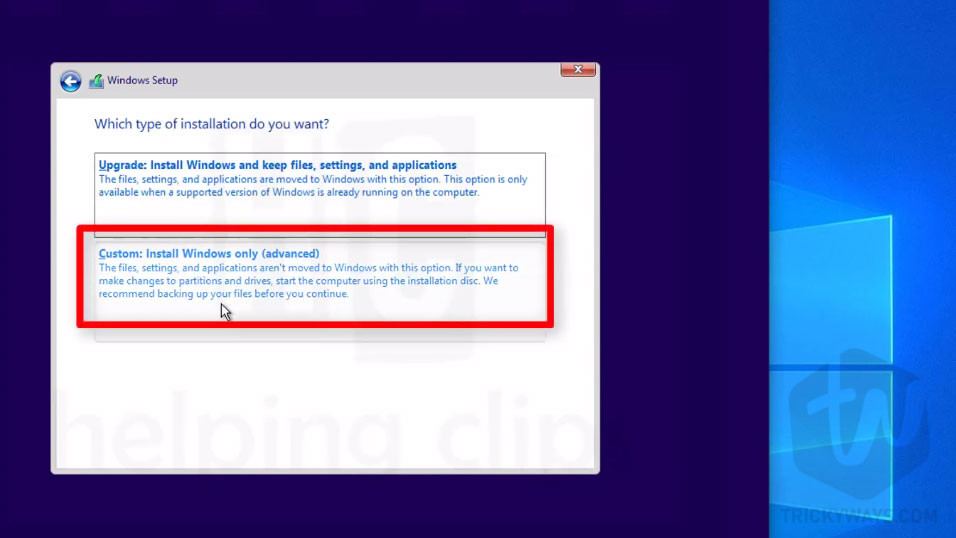
- Select the “Custom: Install Windows only (advanced)” option

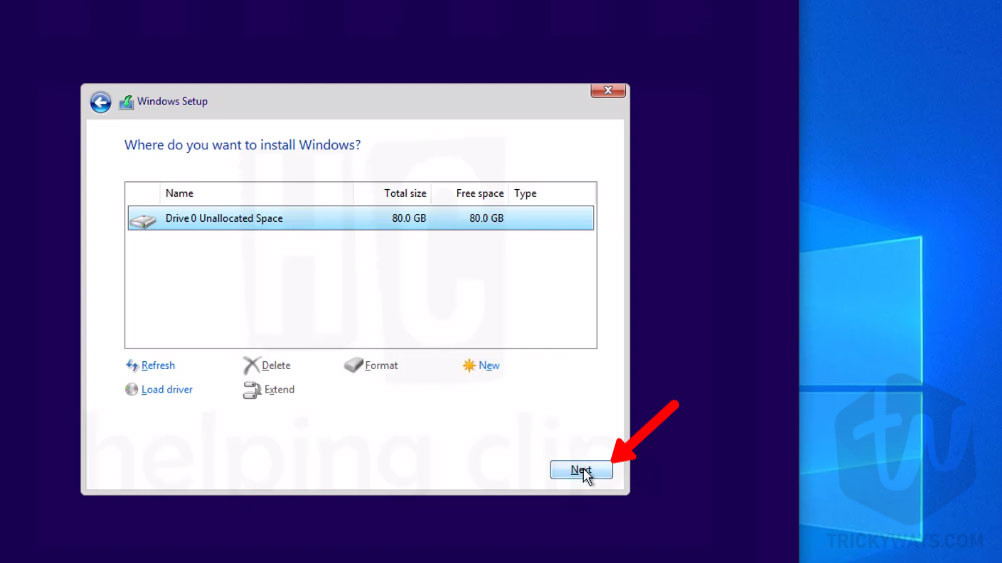
- Click Next on
Where do you want to install Windows?screen

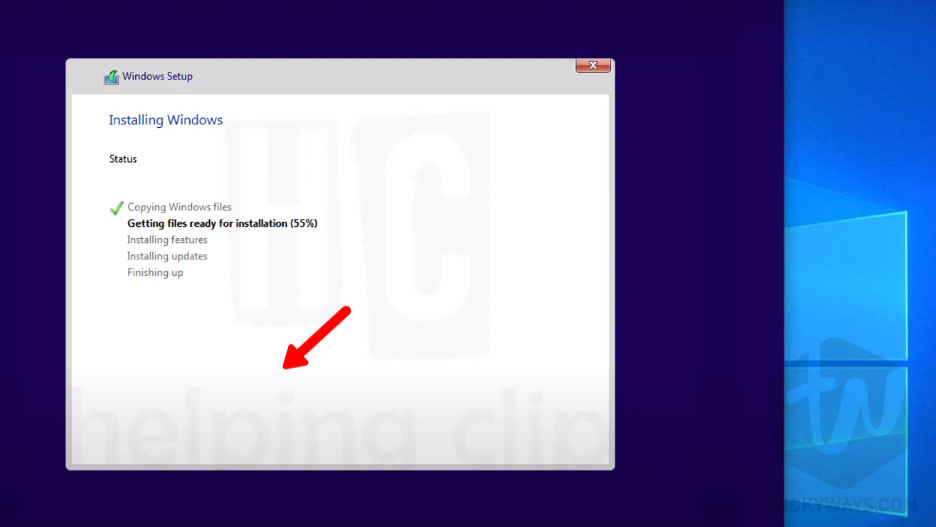
- It will start installing the Windows 11 as virtual machine.

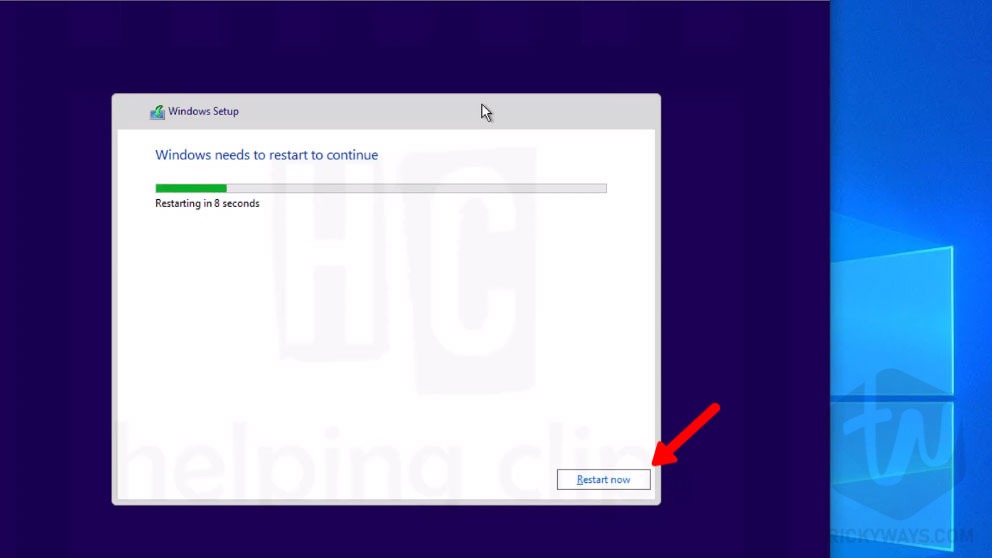
- It will ask you to restart to continue so click the Restart Now button.

- After restarting, it will start the initial Windows 11 setup where you need to enter the basic settings for Windows and user profile like your language, user account, and more. So, just follow the on-screen instructions to complete it.
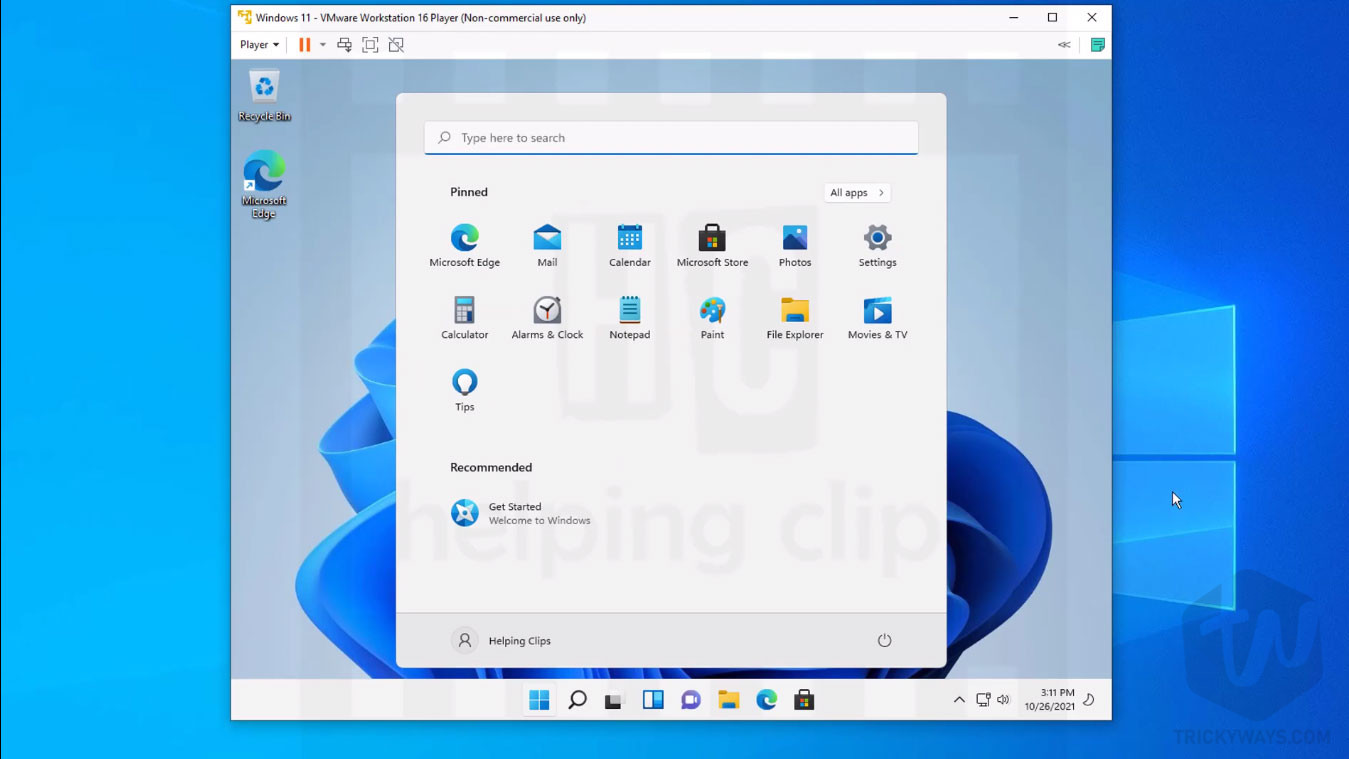
- Once you complete the initial setup, you will be landed on the Windows 11 desktop.


Was that helpful?
This method of creating a Windows 11 VM is tested and working without any problem. Share your experience leave a comment below. If you still having any issue installing Windows 11 Virtual Machine please use the comment form below to leave a message, we will be happy to answer it.
Thanks man