Sometimes you need to find your computer’s name and luckily finding a computer name is not hard you can view the computer name visually from the Windows Settings or even use a command to see the name of the computer in Command Prompt, Terminal/Power Shell.
Methods to find the computer’s name
In this guide, you will see 5 different ways to know your computer name, follow the one you like. My favorite method is the direct Run Command method.
1: From Windows Settings App
- Press the Windows button from the keyboard and then select the Settings option from the menu. You can press the
Windows + Ikeyboard shortcut to open the settings.

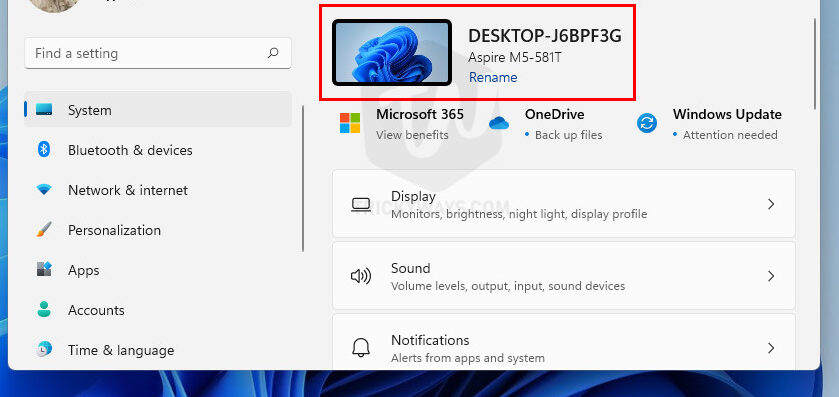
- In the next Window, you can see the current name of your PC.

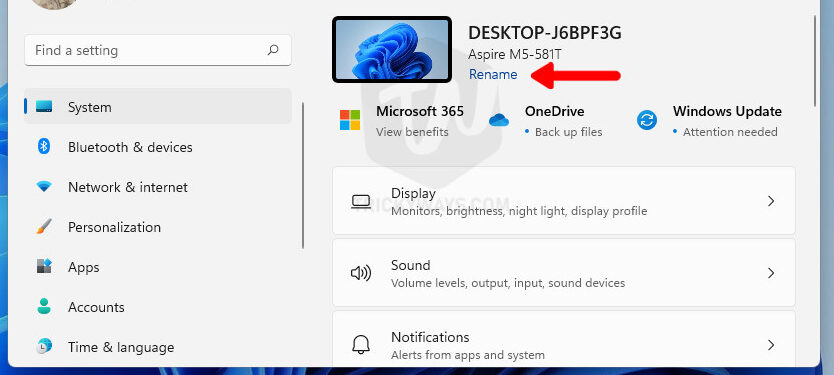
- Click the Rename option if you want to change the computer name. Enter the new name, and it will ask you to restart the computer.

- Click the Restart now button to apply the changes.


So, this is how you can change the computer name from the Windows 11 Settings.
2: From the System Properties
You can access system properties from the Windows 11 Settings windows or alternatively type a command in the Run window. So, let’s see both ways to open the System Properties and view the computer name.
- Press Windows+I from the keyboard to open up the Settings window. Select
Systemfrom the left side and then scroll down to the bottom on the right side and selectAboutoption.

- In the About section scroll down a bit and click the System Protection option under the Related links.

- Alternatively, you can press the Windows+R from the keyboard to open up the Run window. Type
sysdm.cplin the Run window and hit Enter.

- This will open up the System Properties, here under the
Computer Nametab you can see the Full computer name.
- Want to change the computer’s name? simply click the Change button here on the same screen.
- Enter the new computer name and hit OK.


Changing the computer name from System Properties is that easy. Remember, you might need to restart your computer to fully apply the change.
3: Using a Run Command
Command line lovers can also check the computer name directly from the command prompt.
- Press Windows+R to open the Run window. Type
cmd /k hostnamecommand in the Run window and hit enter.
- This will instantly show you the computer name in the command prompt window.


The command prompt method is fast and easy, this one is my favorite way to find the computer name.
4: Using Command Prompt
- Open up the command prompt, press the Windows key from the keyboard, or click the Start button. Start typing cmd, which will search the command prompt for you. In the search results, click the Command Prompt app.
- Now, in the command prompt windows, type
ipconfig /alland hit enter.
- Under the Windows IP Configuration section, you can see the Host Name which is your computer’s name.


5: Using Windows Terminal
- Right-click on the Start button and then select Windows Terminal (Admin) option from the menu.
- In the Terminal Window type the command
hostnameand hit enter.
- The
hostnamecommand will return the name of your computer as you can see below in the screenshot,DESKTOP-J6BPF3Gis the computer’s name.


So, these are the easiest ways to find the computer name on Windows. This guide is written for Windows 11 but it does work for Windows 10 as well.
Was that helpful?
If you found this guide helpful or you still need any help, please do leave a comment below and we would love to answer your questions.