My PC does not support Secure Boot and doesn’t have TPM 2.0 as well. This is how I dual boot Windows 11 with Windows 10 on my computer.
 If you want to try Windows 11 on your existing Windows 10 PC you can install it without disturbing your existing Windows. In this guide, you will learn how you can dual boot Windows 11 with Windows 10 safely without losing any data. This guide is for all even your PC supports Windows 11 or not, just skip the bypass secure boot step if your computer does have secure boot and TPM 2.0.
Following this method for installing Windows 11 parallel to Windows 10 is safe because you will use the official dev build of Windows 11. This build might not be perfect but it’s better than the leaked versions. Later, if you want to uninstall it anytime you can do that easily. So here is how to dual boot Windows 11 with an already installed Windows 10 computer.
Snapshot:
This guide is divided into four sections so you can dual boot Windows 11 easily:
Create a separate partition for Windows 11 (optional)
WHY?
To keep all things clean, it’s good to create a separate partition for Windows 11. You don’t need another drive for this only if you have some empty storage space on any existing drive that will work. What we will do is just get at least 64GB (which is the least requirement) of space from a drive and create a separate partition for Windows 11 (Don’t worry you will not lose any data).
NOTE:
Other than Windows 10 Volume you can use any existing partition for Windows 11 but to keep it organize and well-managed use a separate Partition/Volume
So let’s create a new volume for Windows 11.
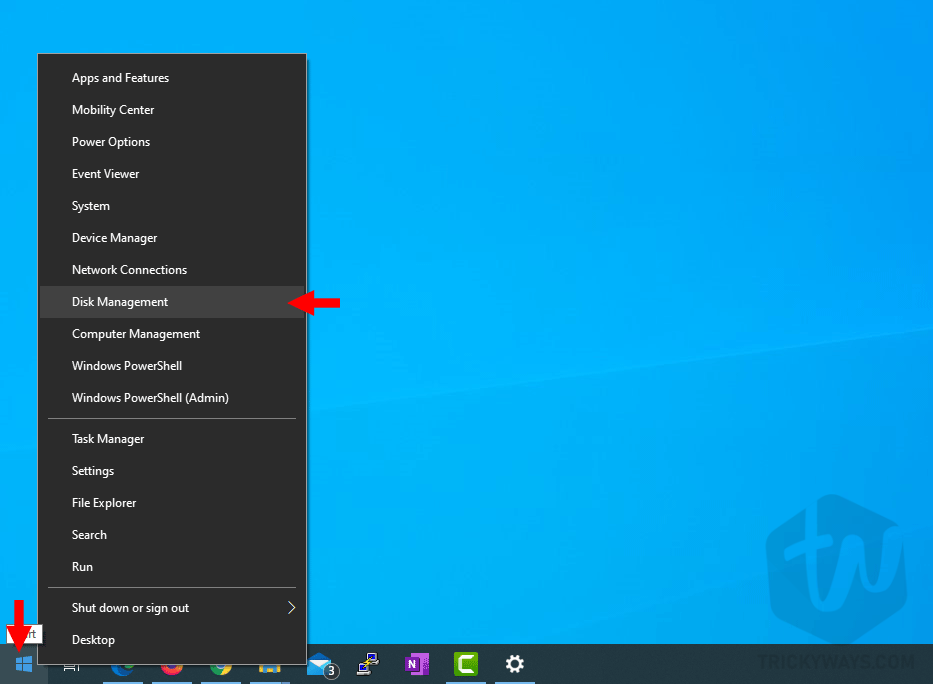
- Simply right-click on the Start button and select the
Disk Managementoption.

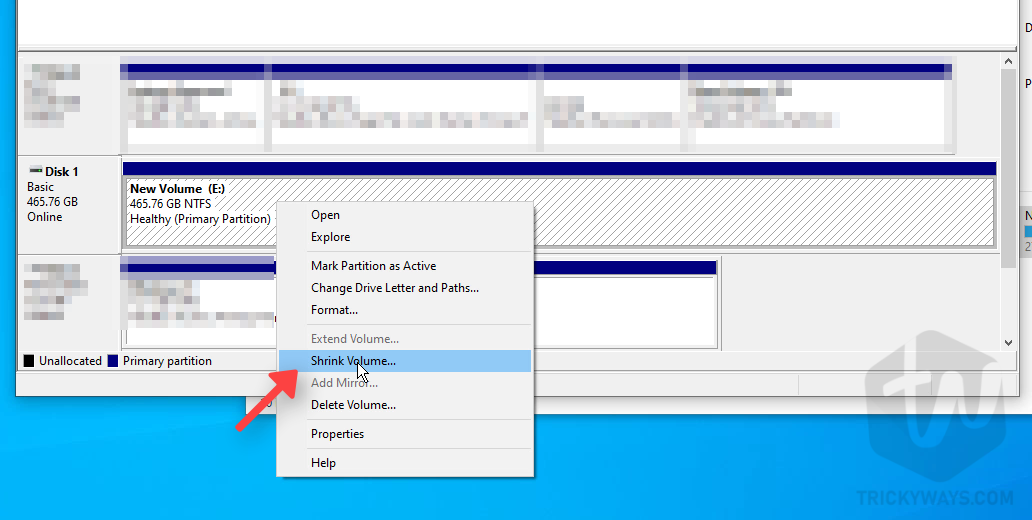
- Now, in the Disk Management tool, you will see the list of all the drives on your computer. As you can see I have enough spare storage space on the E drive, I am going to divide the E drive and create a new volume. Right-click on the Volume that you want to divide for a new Volume and select the
Shrink Volumeoption.

NOTE: You might have only one volume on your computer like C: drive. If you have free space on it then you can shrink it to make a new Volume. - In the next window, you need to enter the size of the new Volume in MBs, like I want to create a 100GB partition, so 100000MB is approx 100GB. So, enter the value and click the
Nextbutton.
 NOTE: The minimum partition size requirement for Windows 11 is 64GB, which is exactly 65536 MBs. To calculate the exact GBs, just multiply a number by 1024 to get GBs, like 64 MBs x 1024 = 65536 GBs.
 - As you can see the E: drive is divided into two volumes and the new one is unallocated. To make it usable, right-click on the unallocated volume and select
New Simple Volume.

- This will start a new volume wizard, just click Next.

- Specify the Volume size window click Next

- Assign a drive letter or keep it default, as you can see it’s assigning F: letter to the new Volume, click Next.

- On the next window give a proper Volume label (like Windows11Volume) and click Next. Volume label will help you to recognize the drive name when installing Windows 11 and you will choose the correct drive to install Windows 11 on.
 NOTE: please remember the volume name
 Windows11Volumewhere are we will install Windows 11. - Next step, just click the Finish button. You have successfully created a new volume where you are going to install Windows 11.

 NOTE: The minimum partition size requirement for Windows 11 is 64GB, which is exactly 65536 MBs. To calculate the exact GBs, just multiply a number by 1024 to get GBs, like 64 MBs x 1024 = 65536 GBs.


 NOTE: please remember the volume name
Download the Windows 11 ISO file
So, the next step is downloading Windows 11 ISO from the Microsoft server, UUP Dump tool will help us downloading the ISO file.
We have already posted a guide on it, just follow this guide to download the ISO file directly from Microsoft.
How to download Windows 11 ISO from Microsoft
Create a Bootable USB Drive
So, now we have the Windows 11 ISO file, next, we need to create a bootable USB drive from it. Because we need to install Windows 11 on a separate drive and we only can select a drive from Windows Setup when we boot from a bootable USB drive.
You can see this guide to create a Windows 11 Bootable USB
How to Create a Bootable USB for Windows 11
Step for Windows 11 Unsupported PCs
If your computer fulfilled the Windows 11 Requirements then skip this step and go directly to the Boot from USB and install Windows 11 step.
As my PC doesn’t meet the Secure Boot and TPM system requirements of Windows 11 so I need to copy a file to the bootable USB drive that will help to bypass the Secure Boot and TPM check while installing Windows 11. If you don’t copy that file to USB and your computer doesn’t fulfill the Windows 11 requirements then you will get the error message “this pc can’t run Windows 11“. So you must download and copy the file to bypass the secure boot and TPM check.
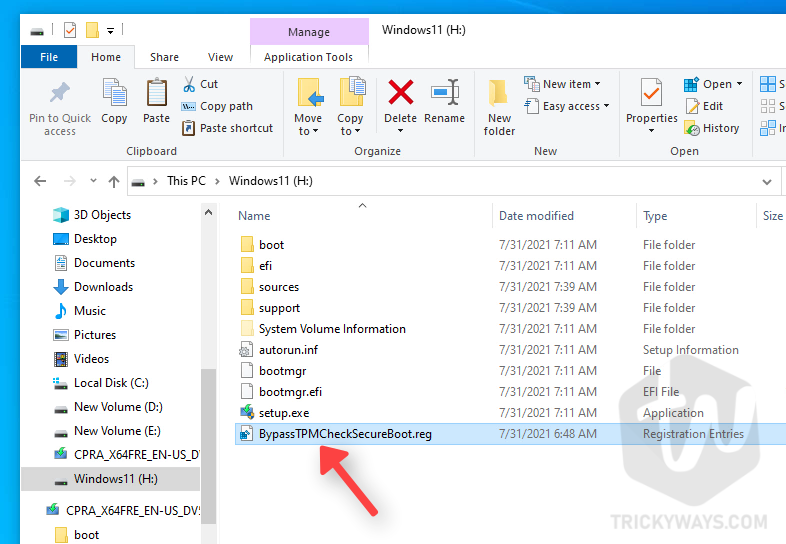
Download this BypassTPMCheckSecureBootfile
copy the downloaded file from the Downloads folder.

Paste the file into the Windows 11 bootable USB drive that you just created. As you can see in the screenshot.
Boot from the USB Drive
Now, it’s time to run the Windows 11 Setup from the bootable USB drive.
Access the Boot Options Menu:
- Now, connect the Windows 11 Bootable USB to the computer.
- Shut down your computer and turn it back on.
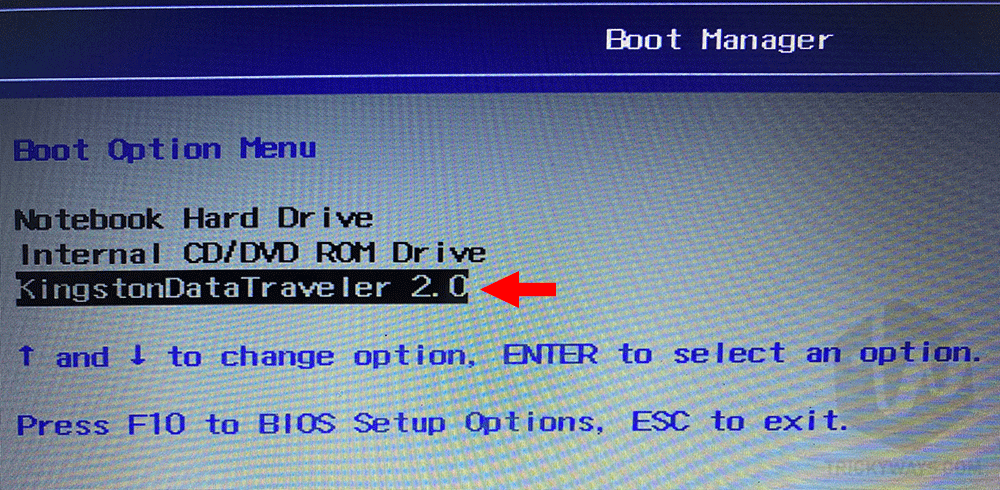
- While your computer is booting press the dedicated key from the keyboard to access the boot menu. This key is different for different computers, on my HP computer the Key is
F9 for the Boot Options Menu, which allows you to select the Bootable device. - When you see the Boot Options Menu, you will see the Bootable USB drive in the list. Using the keyboard arrow keys select this drive and hit Enter.

- On the next screen it will ask you to “Press any key to boot from the USB”, so just press any key from the keyboard.

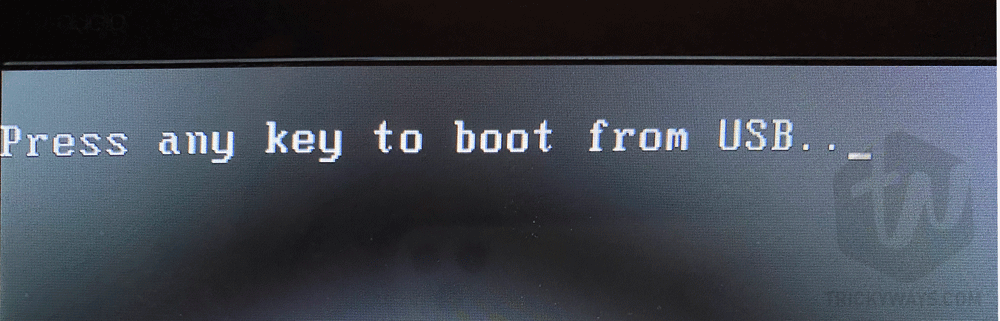
Now, you will see the Windows logo, and the Windows Setup is started successfully.
Installing Windows 11 with Windows 10 Dual Boot
- On the first screen of Windows Setup, select the language and other preferences and click Next.

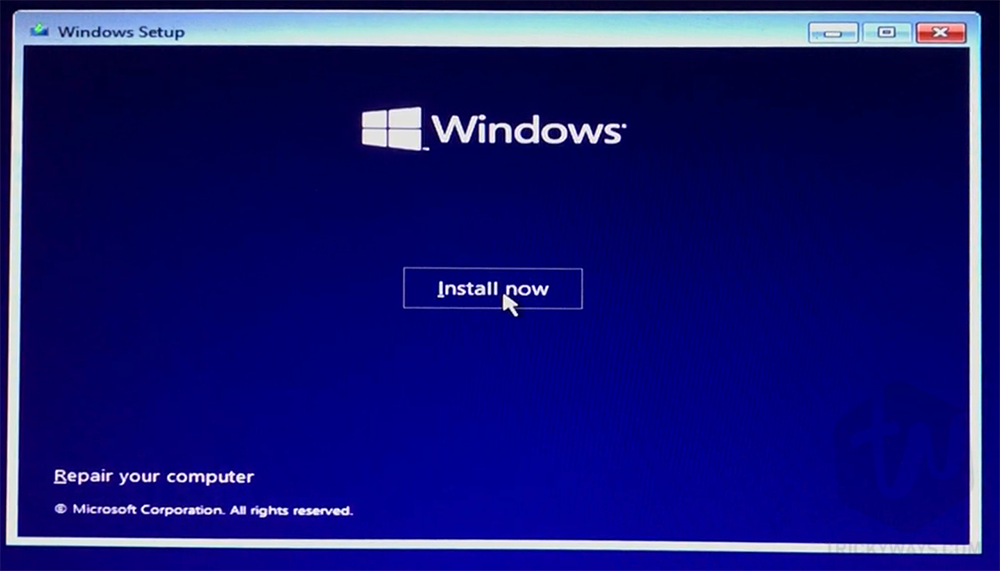
- Next, click the Install Now button.

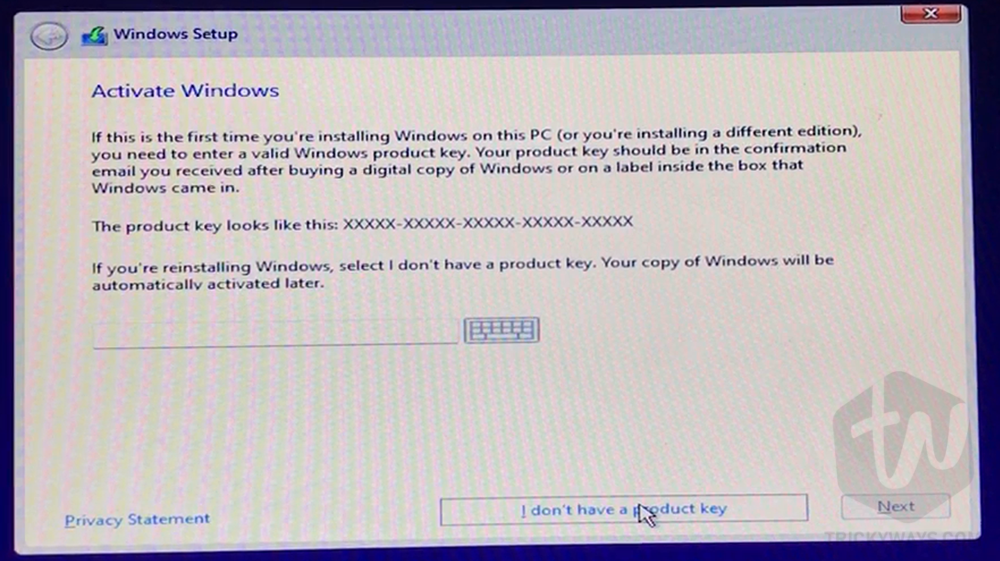
- On the activate, windows screen just click the button I don’t have a product key.

- Here, If you see this error message: This PC can not run Windows 11, it’s time to use the file that we copied in the USB drive, just follow these steps:

Bypassing SecureBoot and TPM Check
When you are on the error screen, press the
Shift + F10keyboard shortcut and this will open up the Command Prompt.In the command prompt type
Notepadcommand and hit Enter. This will open up the Notepad application.

In the Notepad, Click the File menu and then select Open.

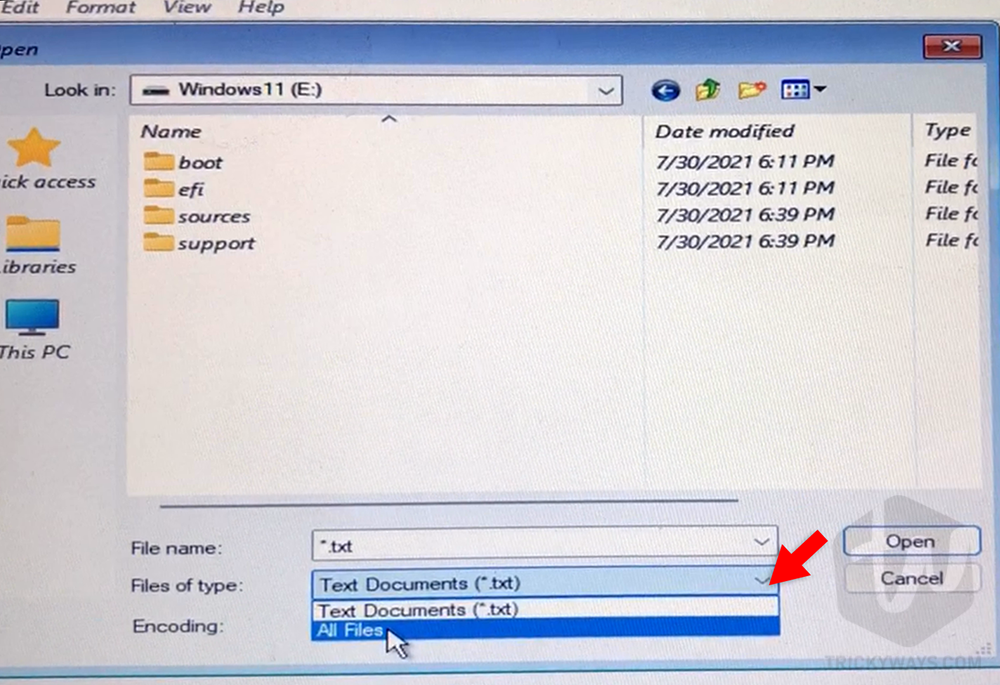
In the Open dialog, click the Look In drop-down and choose the Bootable USB drive where we copied the BypassTPMCheckSecureBootfile.reg file.

To view all files: At the bottom of the Open window,
click Files of type: dropdown and select All Files.

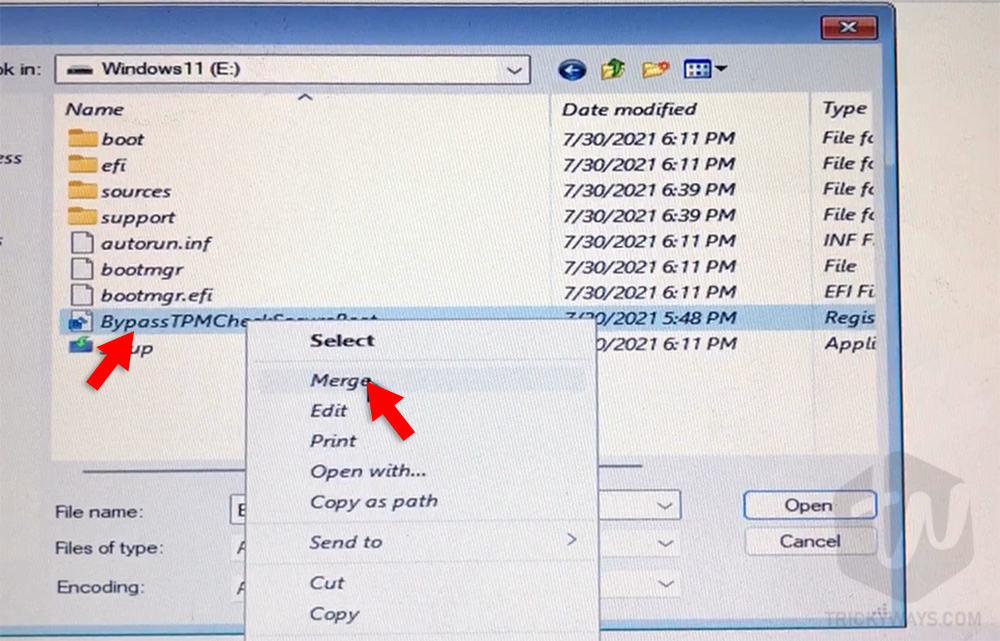
Now you can see the
BypassTPMCheckSecureBootfile.regfile in the window. Just right-click on it and select the Merge option from the menu.

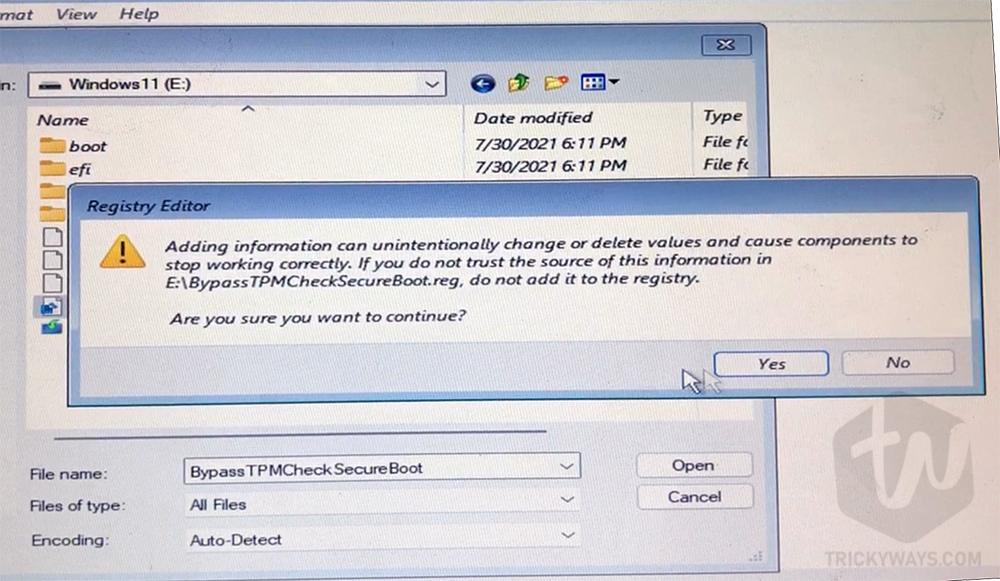
Click Yes to confirm, and click OK, That’s it now it will bypass the Secure Boot and TPM check.

Now close the Notepad, and the Command Prompt window, Now you will be on the Error window again, just Close it and this will take you to the start of Windows setup.
- On the first screen of Windows Setup, select the language and other preferences and click Next.


- Click the Install Now button.
- Click I don’t have a product key button.
- You successfully bypass the check and instead of an error message, you will see the license and agreement window. Simple check the I accept… check box and click Next.
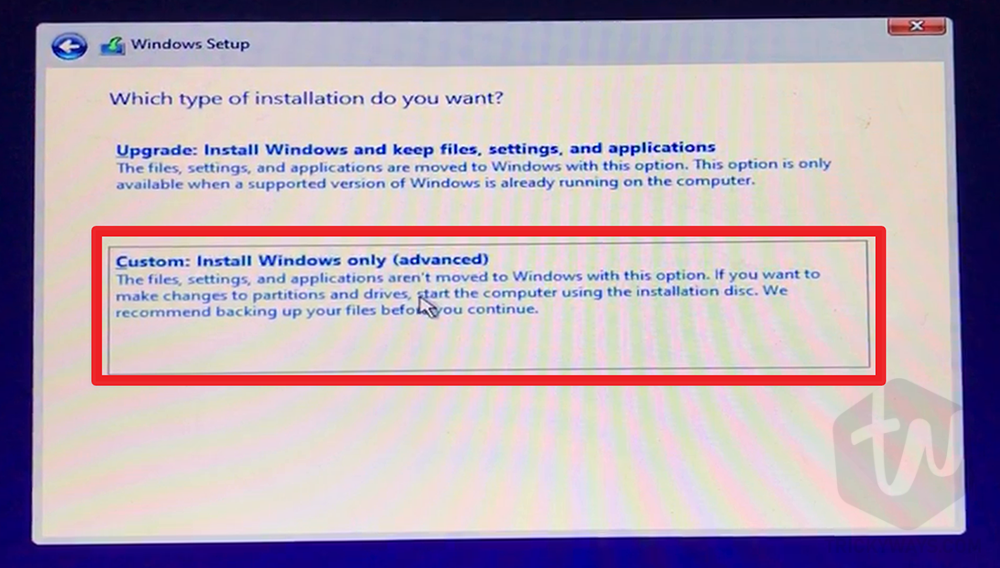
- Next, select the Custom: Install Windows only (advanced) option as shown below. Don’t select the Upgrade option.

- Remember, the volume that we already created for Windows 11 with the name Windows11Volume? Just select that volume from the list and click Next. Double make sure you select the right volume.

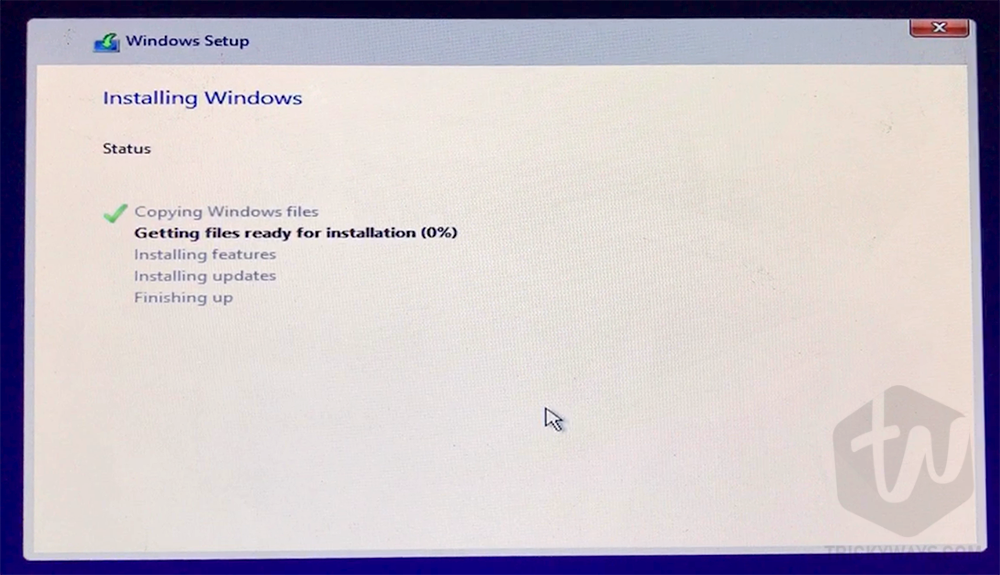
- Now, sit back and relax let the Windows Setup completes the installation.

- Once the Windows 11 installation is completed, this will restart your computer and you will see the dual boot option on the screen. Where you can either select Windows 11 or Windows 10 to boot from. Due to some reason, Microsoft still didn’t change the title of the Windows, as you can see both windows title is Windows 10.

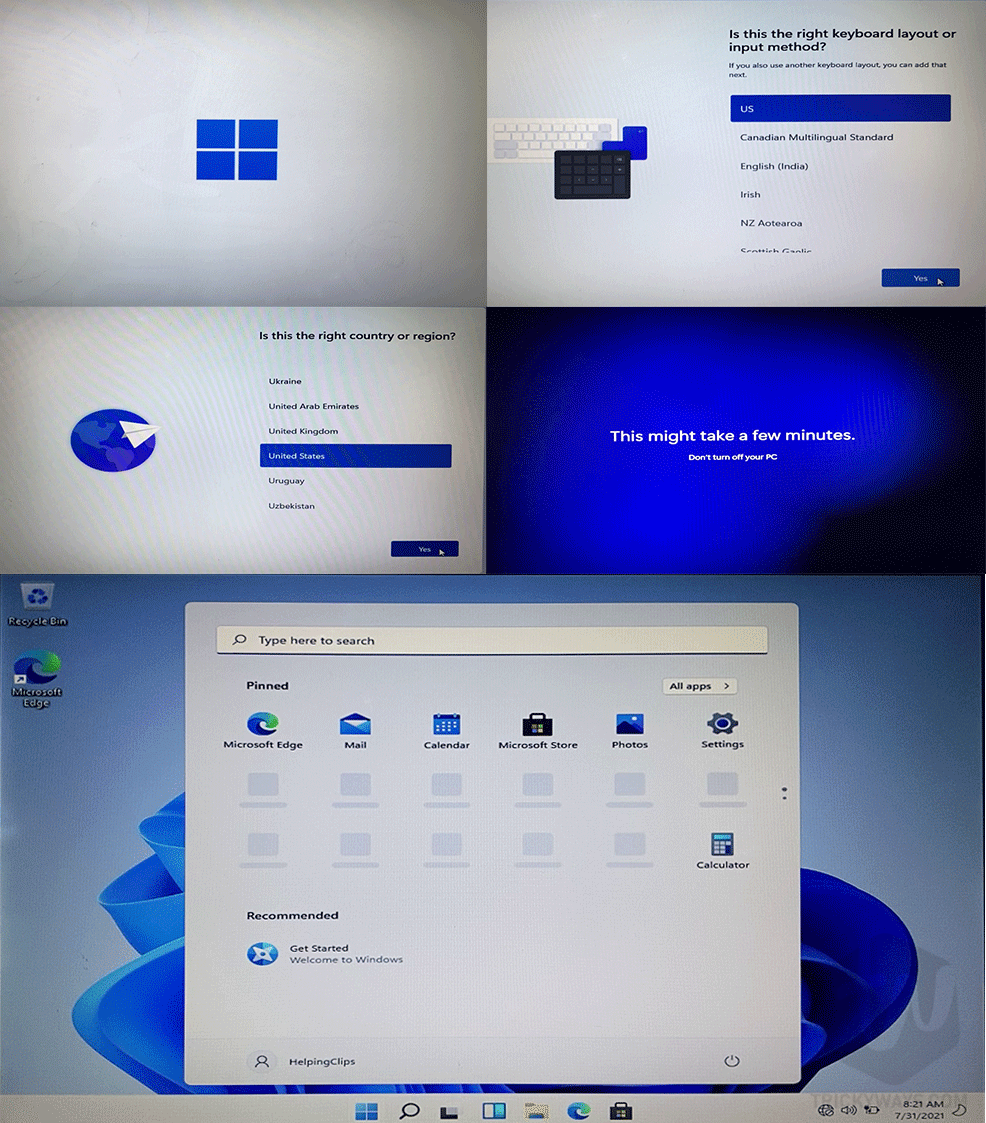
- Now, just follow the on-screen instructions to complete the Windows 11 initial setup. After that finally, you can see Windows 11 up and running with Windows 10.


How to switch between Windows 11 and Windows 10 dual boot
Just restart your computer and you will see the Operating System selection menu at the startup, just select the Windows version and that it.

Can I dual boot Windows 10 on an existing Windows 11 PC?
Yes, what you need is Windows 10 ISO instead of Windows 11 and follow the same method above.
Use the Windows 10 ISO for creating a bootable USB drive download Windows 10 ISO.
If you have any questions related to the dual-booting Windows operating system then please leave a comment below.
You can keep using Windows 11 until Microsoft release the final version for the public, we will keep posting about upcoming releases and updates of Windows 11. To subscribe to our website so you can get the latest updates on Windows 11.