In this guide you’ll learn how to dual boot Windows 8 and Windows 7 side by side. Hit the jump to learn more on how to dual boot Windows 7 and Windows 8 on your computer. Windows 8 consumer preview is now available for download. If you want to try it out right now, you can either install it on Virtualbox/VMWare, upgrade your current Windows to Windows 8 CP or dual boot it along side your current OS.
In this guide we’ll be covering how to install Windows 8 alongside Windows 7 and dual boot it (offers you the option to boot either Windows 7 or Windows 8 ) Windows 8 dual boot is the best option for those who want to try Windows 8 but their CPU doesn’t support Virtualization, means no Virtualbox or VMWare or you have Windows 7 installed and do not want it to replace with Windows 8 since it’s still in beta and chances are that there are some things that might be broken. Now the only option for you is dual booting Windows 8 and Windows 7.
NOTE: To install and Dual boot Windows 8 and Windows 7 requires minimum 20GB free space available on the hard drive.
How to Dual Boot Windows 8 and Windows 7
Step 1 – Creating a Primary Partition
First of all we’ll be creating a 20GB primary partition from the space that Windows 7 is currently using. You can do this in Disk Management utility available in Windows. Here’s how to do it:
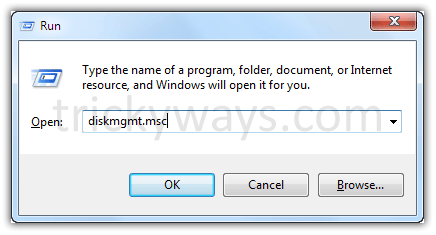
Press Windows + R keys on your keyboard, a Run command windows will appear;
type: diskmgmt.msc and hit enter.
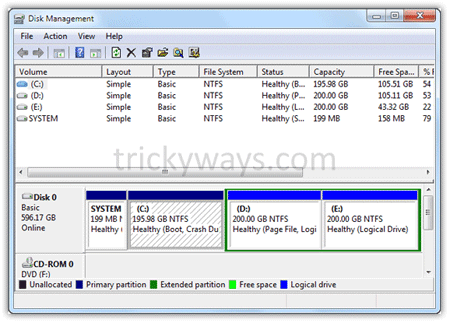
Disk management windows will open which will show a nice view of your hard disk drives and space available.
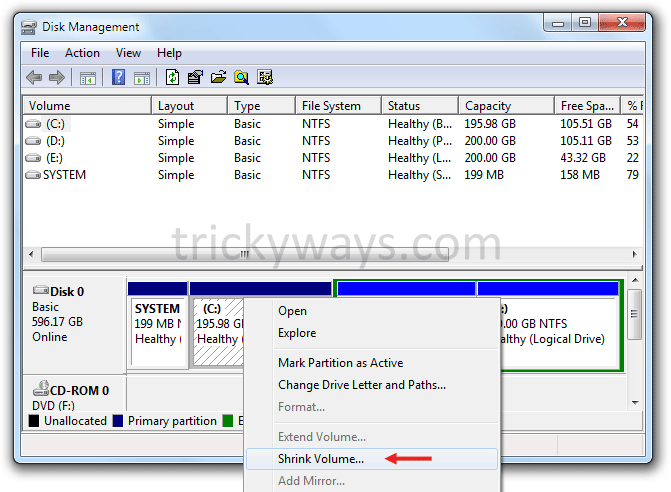
Now you need to shrink your C:/ drive and make some room for Windows 8. to shrink your C drive, right click on it and select ‘Shrink Volume”.
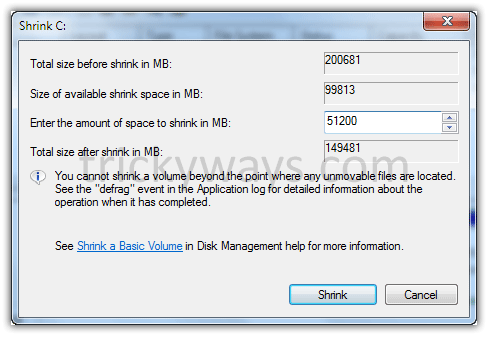
A dialog box will appear asking you how much would you like to shrink in MBs (Megabytes).
1GB = 1024MB
20GB = 20480MB
To shrink the C drive by 20GB, input 20480 in “Enter the amount of space to shrink in MB” field and hit the “Shrink” button.
***In the screenshot, I’m shrinking the volume by 51200 MB (50GB).***
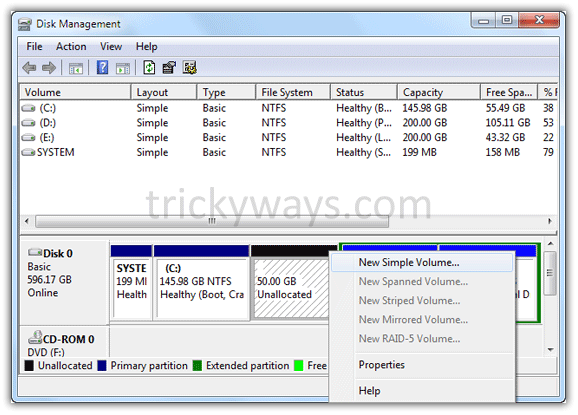
Once your C drive has been shrunk, a new blank space with black header will appear in your Disk Manager which shows an empty partition. Now right-click on the Black header space and select “New Simple Volume” to format the drive with a file system.
A wizard will guide you through formatting your free space drive: On welcome screen, hit ‘Next’;
On ‘Specify Volume screen’ do not change anything and hit ‘Next’;
On the next screen accept the default Drive Letter and click Next;
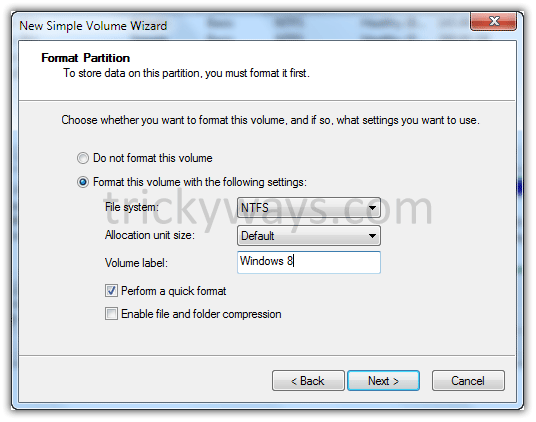
On the next screen, give your volume a label like ‘Windows 8’ and hit the ‘Next’ button and then ‘Finish’ to begin the format.
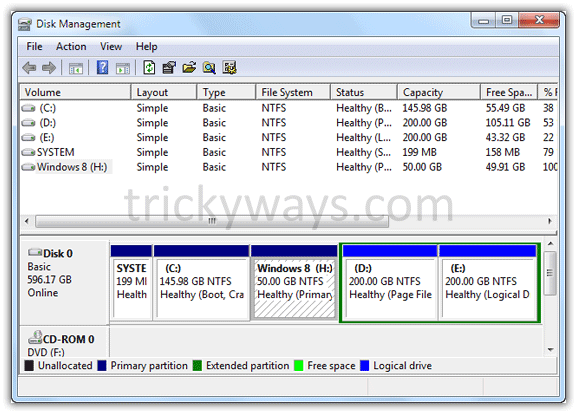
Once the format process is completed, the black header will turned to blue and the partition is ready for Windows 8 installation.
Step 2 – Installing Windows 8
Download Windows 8 Consumer preview
Burn the downloaded Windows 8 ISO file on a DVD or make Windows 8 Bootable USB. Now insert the Windows 8 DVD or plug in your Windows 8 bootable USB to your PC and restart your computer. Enter BIOS Setup/utility and set your boot priority to DVD/USB (whichever you’ve inserted). Entering BIOS setup differs from PC to PC, we will leave it to users to find out (or Google) how to enter BIOS and set boot priority to DVD or USB for their computer.
If you see the words “press any key to boot from CD or DVD or USB” quickly press any key on your keyboard to boot it from DVD/USB.
Select your language from the drop-down menu and you’re ready to install Windows 8, hit the ‘Next’ button;
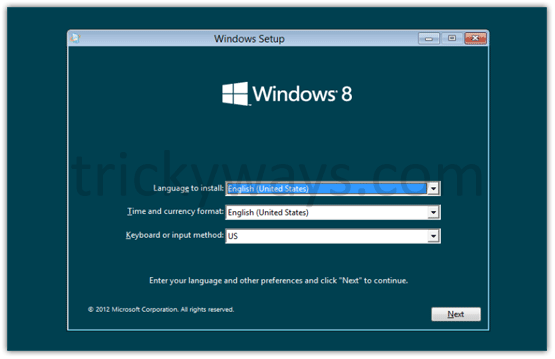
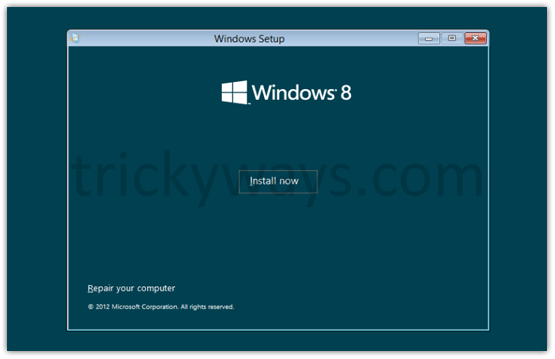
Now click on the ‘Install Now’ button to get started.
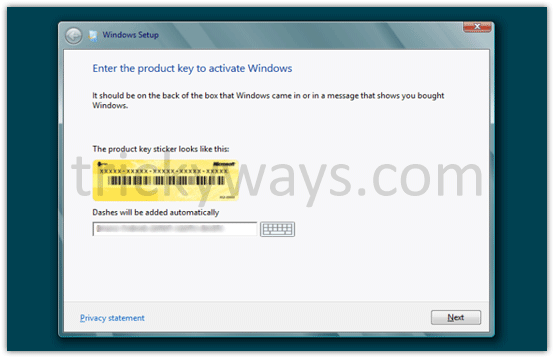
Input your Windows 8 License key.
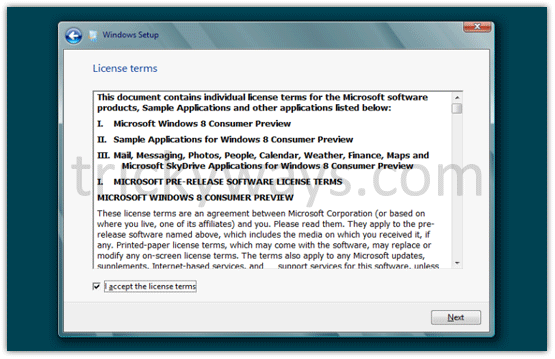
Read the agreement, Check mark the box to accept the agreement and click next;
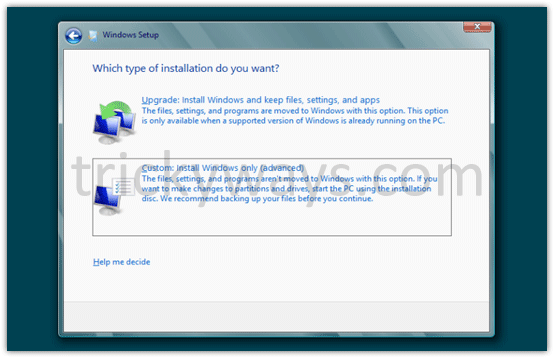
Choose custom installation option;
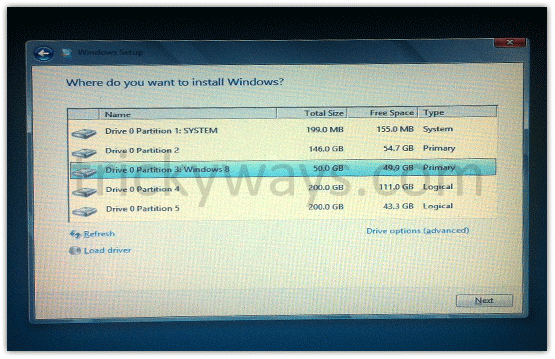
Choose the partition that we created in step 1, in our case it’s labeled ‘Windows 8’. Choosing the wrong partition to install Windows 8 will result in loss of date so make sure to choose the partition that we created in step 1. After selecting the ‘Windows 8’ partition click ‘Next’ to start the installation process.
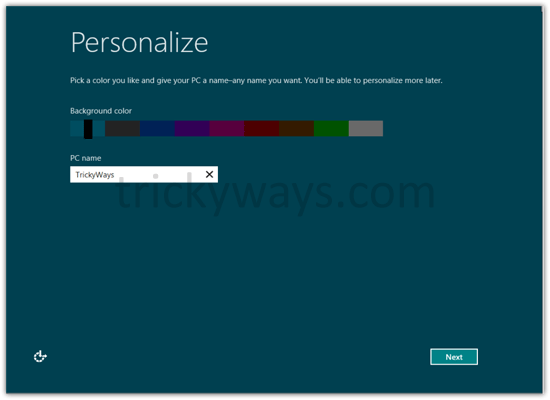
Once the installation process is complete, personalize your computer by giving it a name and click ‘Next’.
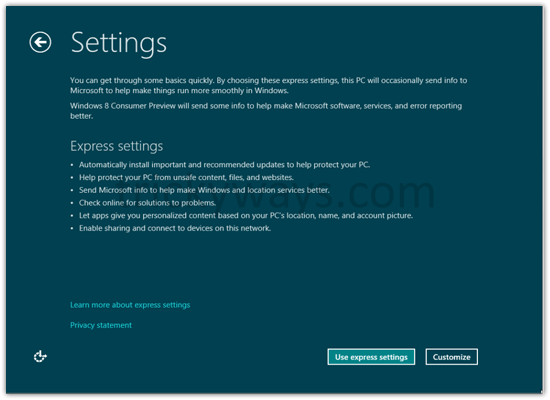
On settings page, you can either choose express settings or Customize, in this guide we’ll be choosing use express settings but feel free to explore custom settings option.
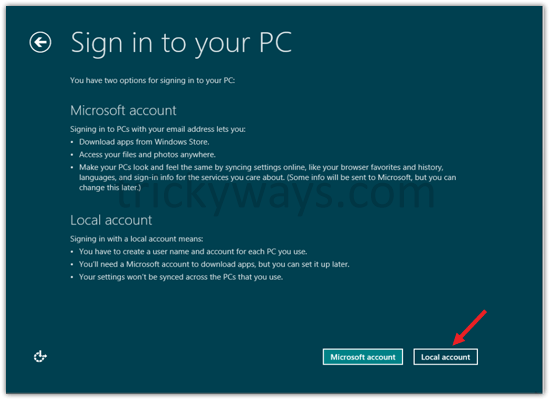
On the next screen you’ll be asked to login using your Windows Live ID, or create a local account.
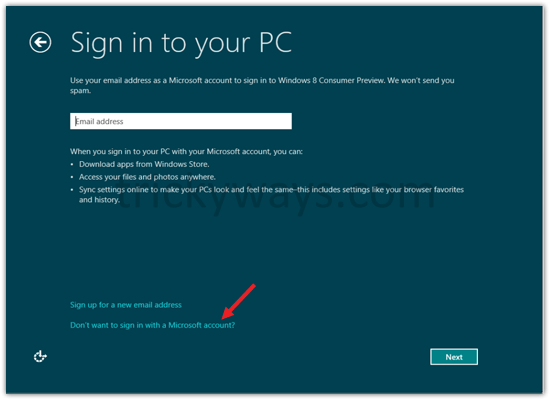
In this guide we’re choosing local account by clicking the link that says Don’t want to log in with a Windows Live ID.
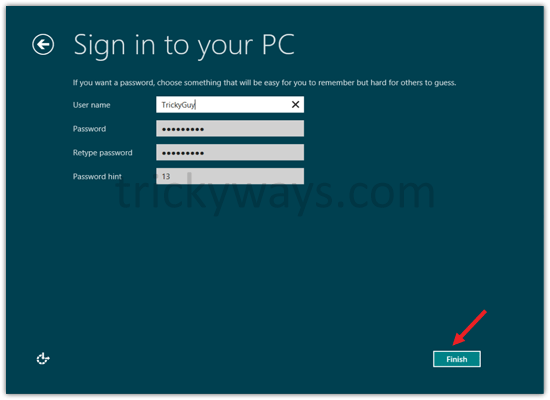
Input your account name and the password that will be used to log into your computer. Hit ‘Next’. That’s it! you’ve successfully installed Windows 8 along side Windows 7.
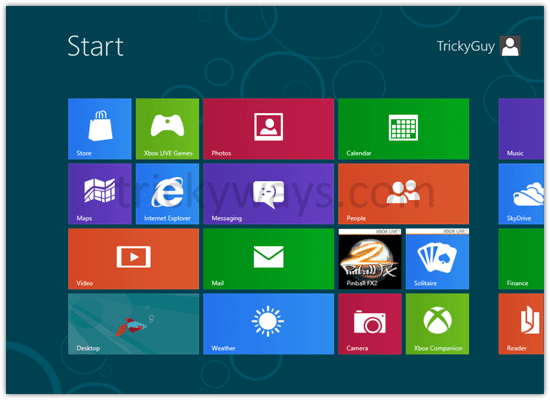
Reboot your PC you see the new dual boot screen of Windows 8 where you can choose either Windows 8 or Windows 7 OS to boot into. By default it will boot into Windows 8 after 30 seconds of inactivity.
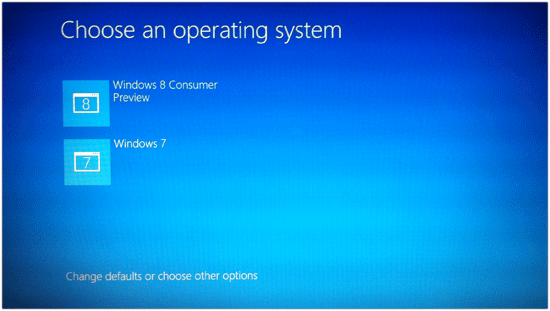
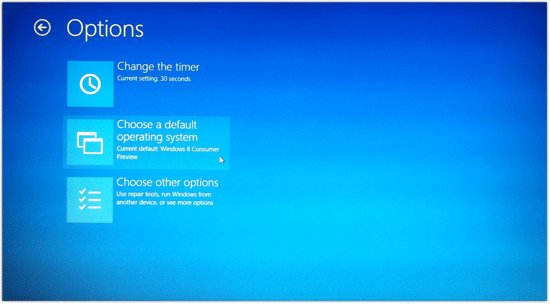
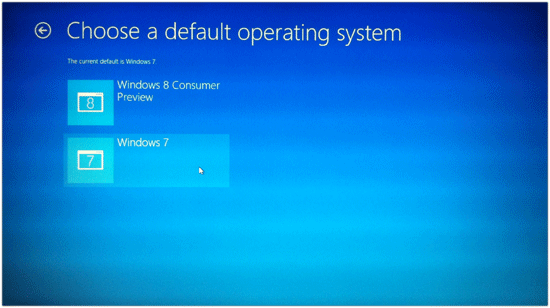
To change the default OS back to Windows 7 click the Change defaults or choose other options link at the bottom of the screen. Now choose the change default operating system link and finally select Windows 7. Enjoy dual booting Windows 8 and Windows 7 on your computer.
how can i get back my 20gb of space if i want to remove window 8. should i deallocate the space or their is some another procedure?