Many people want to edit the Windows hosts file for different purposes. You might be getting this error message “You don’t have permission to save in this location” while trying to modify and saving the file. In this guide, you will learn, what is a hosts file in Windows, the location of the hosts file, and what is the right way to edit the hosts file.
In this guide:
- What is a hosts file?
- Location of the hosts file
- What is inside a hosts file
- Try to modify the hosts file
- The right way to edit the Hosts file
Editing hosts file on Windows 11, 10, or even on older versions is the same. I personally edited and tested on Windows 11 and 10, you can follow the steps given below to modify the Hosts file in any version of the Windows Operating System.
What is a Hosts File?
The Windows hosts file is used to perform name to IP address mapping and can be used for testing purposes. This hosts files that are available in every operating system like Windows, Linux, and macOS.
The hosts file in Windows doesn’t have any file extension like .txt but you can use the Notepad editor in Windows for editing purposes.
Location of the Hosts File in Windows
C:\Windows\System32\drivers\etc folder. C: drive is the volume where usually you install the Windows, in case you have installed the operating system in another volume then replace the C: drive letter with your drive.What is inside Hosts file?
The default text in a hosts file looks like this. In case you modified the hosts file accidentally and something went wrong then you can use the text given below to restore it to the default text.
# sign on the left side will be effective.
# Copyright (c) 1993-2009 Microsoft Corp.
#
# This is a sample HOSTS file used by Microsoft TCP/IP for Windows.
#
# This file contains the mappings of IP addresses to host names. Each
# entry should be kept on an individual line. The IP address should
# be placed in the first column followed by the corresponding host name.
# The IP address and the host name should be separated by at least one
# space.
#
# Additionally, comments (such as these) may be inserted on individual
# lines or following the machine name denoted by a ‘#’ symbol.
#
# For example:
#
# 102.54.94.97 rhino.acme.com # source server
# 38.25.63.10 x.acme.com # x client host# localhost name resolution is handled within DNS itself.
# 127.0.0.1 localhost
# ::1 localhost
Try modifying the Hosts File in Windows
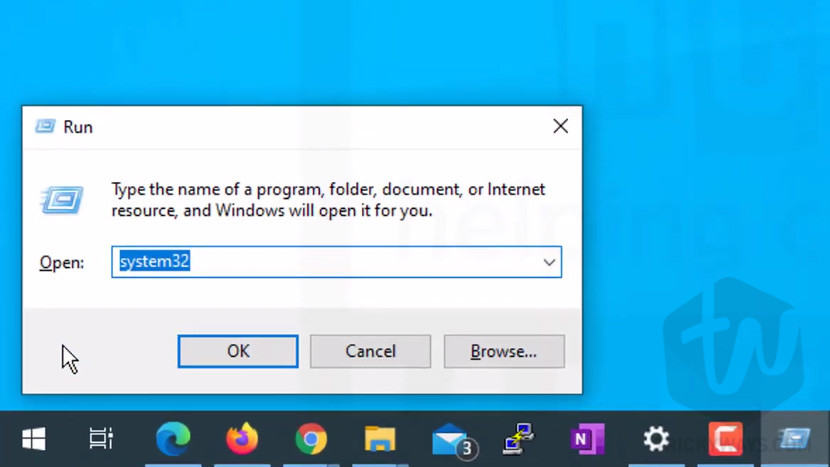
- The Hosts file location is inside the system32 folder on the System drive, which is usually the C: drive. You can open up the System32 folder directly: Press
Windows+Rkeys from the keyboard to open the Run window and type system32 and hit the OK button.

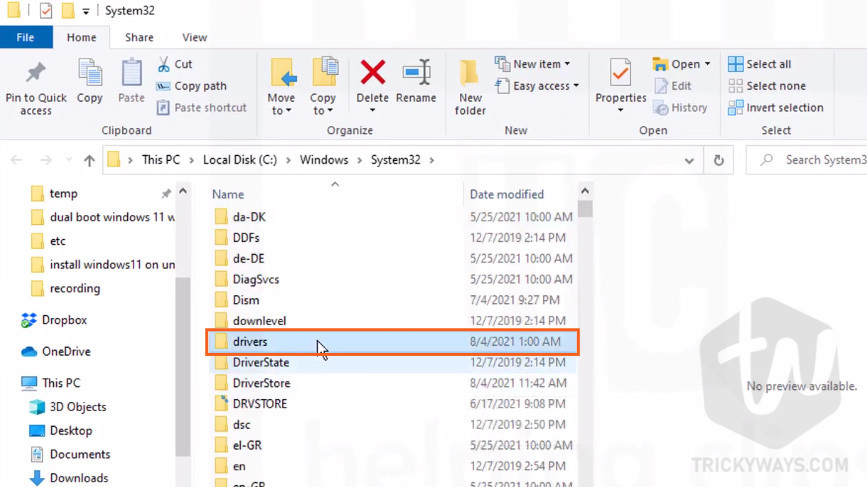
- Once you are in the System32 folder, open the
driversfolder.

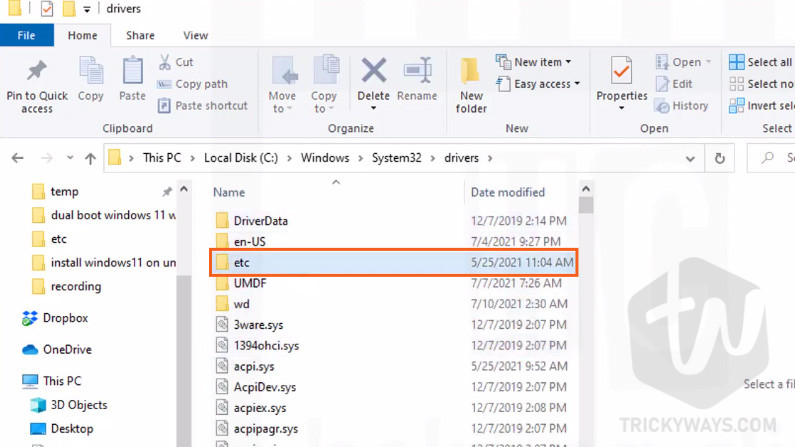
- Next, open the
etcfolder, where you can see the hosts file

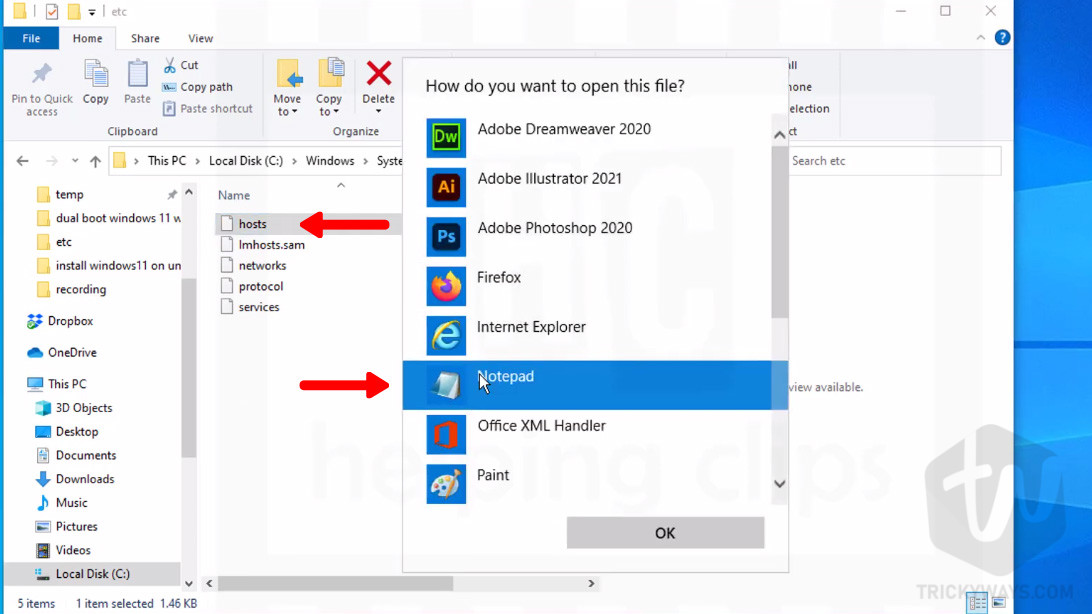
- Let’s try to open and modify the hosts file. Double click to open it and this will ask you: how do you want to open this file? From the list of programs, select Notepad and hit OK button.

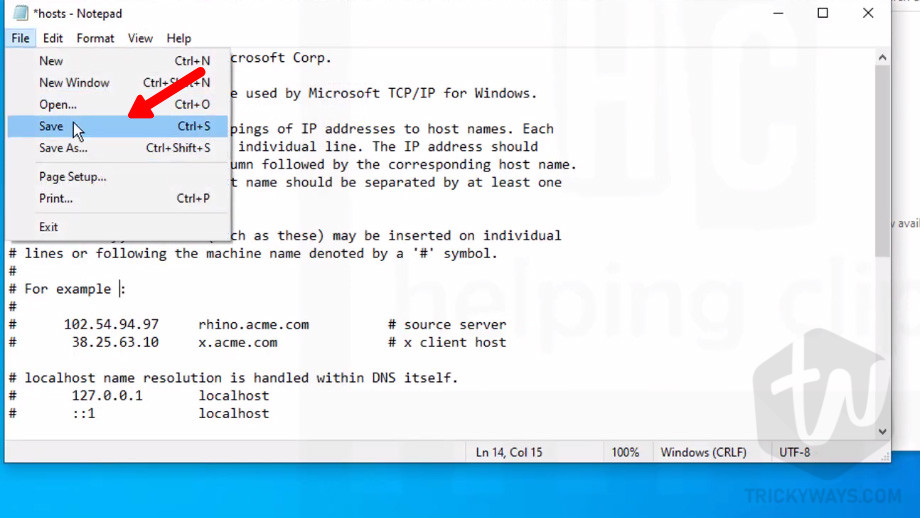
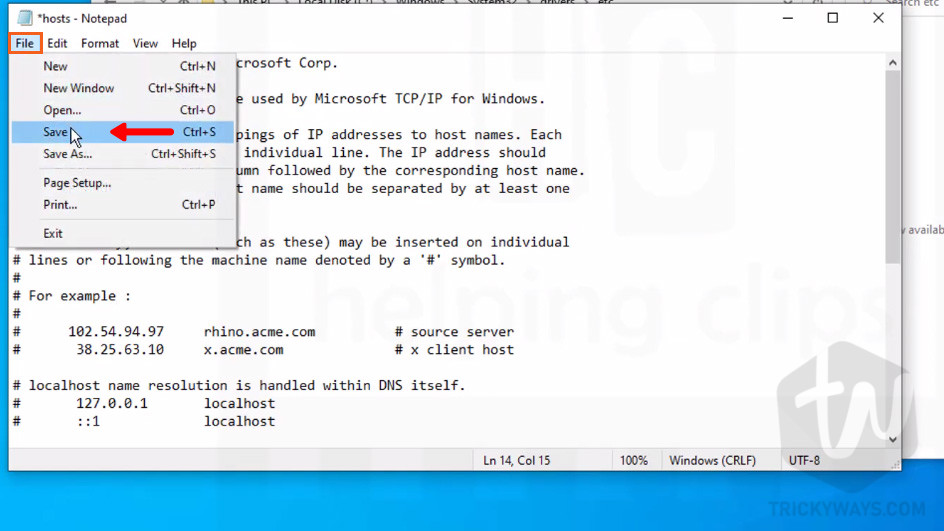
- Edit the hosts file and try to save it.

- When you click the Save option from the File menu, instead of Notepad saving this file, it will show you the Save As message: “You don’t have permission to save in this location. Contact the administrator to obtain permission. Would you like to save it in the Documents folder instead?” Of course, you don’t want to save it in any other folder you want to edit and save in the same folder.


The right way to edit the Hosts file in Windows
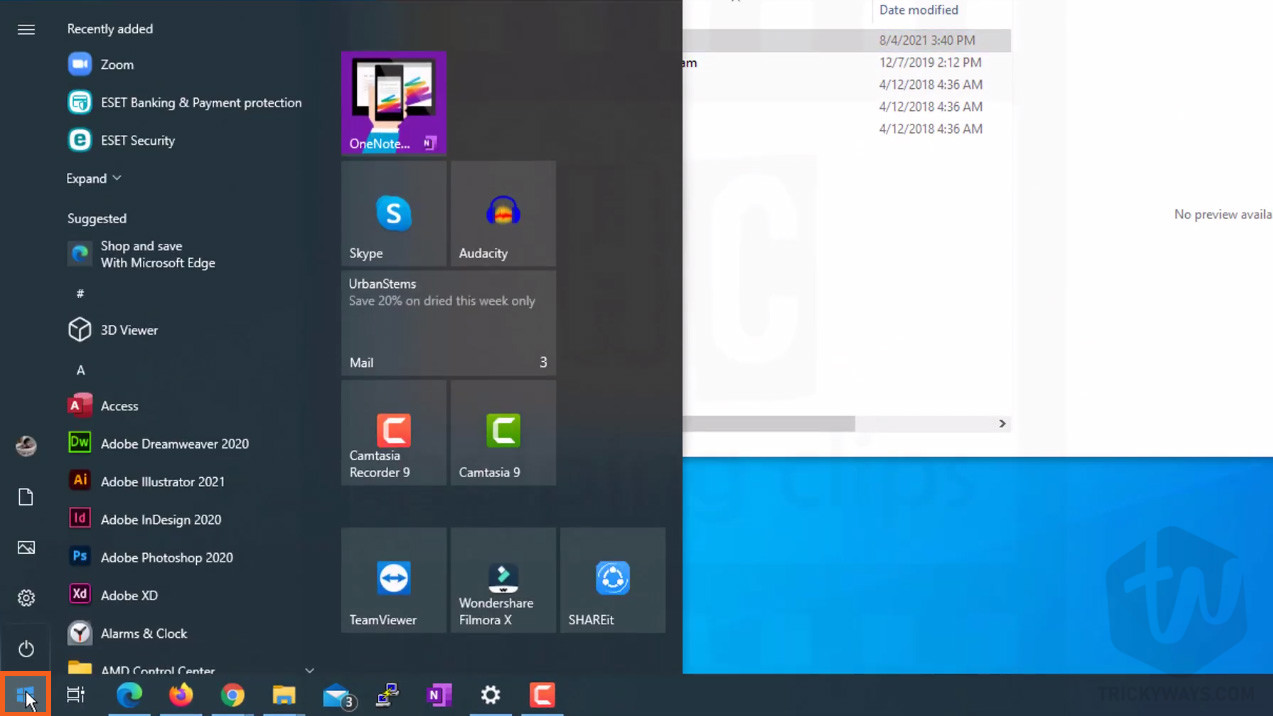
- Open Notepad with administrator privileges, click the Start button and then start typing notepad.

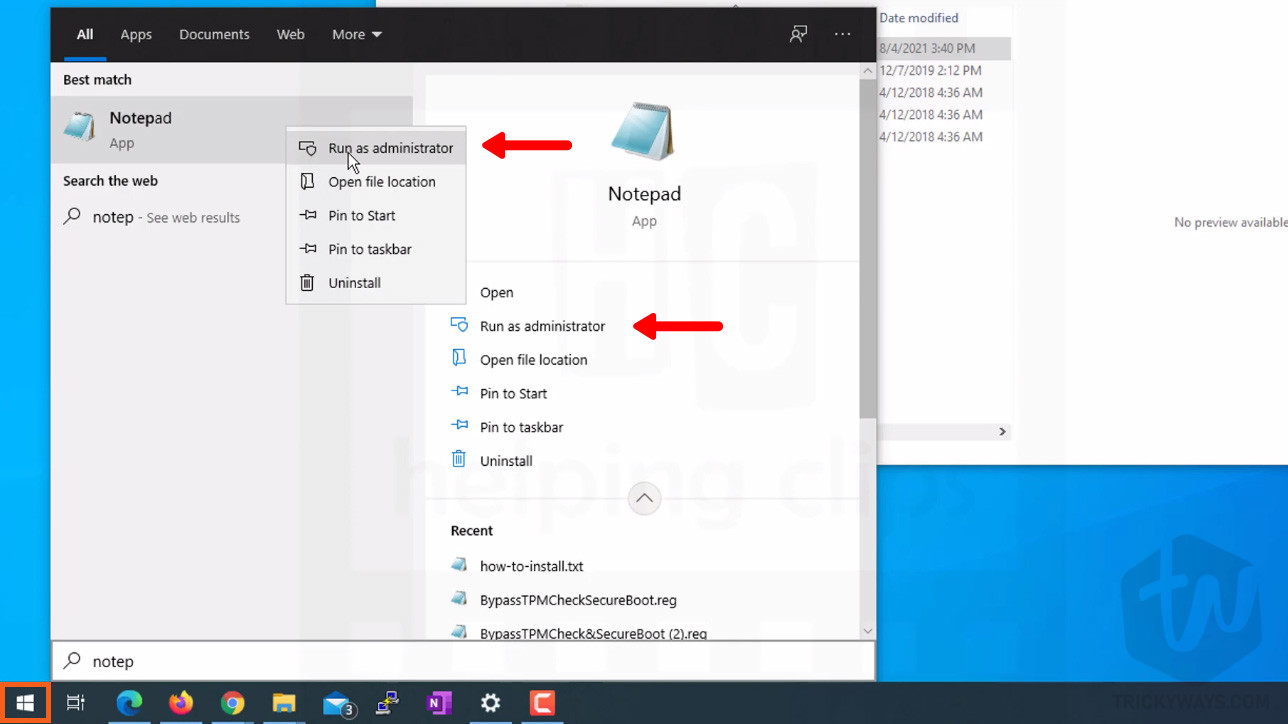
- From the search results, right-click on the Notepad and then select the “Run as administrator” option. User Account Control message will ask your permission to run the Notepad, click Yes.
You can also click the Run as administrator option available on the right side, as you can see below.

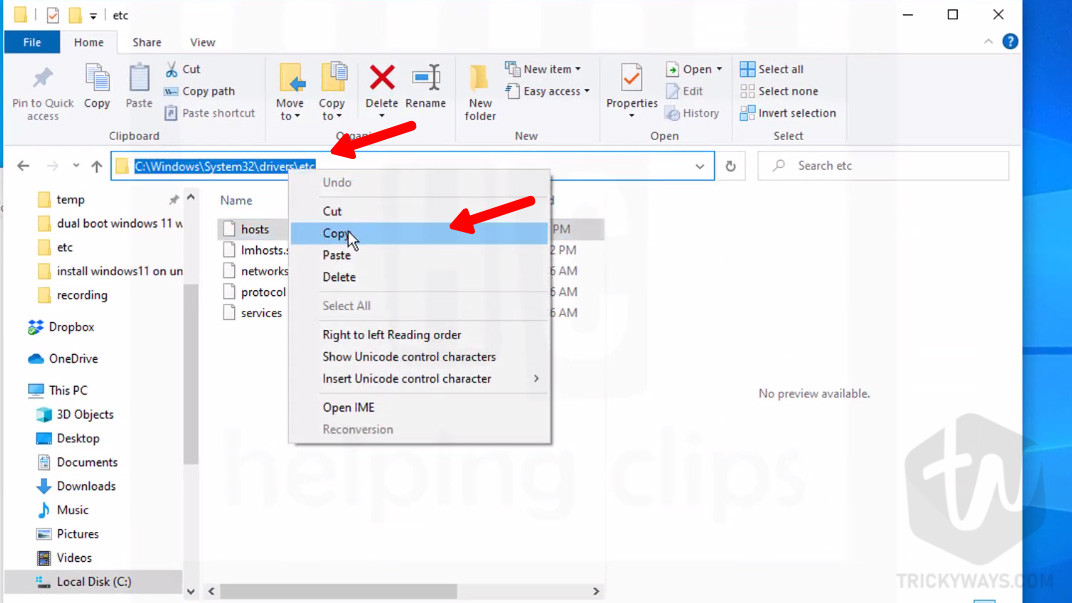
- Next, we need the path to the hosts file, copy the path from the file explorer, right-click in the address bar, and copy the location of hosts file.

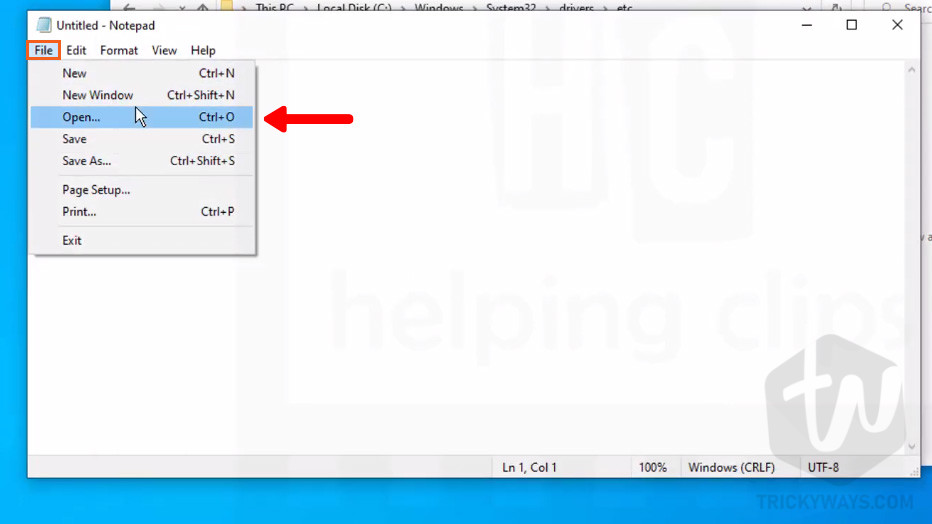
- Now, go back to the Notepad that you just open. Click the File menu and select Open.

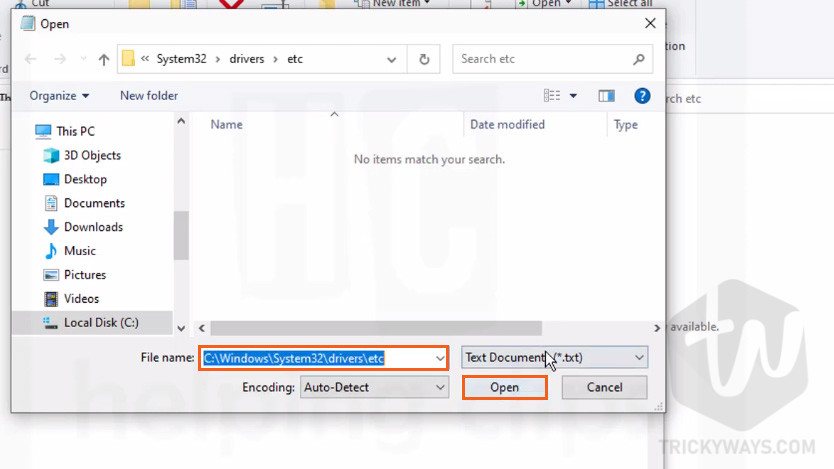
- In the Open dialog, paste the path you just copied earlier in the File name text box and hit the Open button.

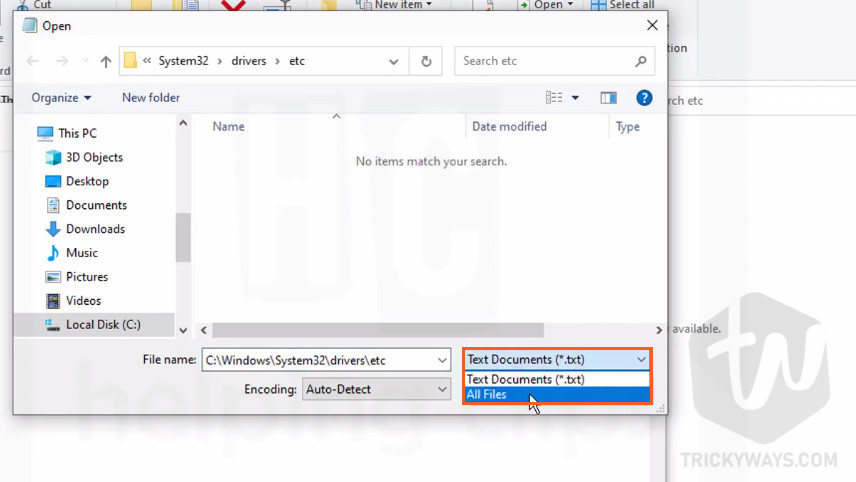
- When you click the Open button you might not see any files. You need to select the “All Files” option from the dropdown as shown below. this will show all the files in the etc folder.

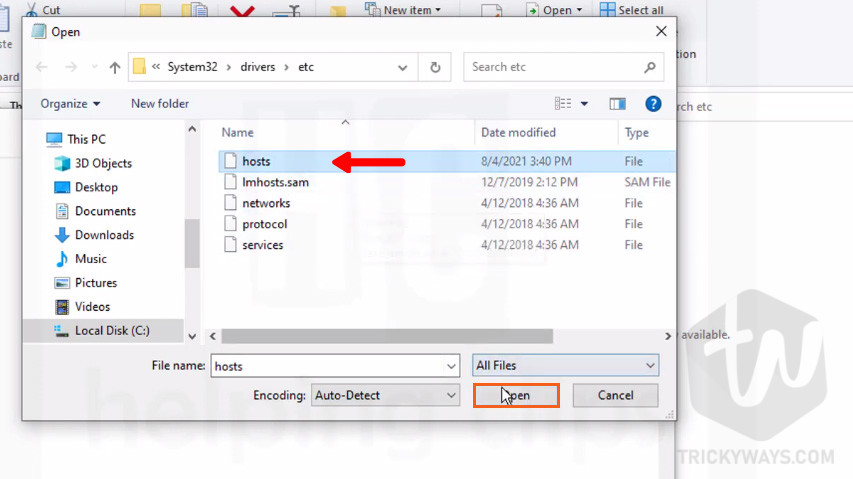
- Now, just select the hosts file and click the Open button.

- Modify the hosts file and save it. This time you successfully edited and saved the hosts file.

That’s it, this is how you can edit the hosts file in Windows, If you have any questions please leave a comment below.